A typical construction workflow for a residential home
Over my years working as a designer I’ve learned a lot about building and renovation/remodelling and I have been on a lot of construction sites. And for most residential projects (i.e. family homes) I work on there is a typical workflow that a project moves through.
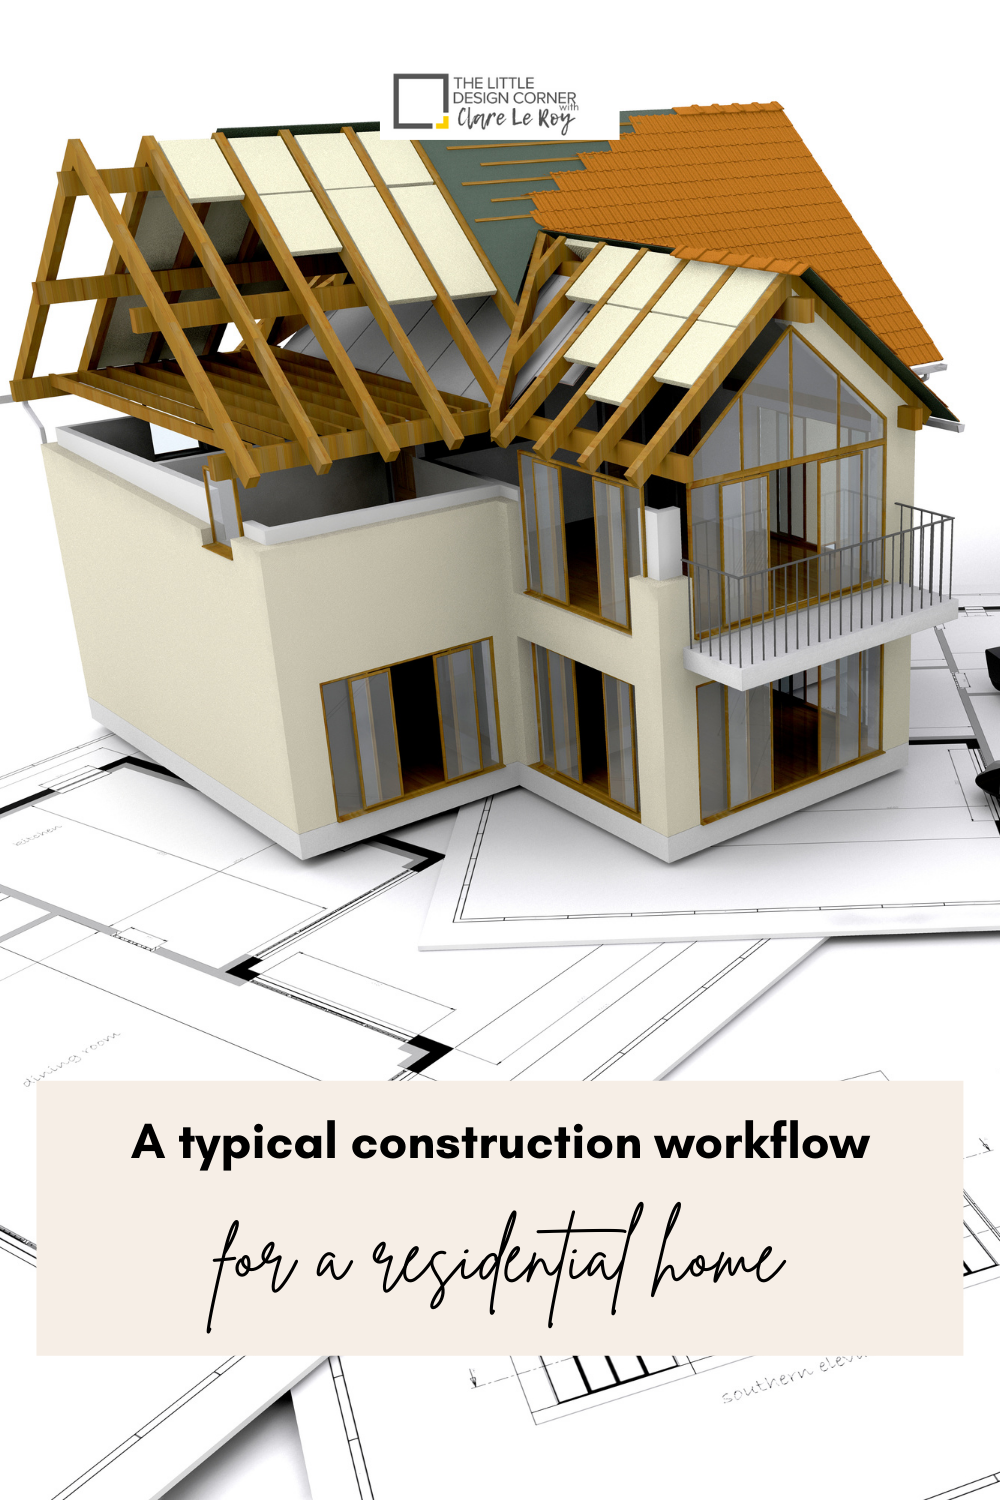
In this post I’m sharing a typical construction workflow for a residential project and I will walk you through all the stages involved from start to finish when building a new home or extension.
A typical construction workflow
Here is an example of a typical construction workflow for a residential home build or extension project.
Keep in mind I’m in Australia and I’m less on top of how construction works in other parts of the world. My guess is that it is largely the same as what I’m laying out here, but if you’re not in Australia you may find some of the stages below are called different things or you perhaps you do things in slightly different ways.
Every project is different and the workflow for each construction project will vary slightly from this workflow, but if you are building from the ground up (e.g. a brand new home), or adding an extension to an existing house, then you more than likely move through most of the stages below.
Keep in mind this is all about the order that a home is built in from a construction perspective. The post doesn’t talk much about the design process itself, which I share in other blog posts on my site. You can browse them HERE.
Stage 1: Design and Pre-Construction
This is all the work that happens before you start construction.
Create your budget
Appoint building designer/architect and prepare design and construction drawings (they will appoint consultants as needed e.g. engineers, surveyors)
Site survey (a surveyor will plot your land, trees, neighbouring properties, boundaries etc.)
Tender your project to builders (get at least 3 quotes and make sure each are quoting on exactly the same scope to get accurate quotes you can compare)
Choose a builder (or do your owner builder qualifications, like I am in the middle of now)
Sign contract
Council applications and approvals
Stage 2: Preliminaries and Base
This may seem like a boring part of the project but it’s actually super important because if things go wrong at this stage it can have a big flow on to the rest of your build.
In this stage you are laying the foundation for your building and everything that happens next will be built on this foundation.
Preliminaries
construction certificates and permits
insurances
site fencing and signage
soil testing (not always needed)
temporary toilet/services
Demolition (if needed)
Site levelling
Peg out (measuring and marking out the design using coloured string)
Underground connections, drainage and pipework - e.g. plumbing, sewerage, electrical
Excavation (cut and fill) - a rough mark out of the foundation footprint will be made by an excavator.
Footings poured
Slab formwork and preparation (e.g. pest control, slab drainage, moisture barrier)
Pour concrete slab
Stage 3: Framing
This is where the skeleton frame of the house will be built on the slab/foundation.
Framing (e.g. timber framing, structural panels, bricks for double brick home, structural steel)
Things people sometimes don’t realise at frame stage:
shower niches or other niches will need to be decided by now as these go in at framing
pelmets or recesses for blinds or curtains are framed in at this point and can be hard to fix later
Roof trusses
Floor joists (for multi level homes) and structural flooring laid
Stage 4: Lock Up
This stage is about getting the house to the point of being able to be ‘locked up’ - so the final parts of the external works are finished off so trades can move inside for fixing and fit off.
Windows and doors
Waterproofing, wrapping and cladding (or brick veneer)
Fascia and Guttering
Roof tiling/sheeting and flashing
Solar panels installed (or sometimes happens a little later)
Internal walls
Garage door install
Temporary (or final) external doors installed
Electrical rough in/conduit
Plumbing rough in
Insulation added
Stage 5: Fixing and Fit Off
This is where work moves inside and the house starts to really take shape.
External painting
Gyprock/plasterboard to ceilings and walls
Skirting and architraves installed (crown moulding/base boards)
Ducted air conditioning/heating installed (final vents and panels added later)
Wet areas
waterproofing
tiling
plumbing fit off phase 1 (bath, vanities, toilets)
Carpentry (stairs, internal doors, built in elements)
Electrical fit off (e.g. adding in GPOs, data points, light fixtures, TV connection etc.)
Cabinetry and joinery (e.g. kitchen, laundry, wardrobe) install
Stone install (e.g. bench or counter tops)
Shower screen and mirror installs
Floors laid (e.g. floorboards, carpet or anything floating that isn’t tile)
Internal painting
Stage 6: Completion
This final stage is where the house is finished off and getting ready to move in to.
Final plumbing install (PC items like shower heads, taps)
Final electrical fix (feature light fixtures such as pendants or wall lights, ‘smart home’ features)
Air conditioning/heating final fit off - e.g. adding vents and operating panels
Carpentry finishes (e.g. door handles, latches or other smaller carpentry items)
Site clean - skip bins and rubbish removed, clear out of all debris and building waste
Defecting (e.g. finding areas that need to be fixed or finished prior to final payment)
Appliances installed (this normally happens last minute to avoid theft on site)
External building works such as:
paths and driveways
hard landscaping
grass
planting
Stage 7: Handover and Fun Stuff!
This is where you get to move in and start adding your furniture and styling pieces. Sometimes you will still have trades coming and going to fix up any defects that have been identified or that are identified after move in.
Final internal and external site clean
Handover (you get the keys!)
Make sure home insurance is updated/activated
Furniture install
Styling install
Artwork install (specialists sometimes used for expensive artwork)
TV mounted (if not already done during fit off)
Move in and enjoy!
I hope laying out the construction stages like this is helpful to some of you. I know I would have found this hugely helpful back when I had no idea what I was doing! :)
Learn SketchUp with our fun online course for beginners…
If you want improve your work with design clients or you are about to start renovating or remodeling then you will love SketchUp.
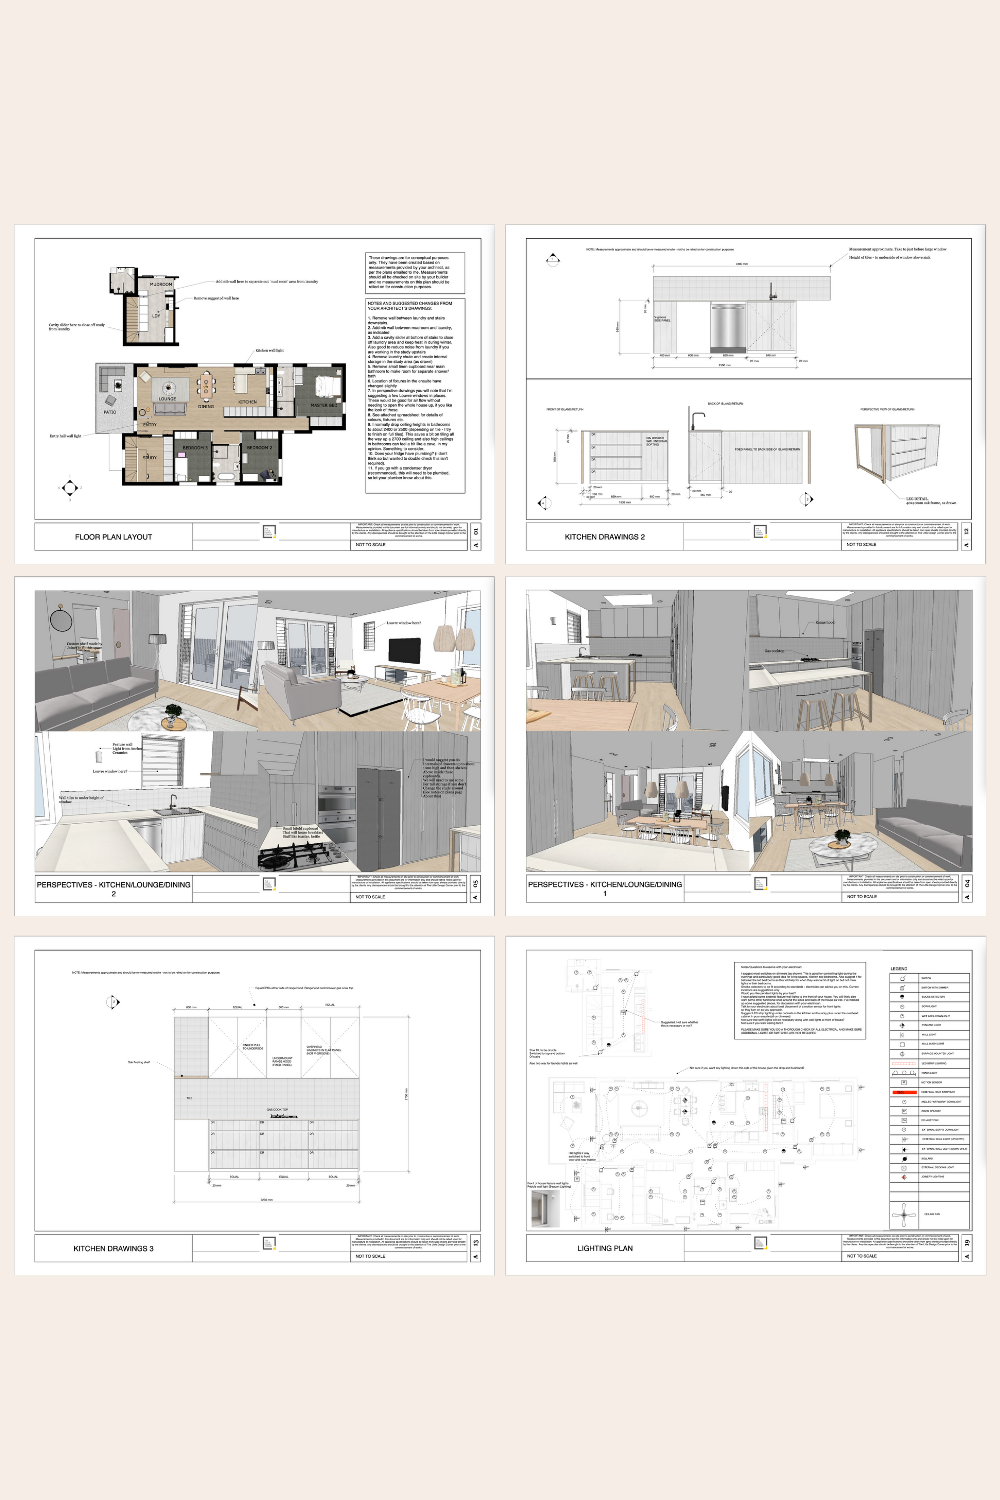
With this software you can mock up an entire home in 2D (floor plans, joinery/millwork elevations, lighting and electrical plans and more) and 3D (renderings and perspective drawings) so you can picture exactly what it will look like when it is finished plus prepare your technical drawings for use with your clients, trades and contractors.
Learning SketchUp will save you time, money, mistakes and so much more! It is a well known piece of software in the interior design and architecture industries and will give you a solid technical drawing skill that will immediately upgrade the professionalism of the work you are doing.
I teach an online course for beginners that is focused specifically on using SketchUp for interior design purposes. We have had nearly 4000 students come through the course with so many fantastic projects designed and built!
We have all sorts of students in the course including designers and architects, cabinet makers, home renovators/remodelers, kitchen and bathroom designers, event planners, landscape designers and design enthusiasts.
To find out more about the courses we have on offer click the link below. And reach out if you have any questions I can help with :)
Enjoy the rest of your day!
Clare x
Dr Clare Le Roy


