Project Case Study - Rozelle
In this post I will be sharing all the before and after images of the renovation of a period workers cottage I worked on in the Sydney suburb of Rozelle.
The project brief
The clients engaged me to help them with the interior design of their renovation. They had already been working with an architect for some time but they were looking for some help with getting their joinery designed and assistance with selecting all the interior colours, fixtures and fittings. Plus they wanted some help with styling the project once it was completed.
Before Photos and Floor Plan
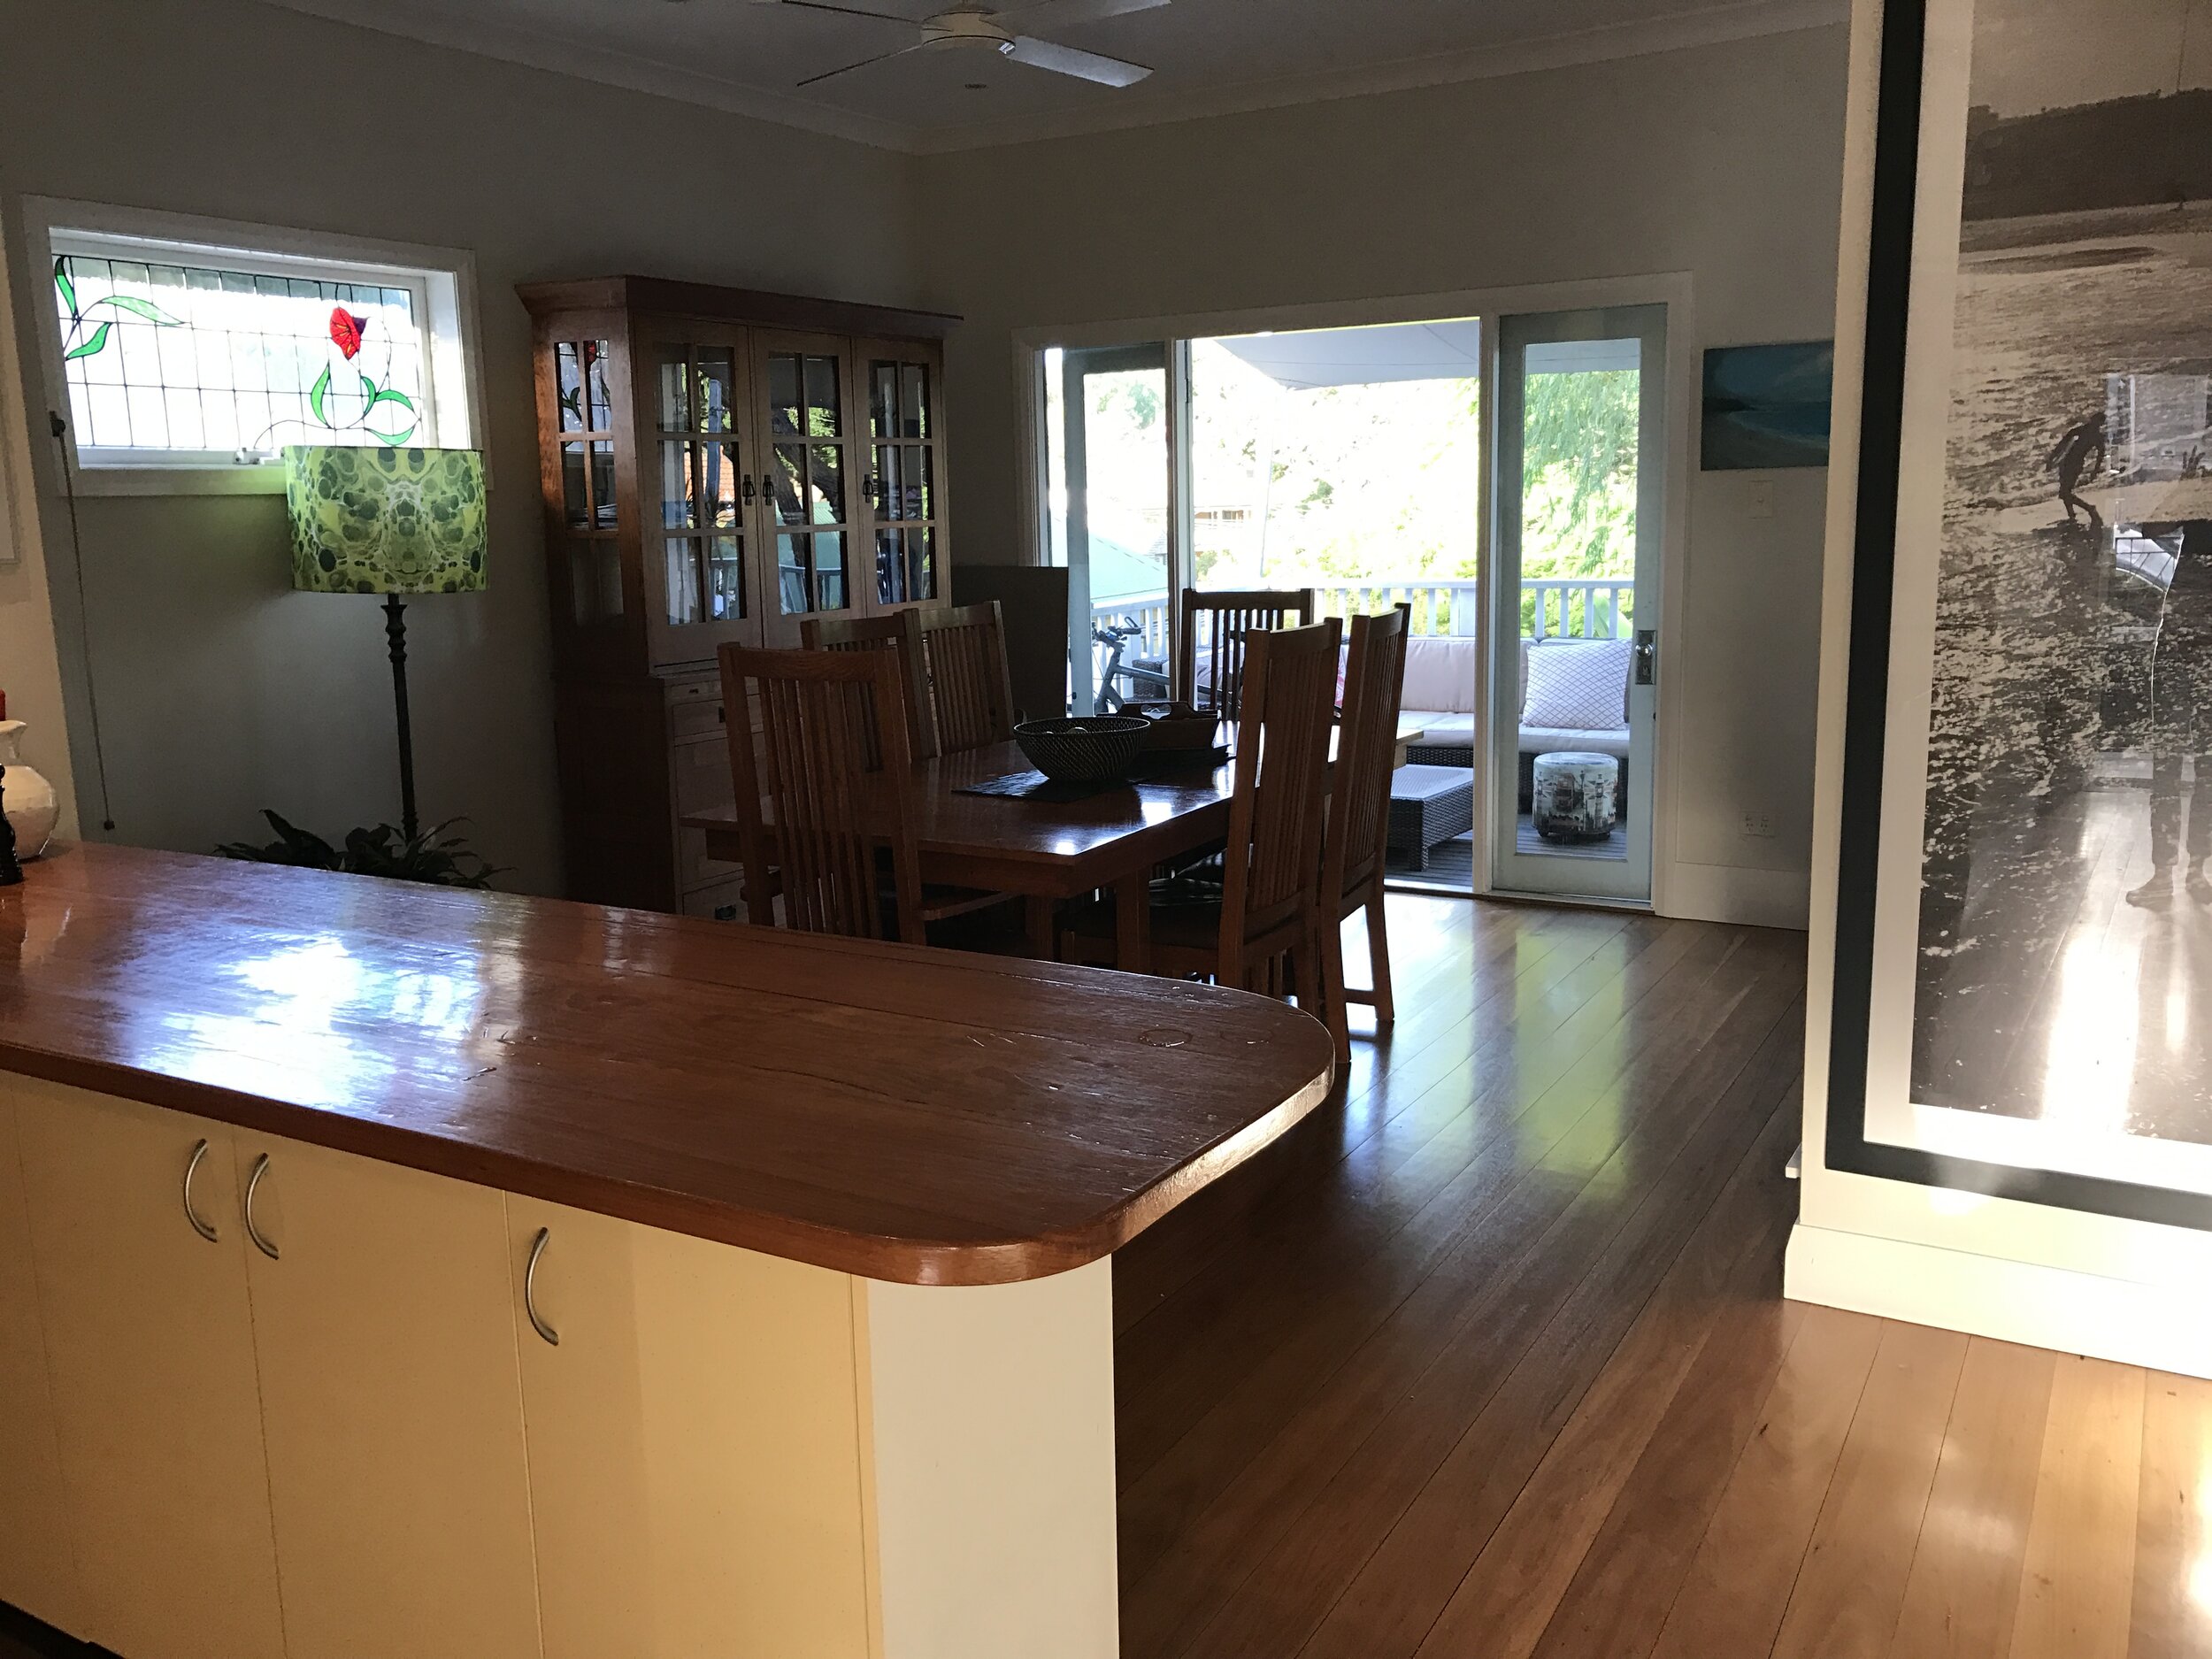
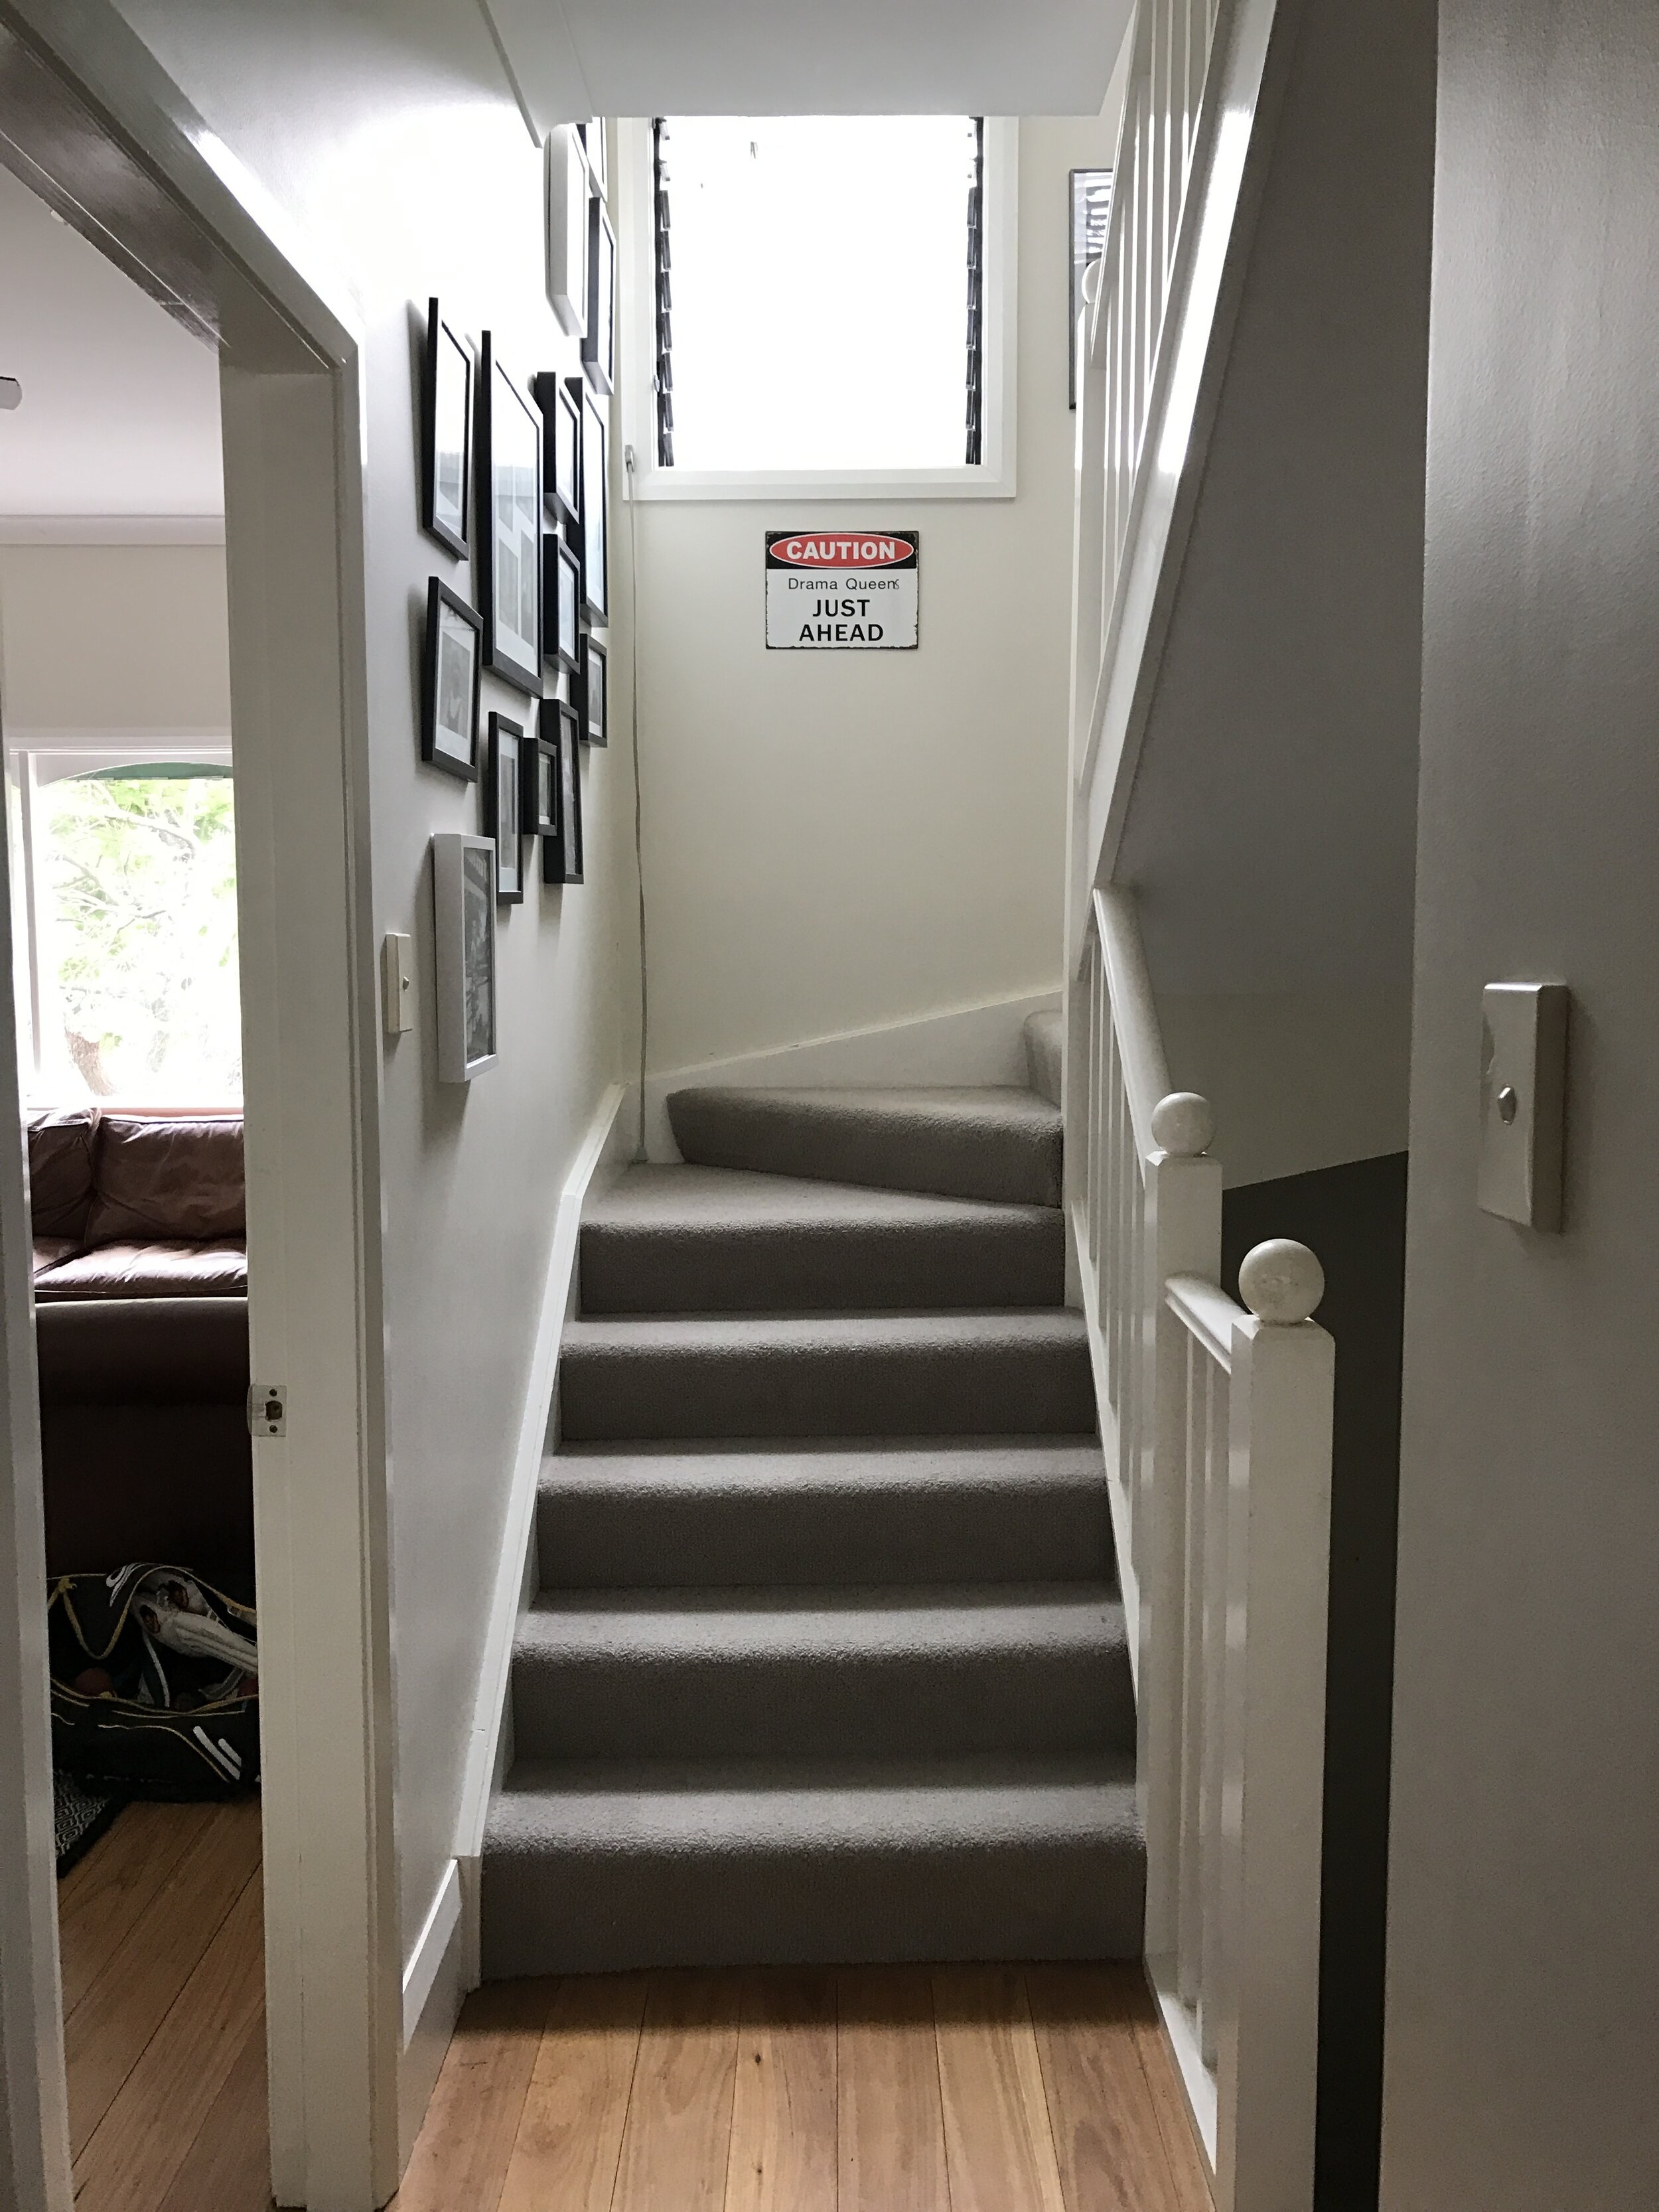
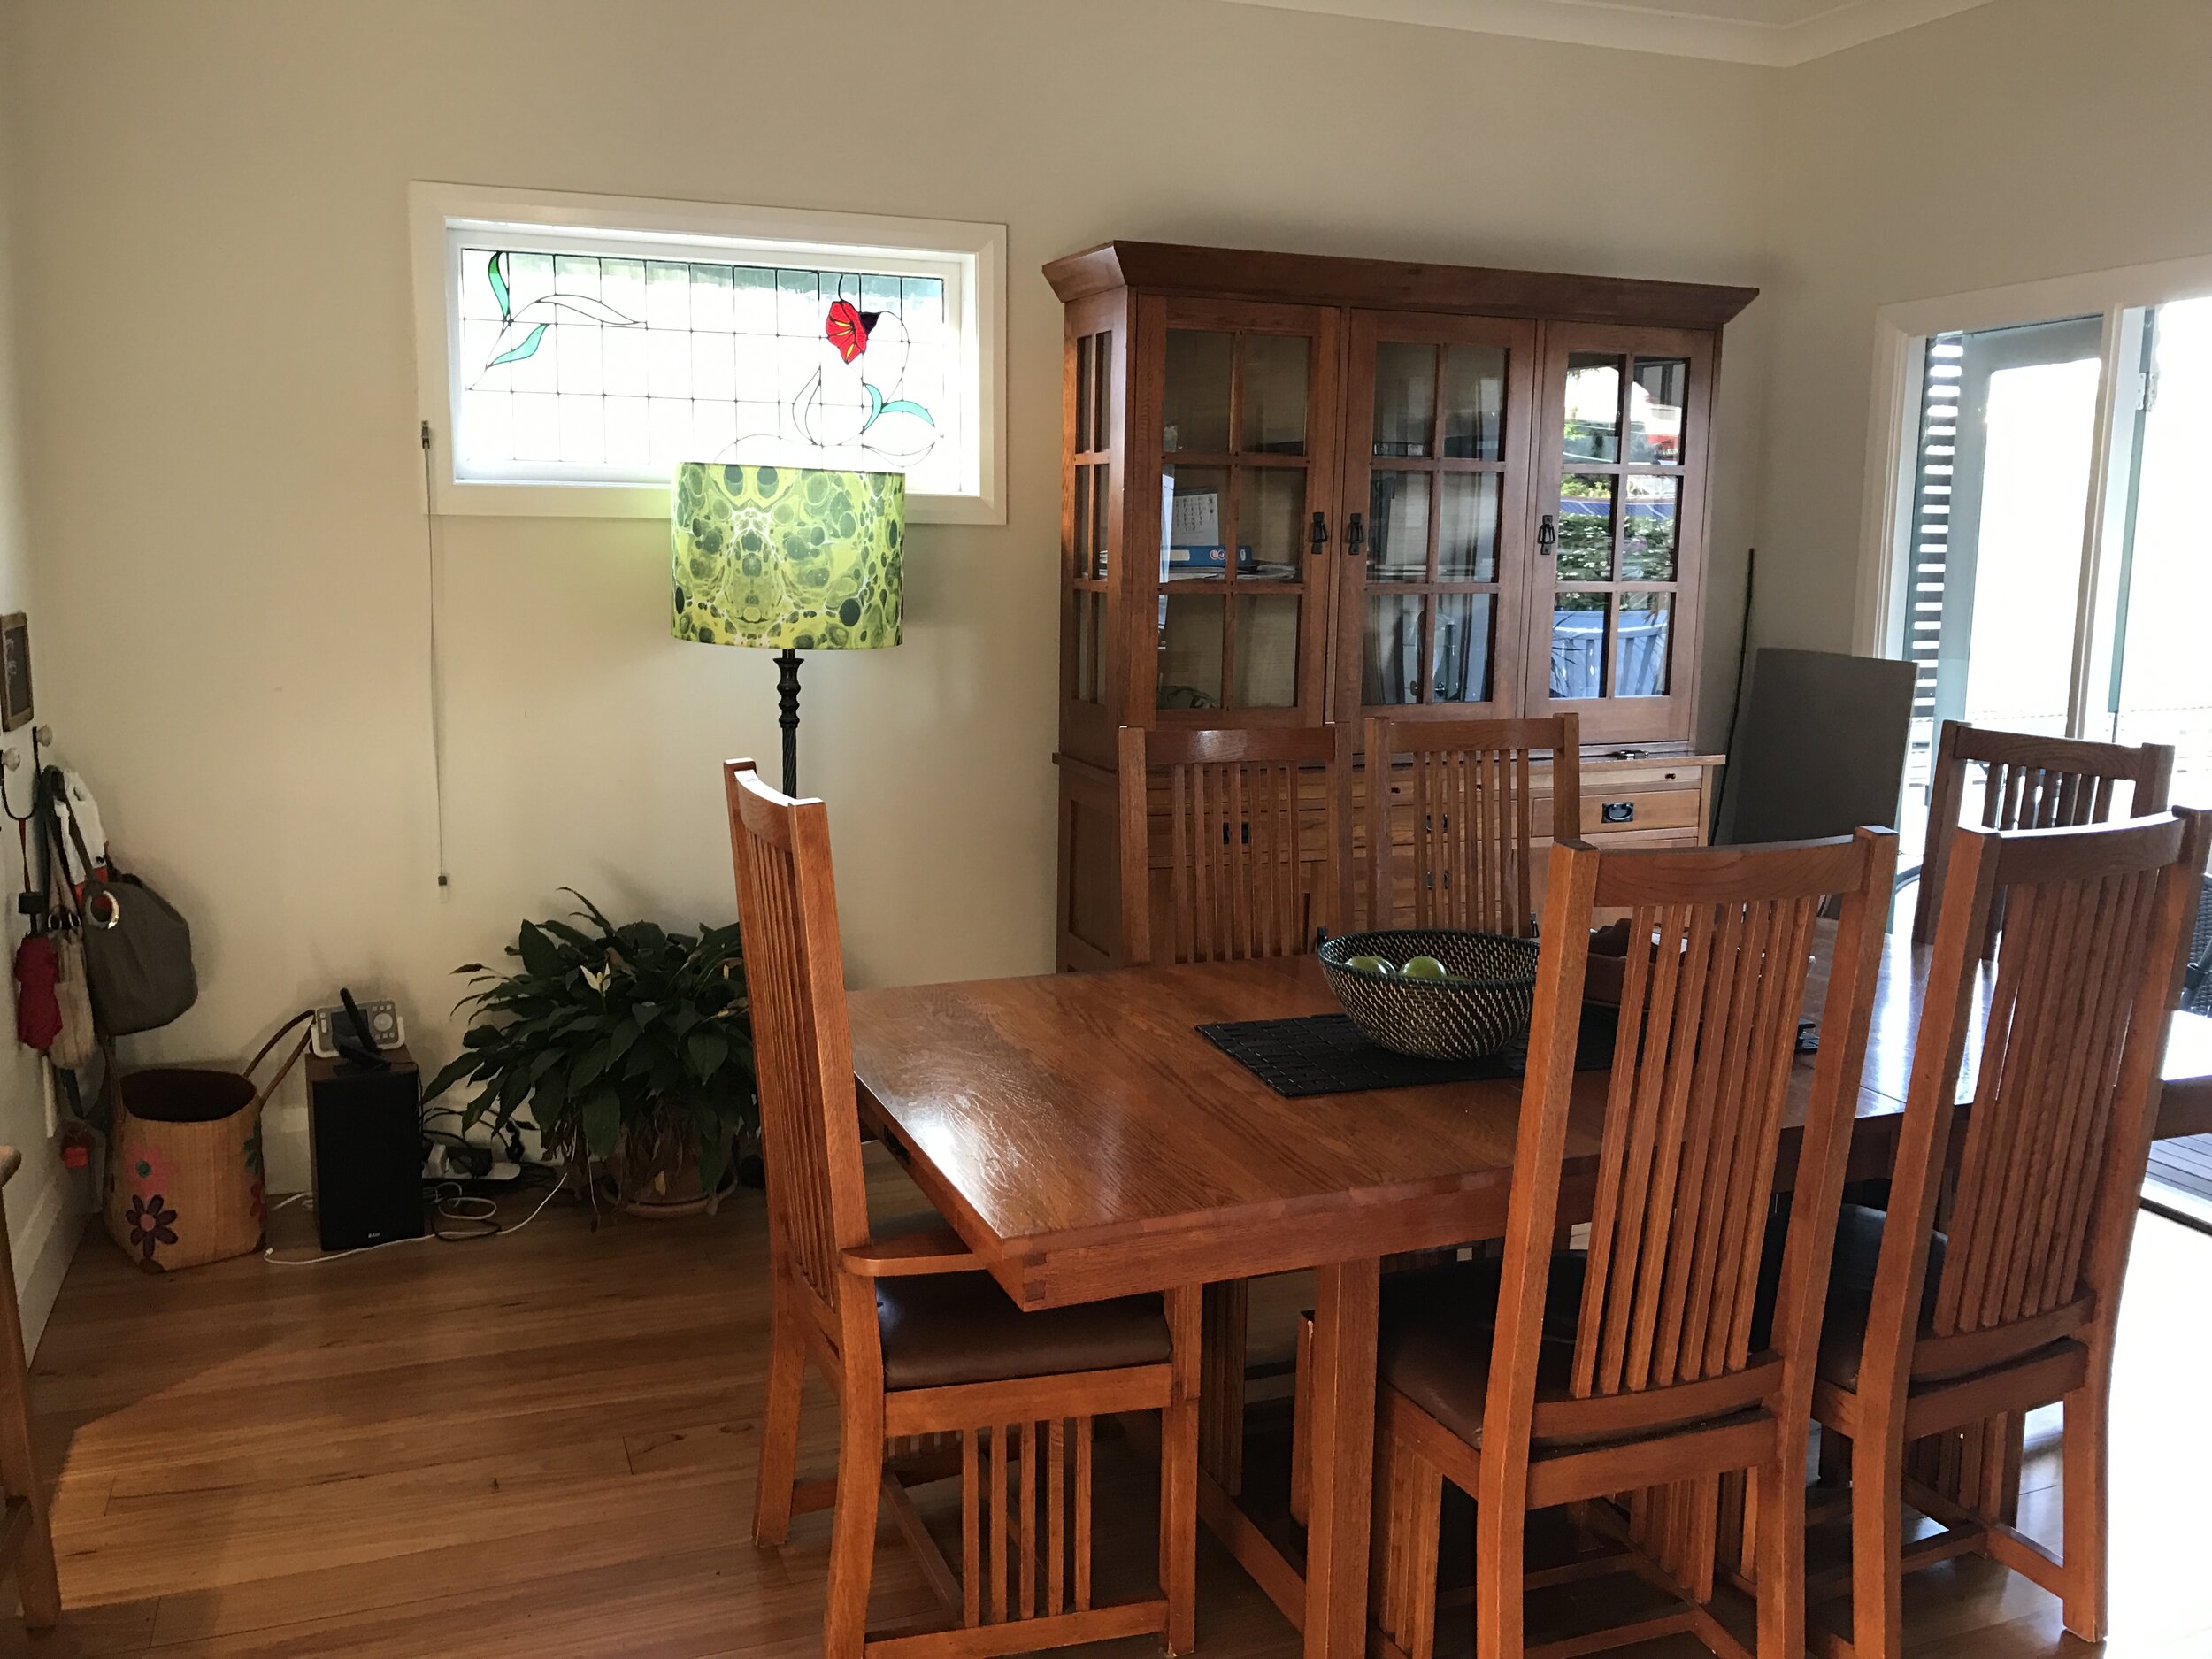
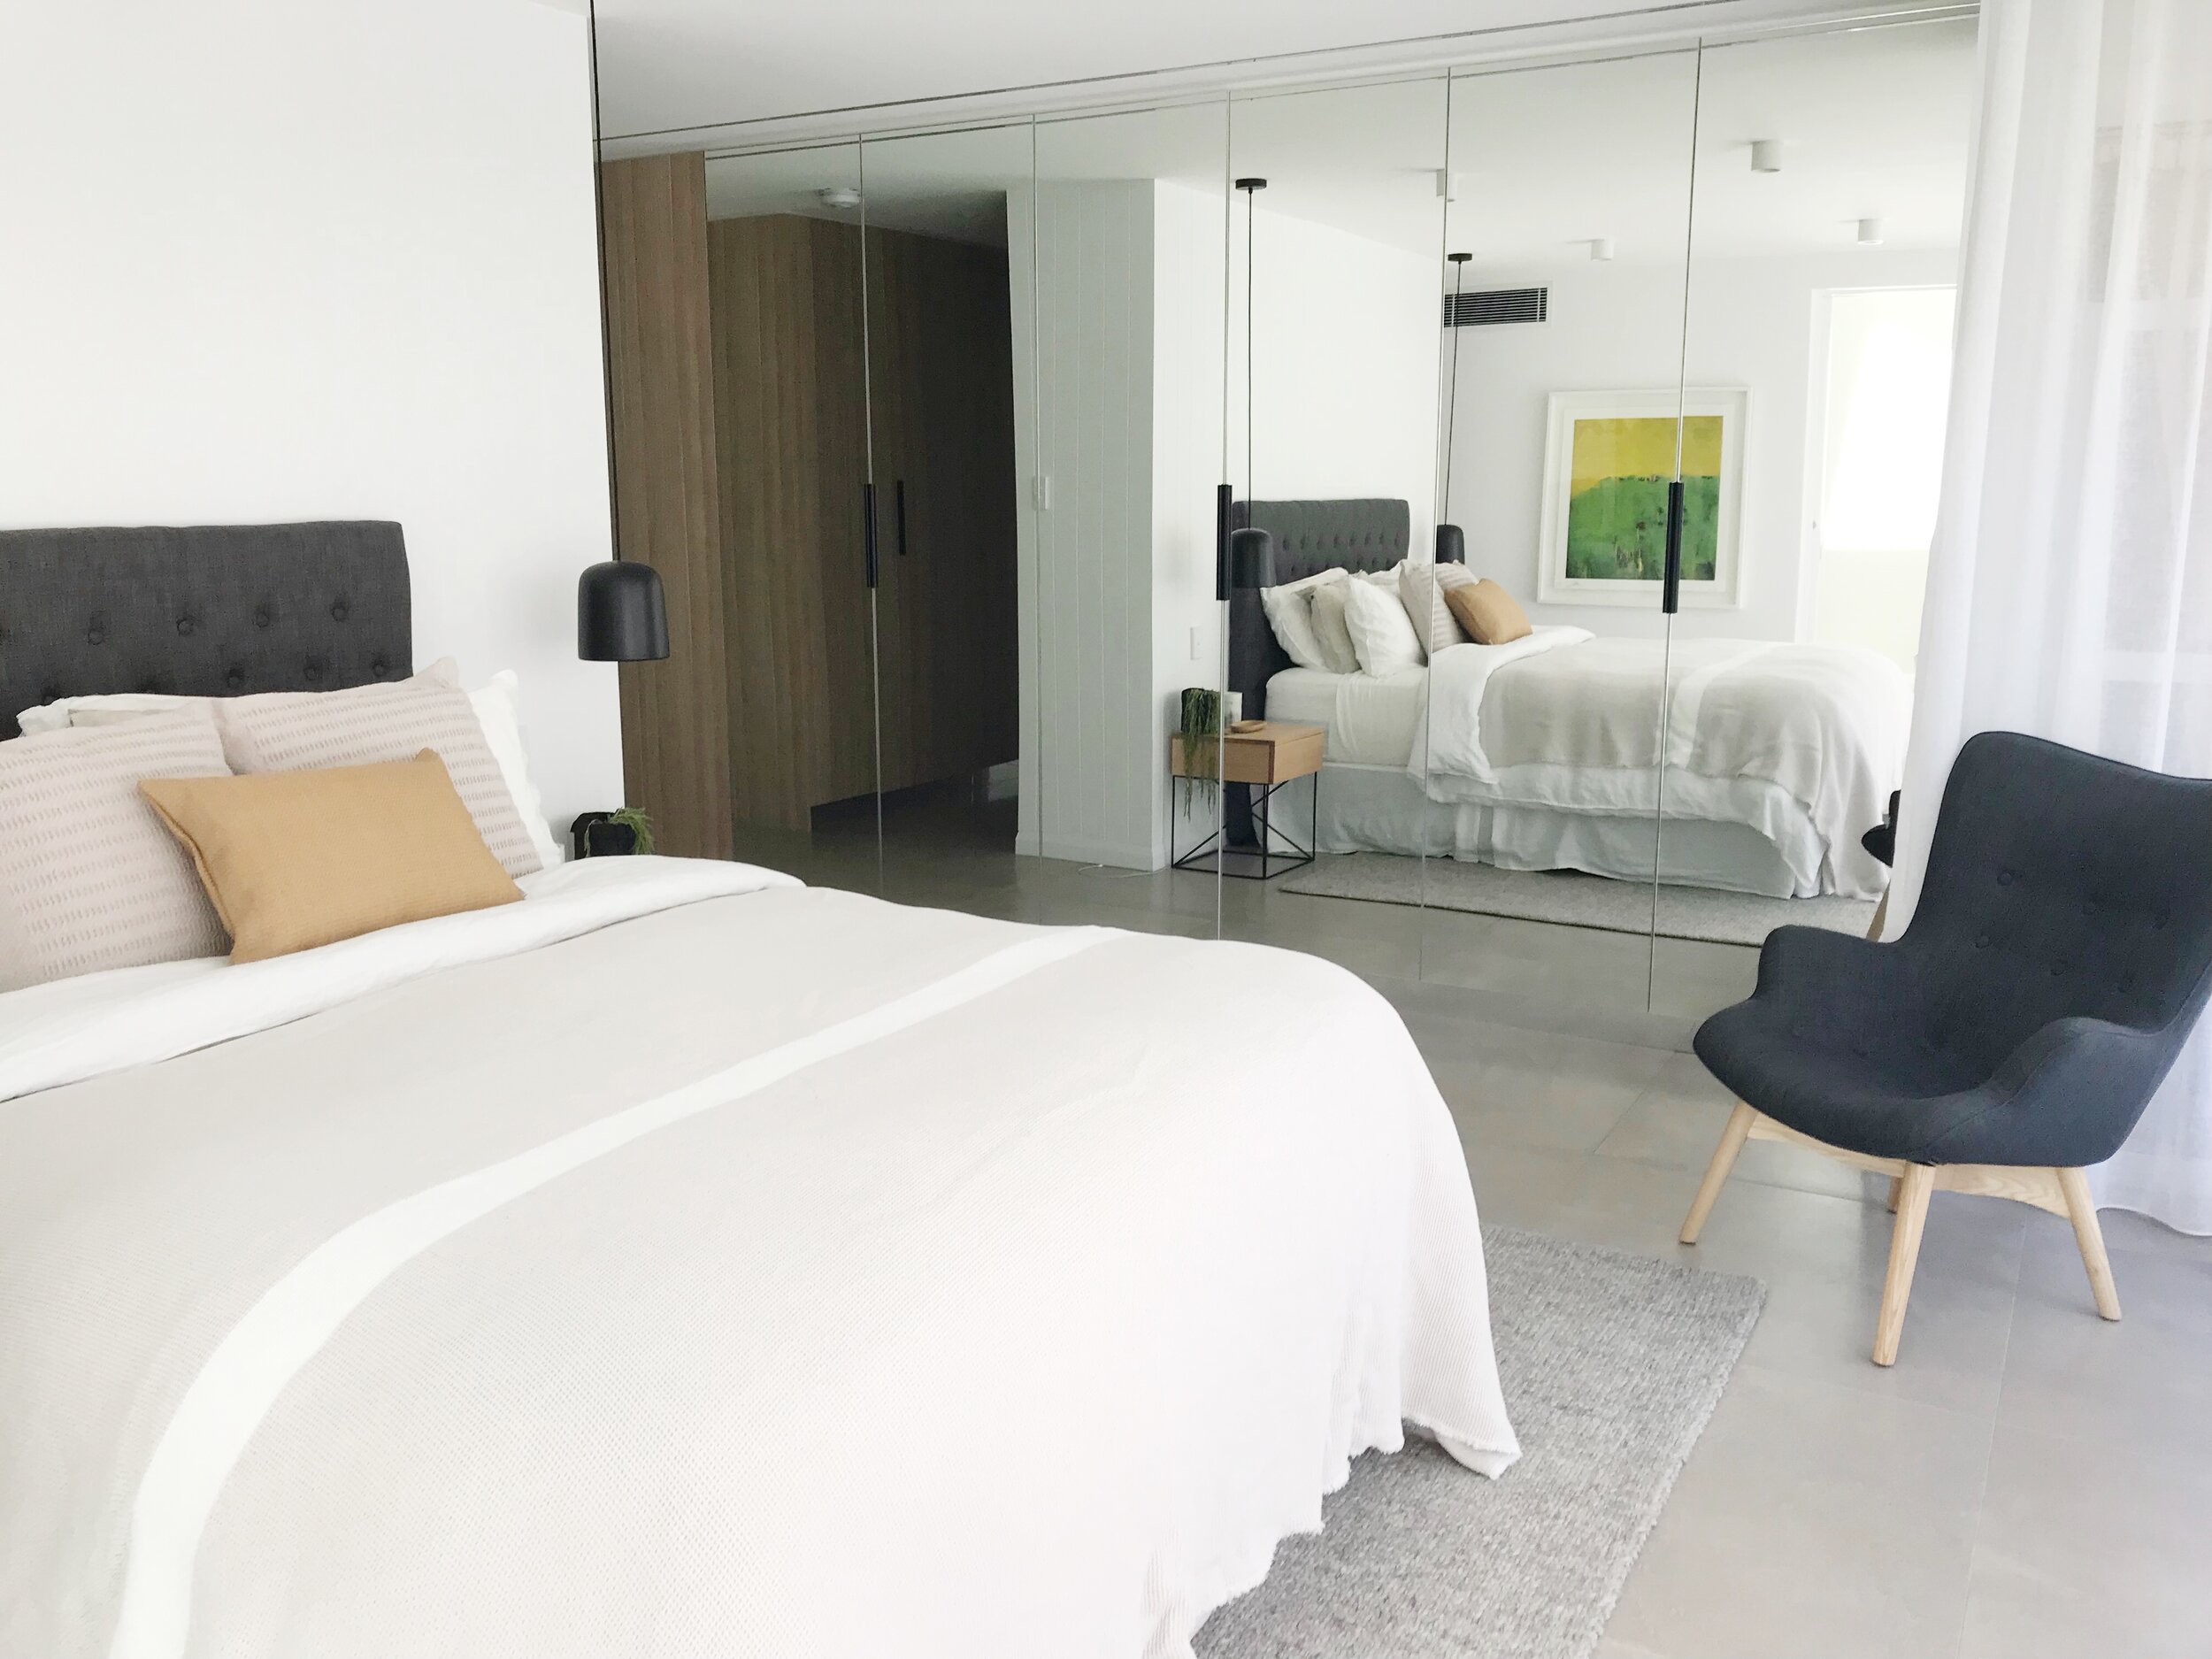
The house was a double-fronted free standing weatherboard cottage in Sydney’s inner west suburb of Rozelle. Built over 3 levels, the home was quite outdated and in need of a floor plan update. On the ground floor and level one the structural elements of the home remained intact and each area was given a cosmetic upgrade (e.g. new bathrooms, new kitchen, painting, floor sanding etc. - but all within the same structural walls). But on the lower level there were lots of changes. The floor was dug out (to create higher ceilings) and many of the structural walls were removed to create a large master bedroom, ensuite, walk in wardrobe and small kitchenette. This new master suite area flowed out on to the courtyard, which was also given a makeover.
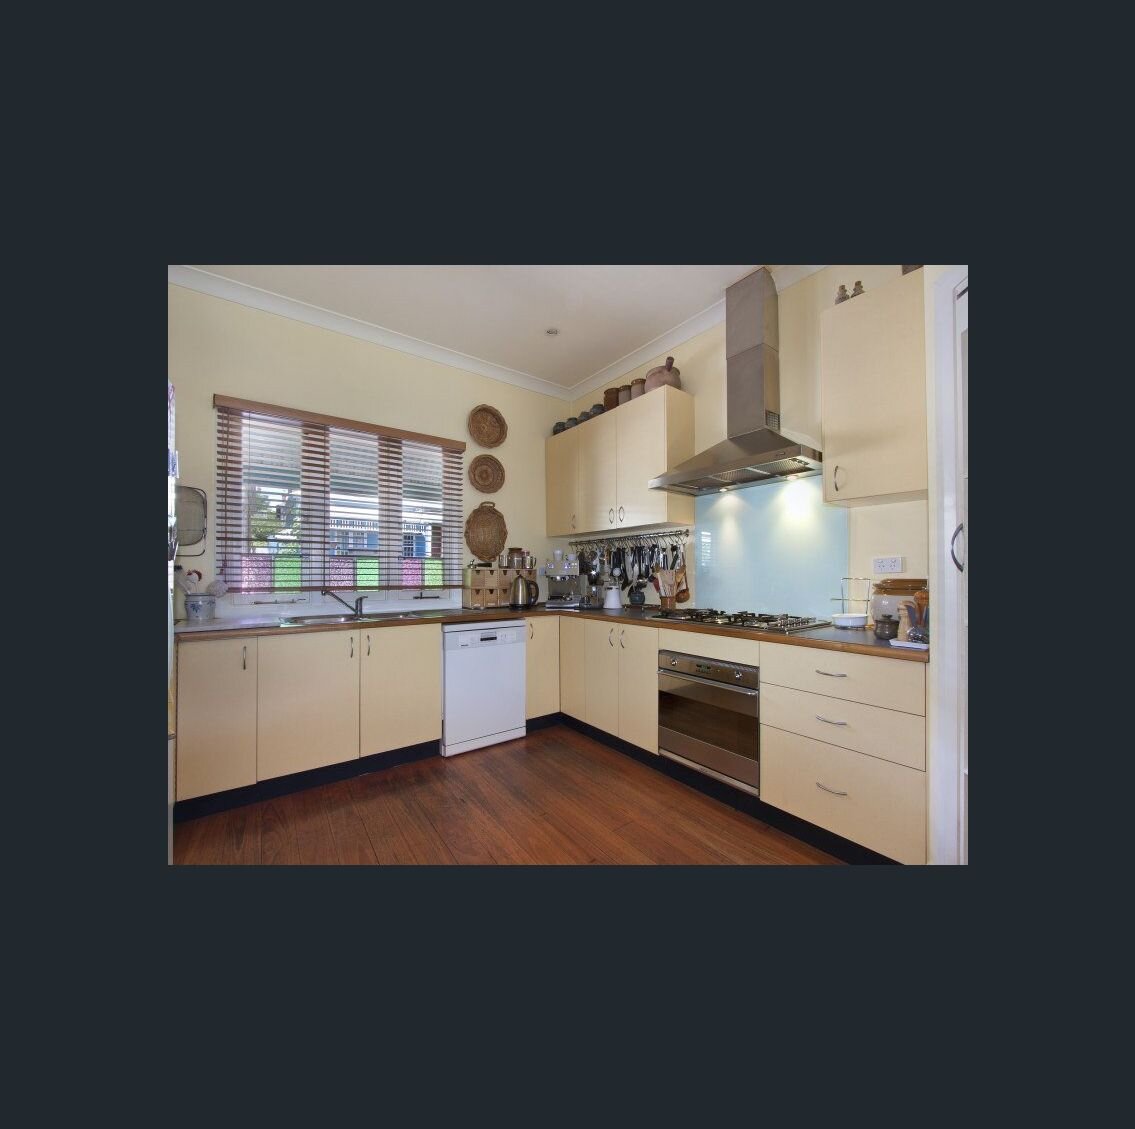
Here you can see a number of the before photos of the project. As you can see it was quite dark and very outdated!
The kitchen design
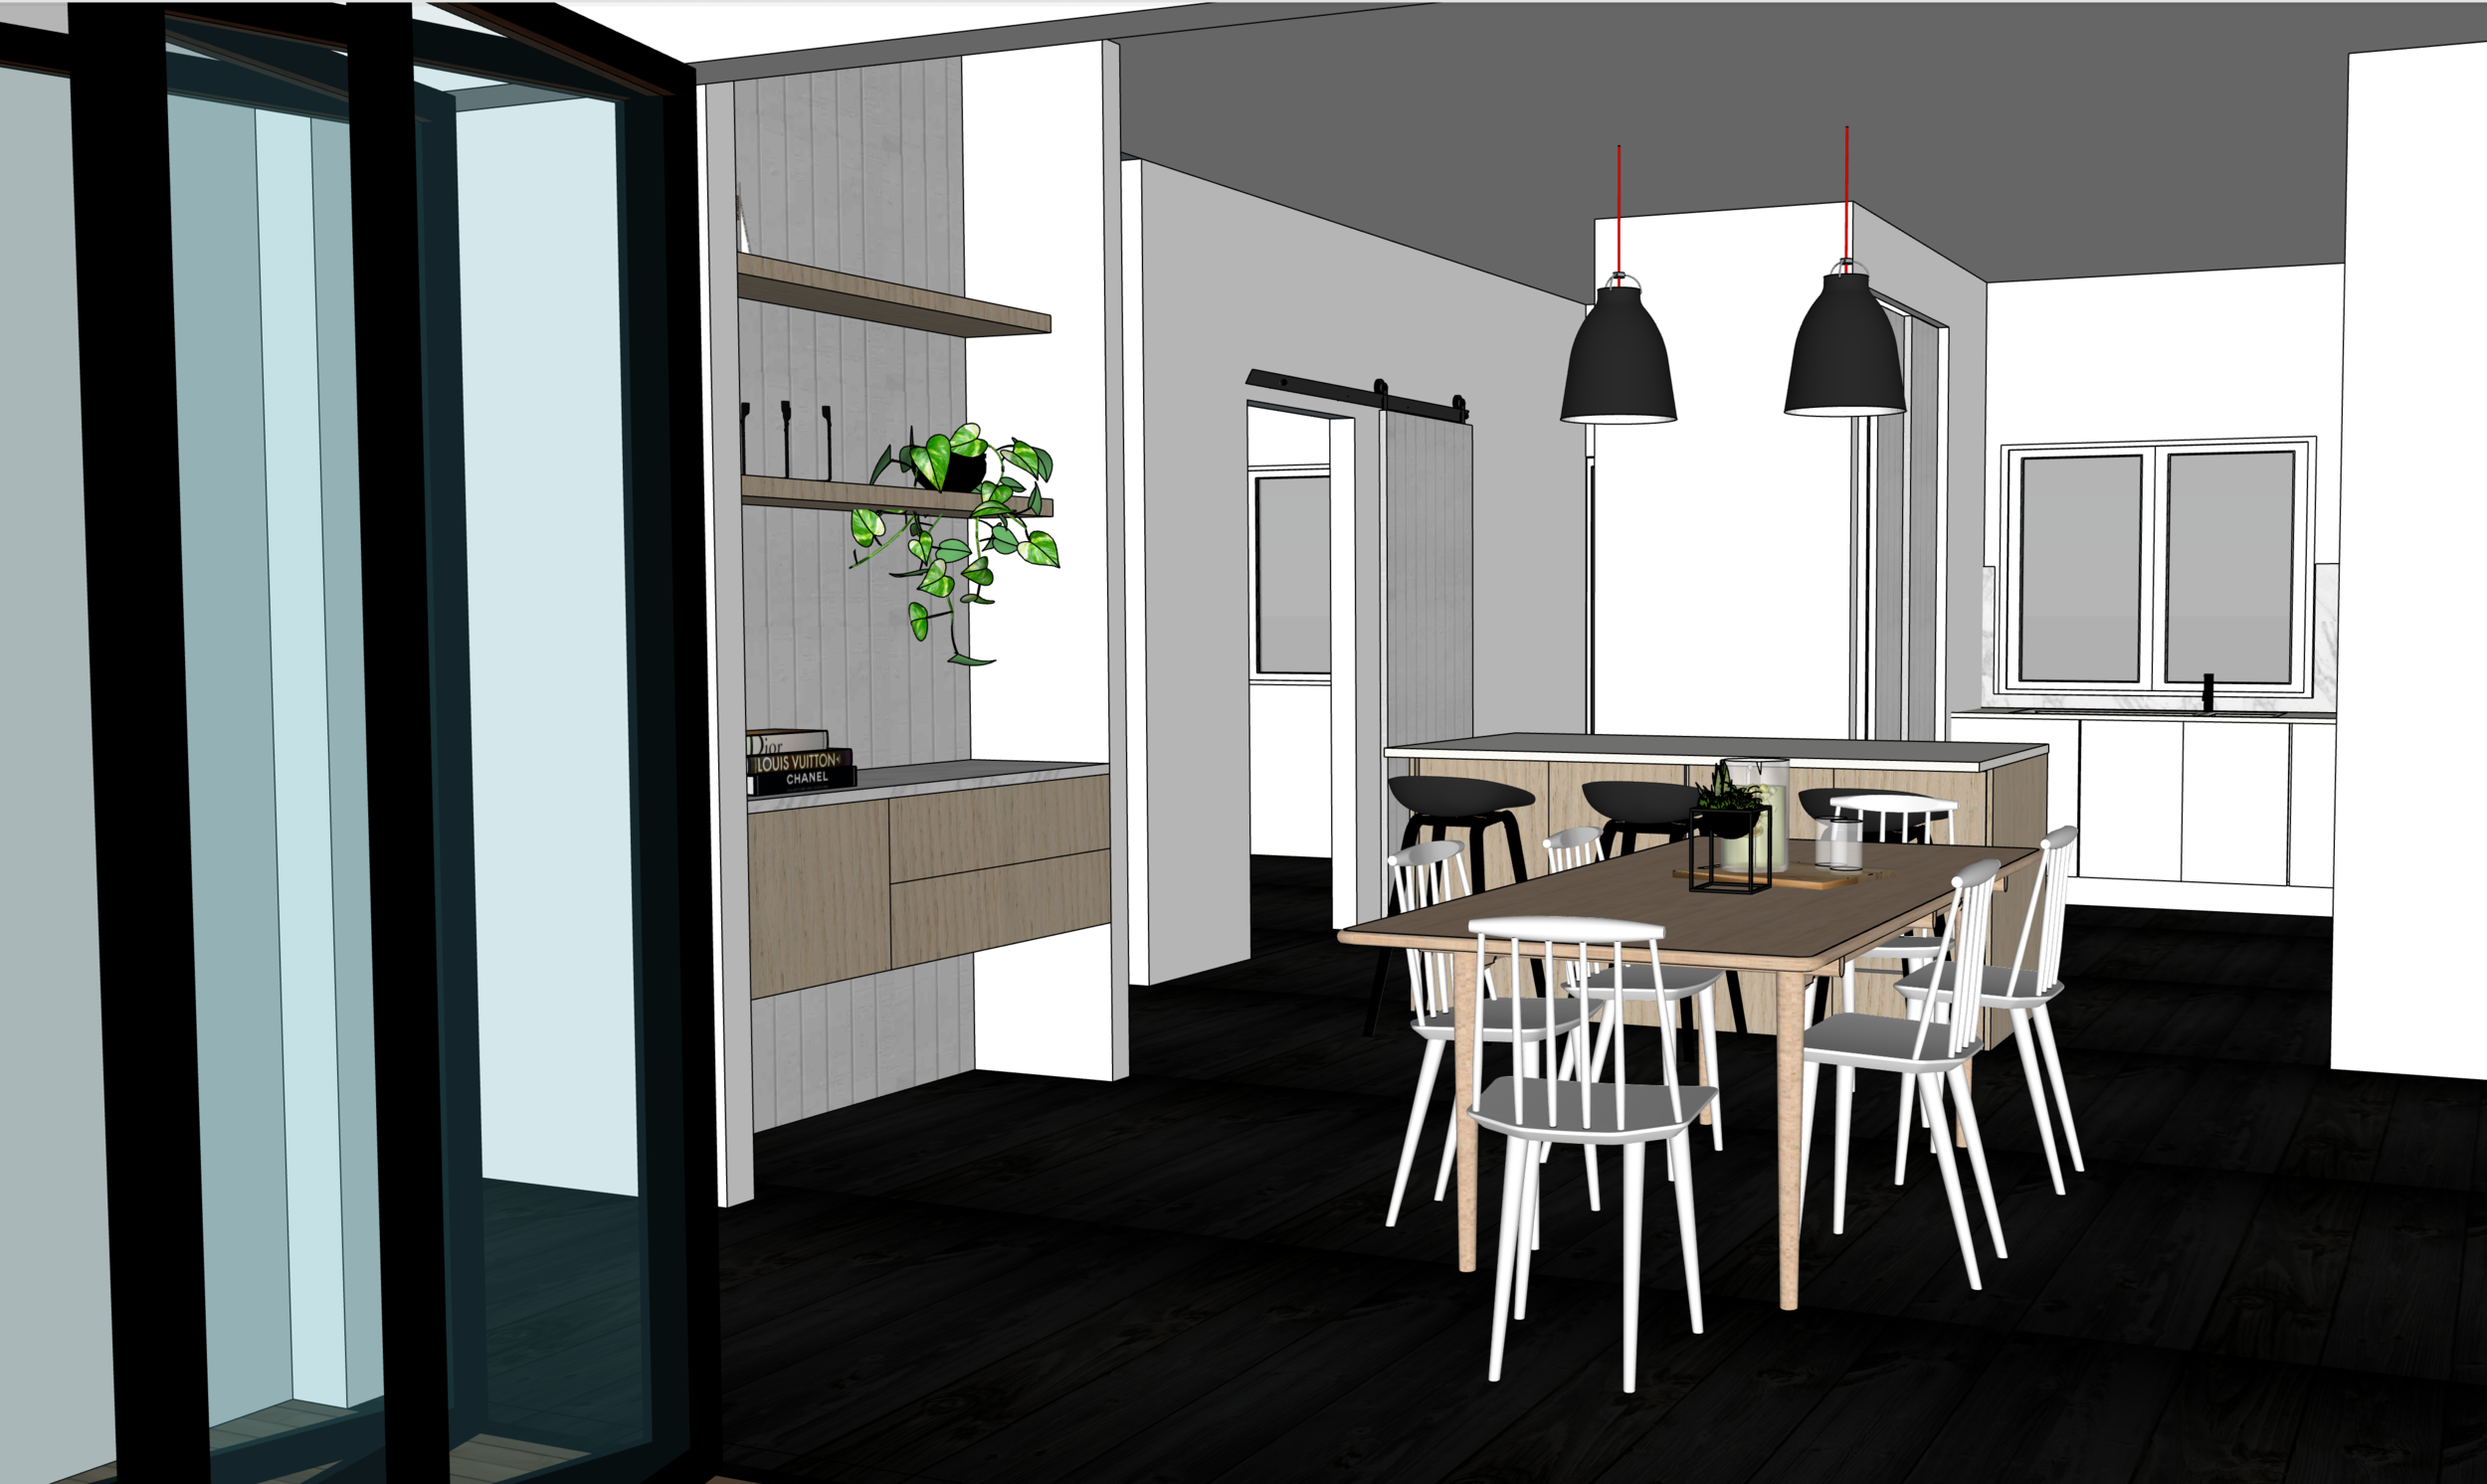
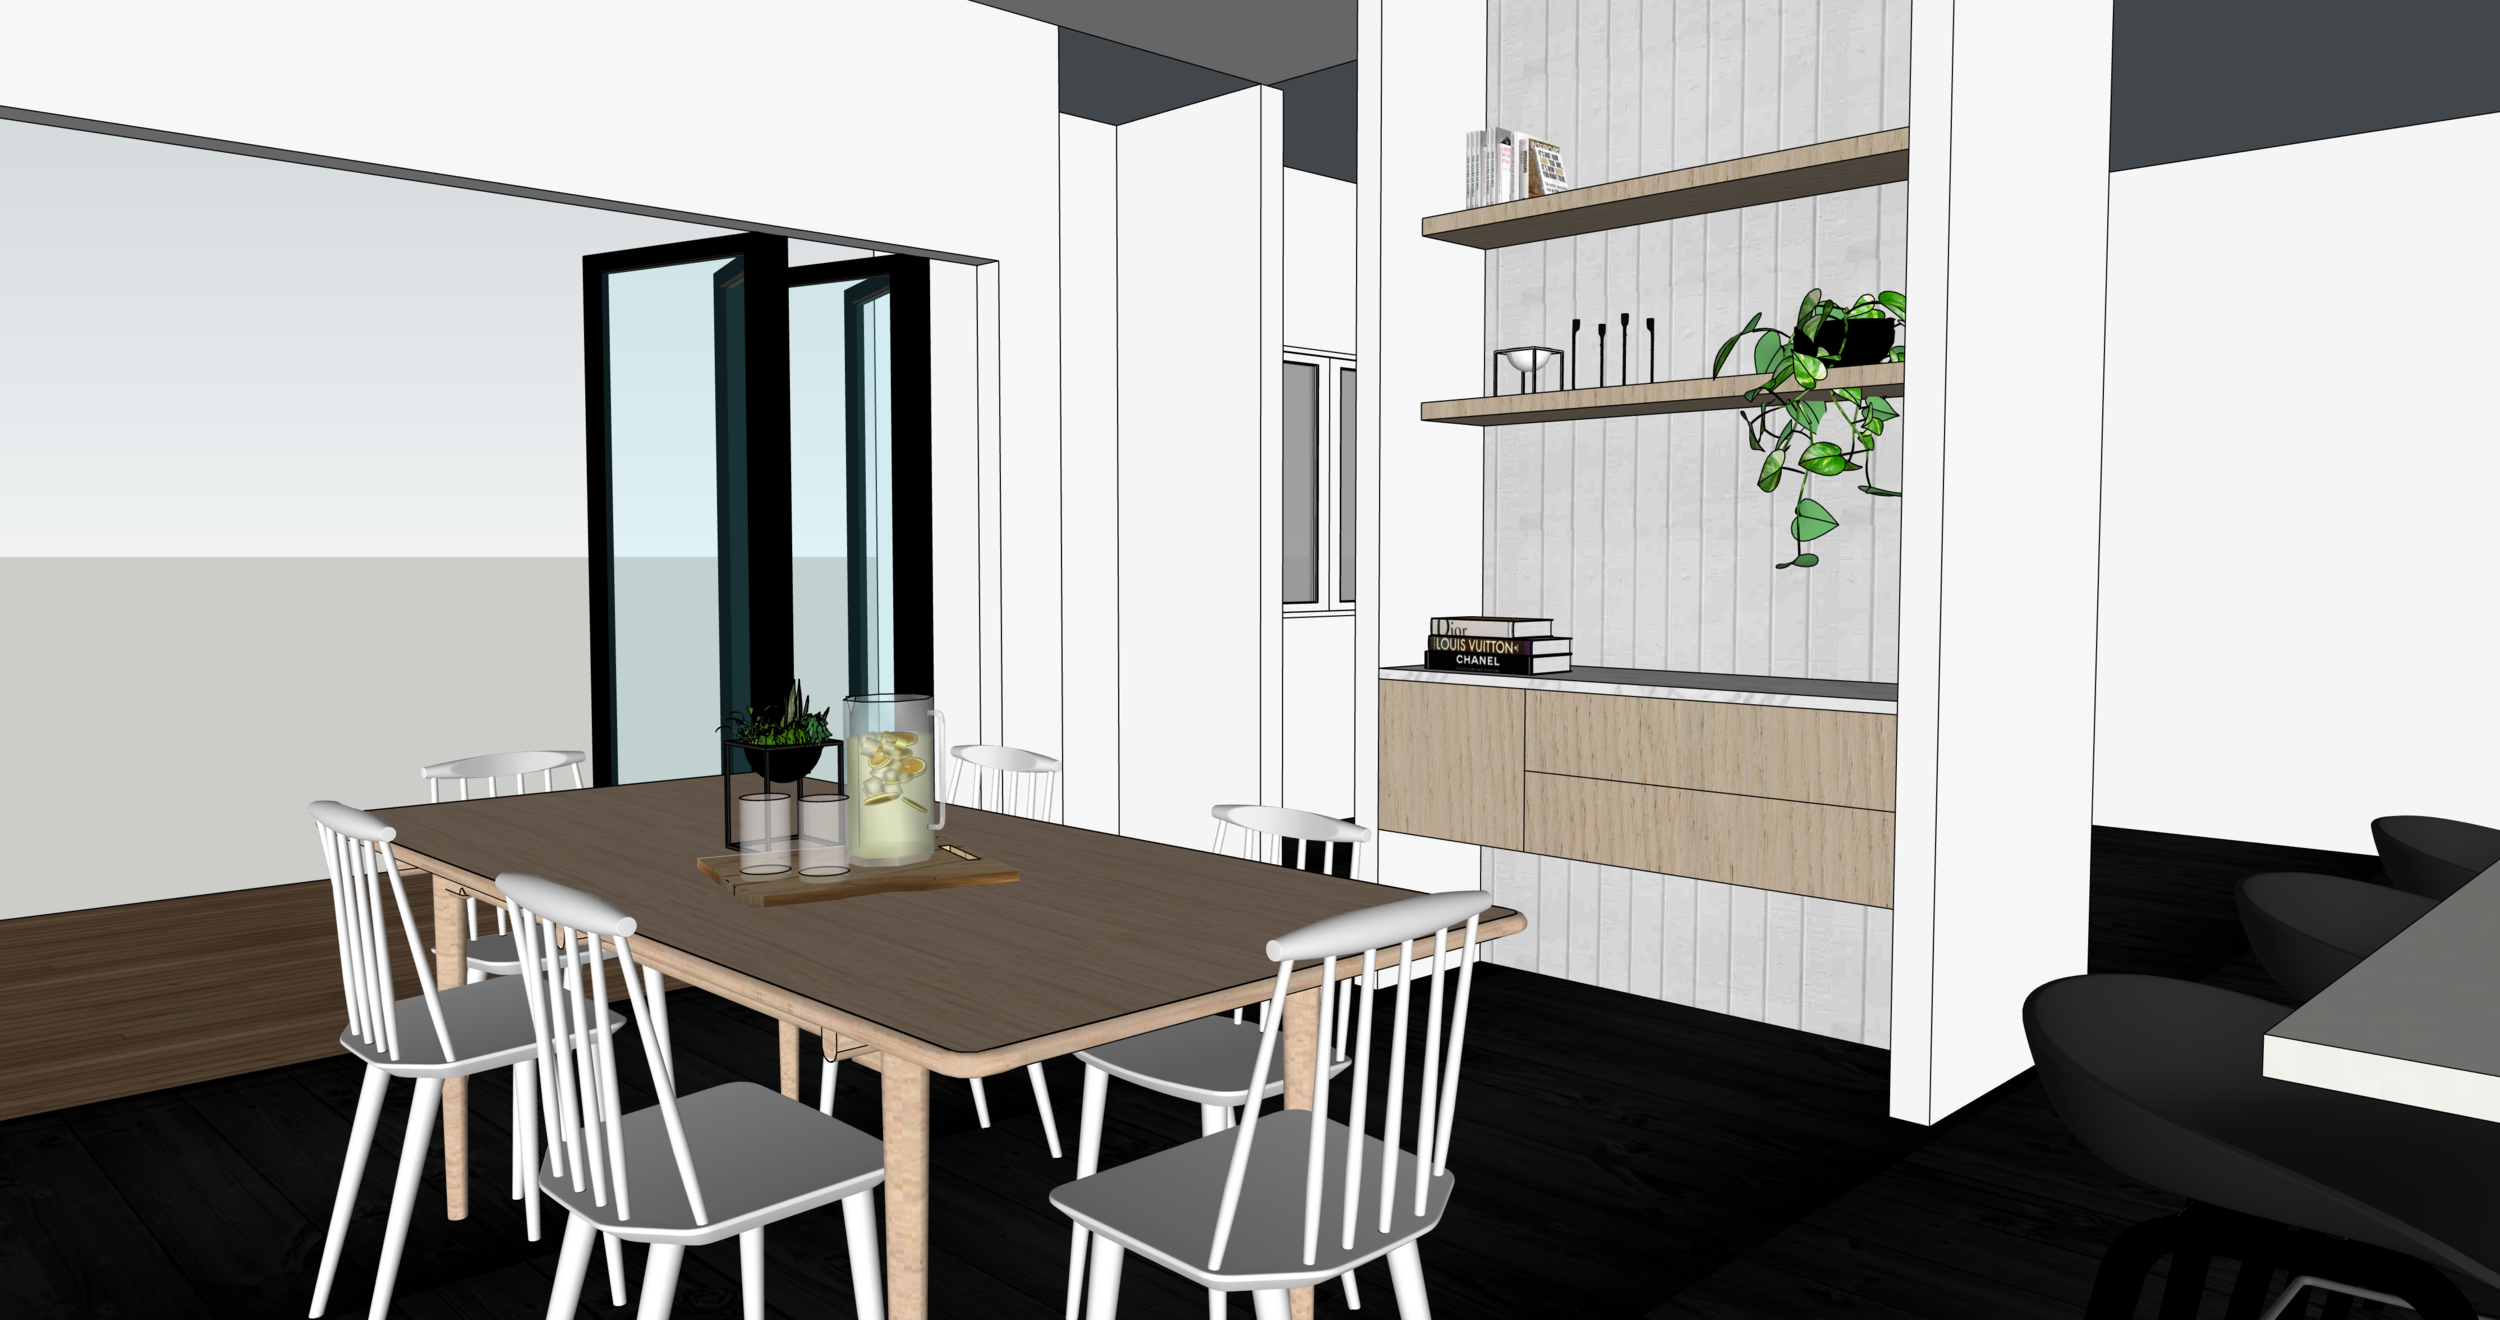
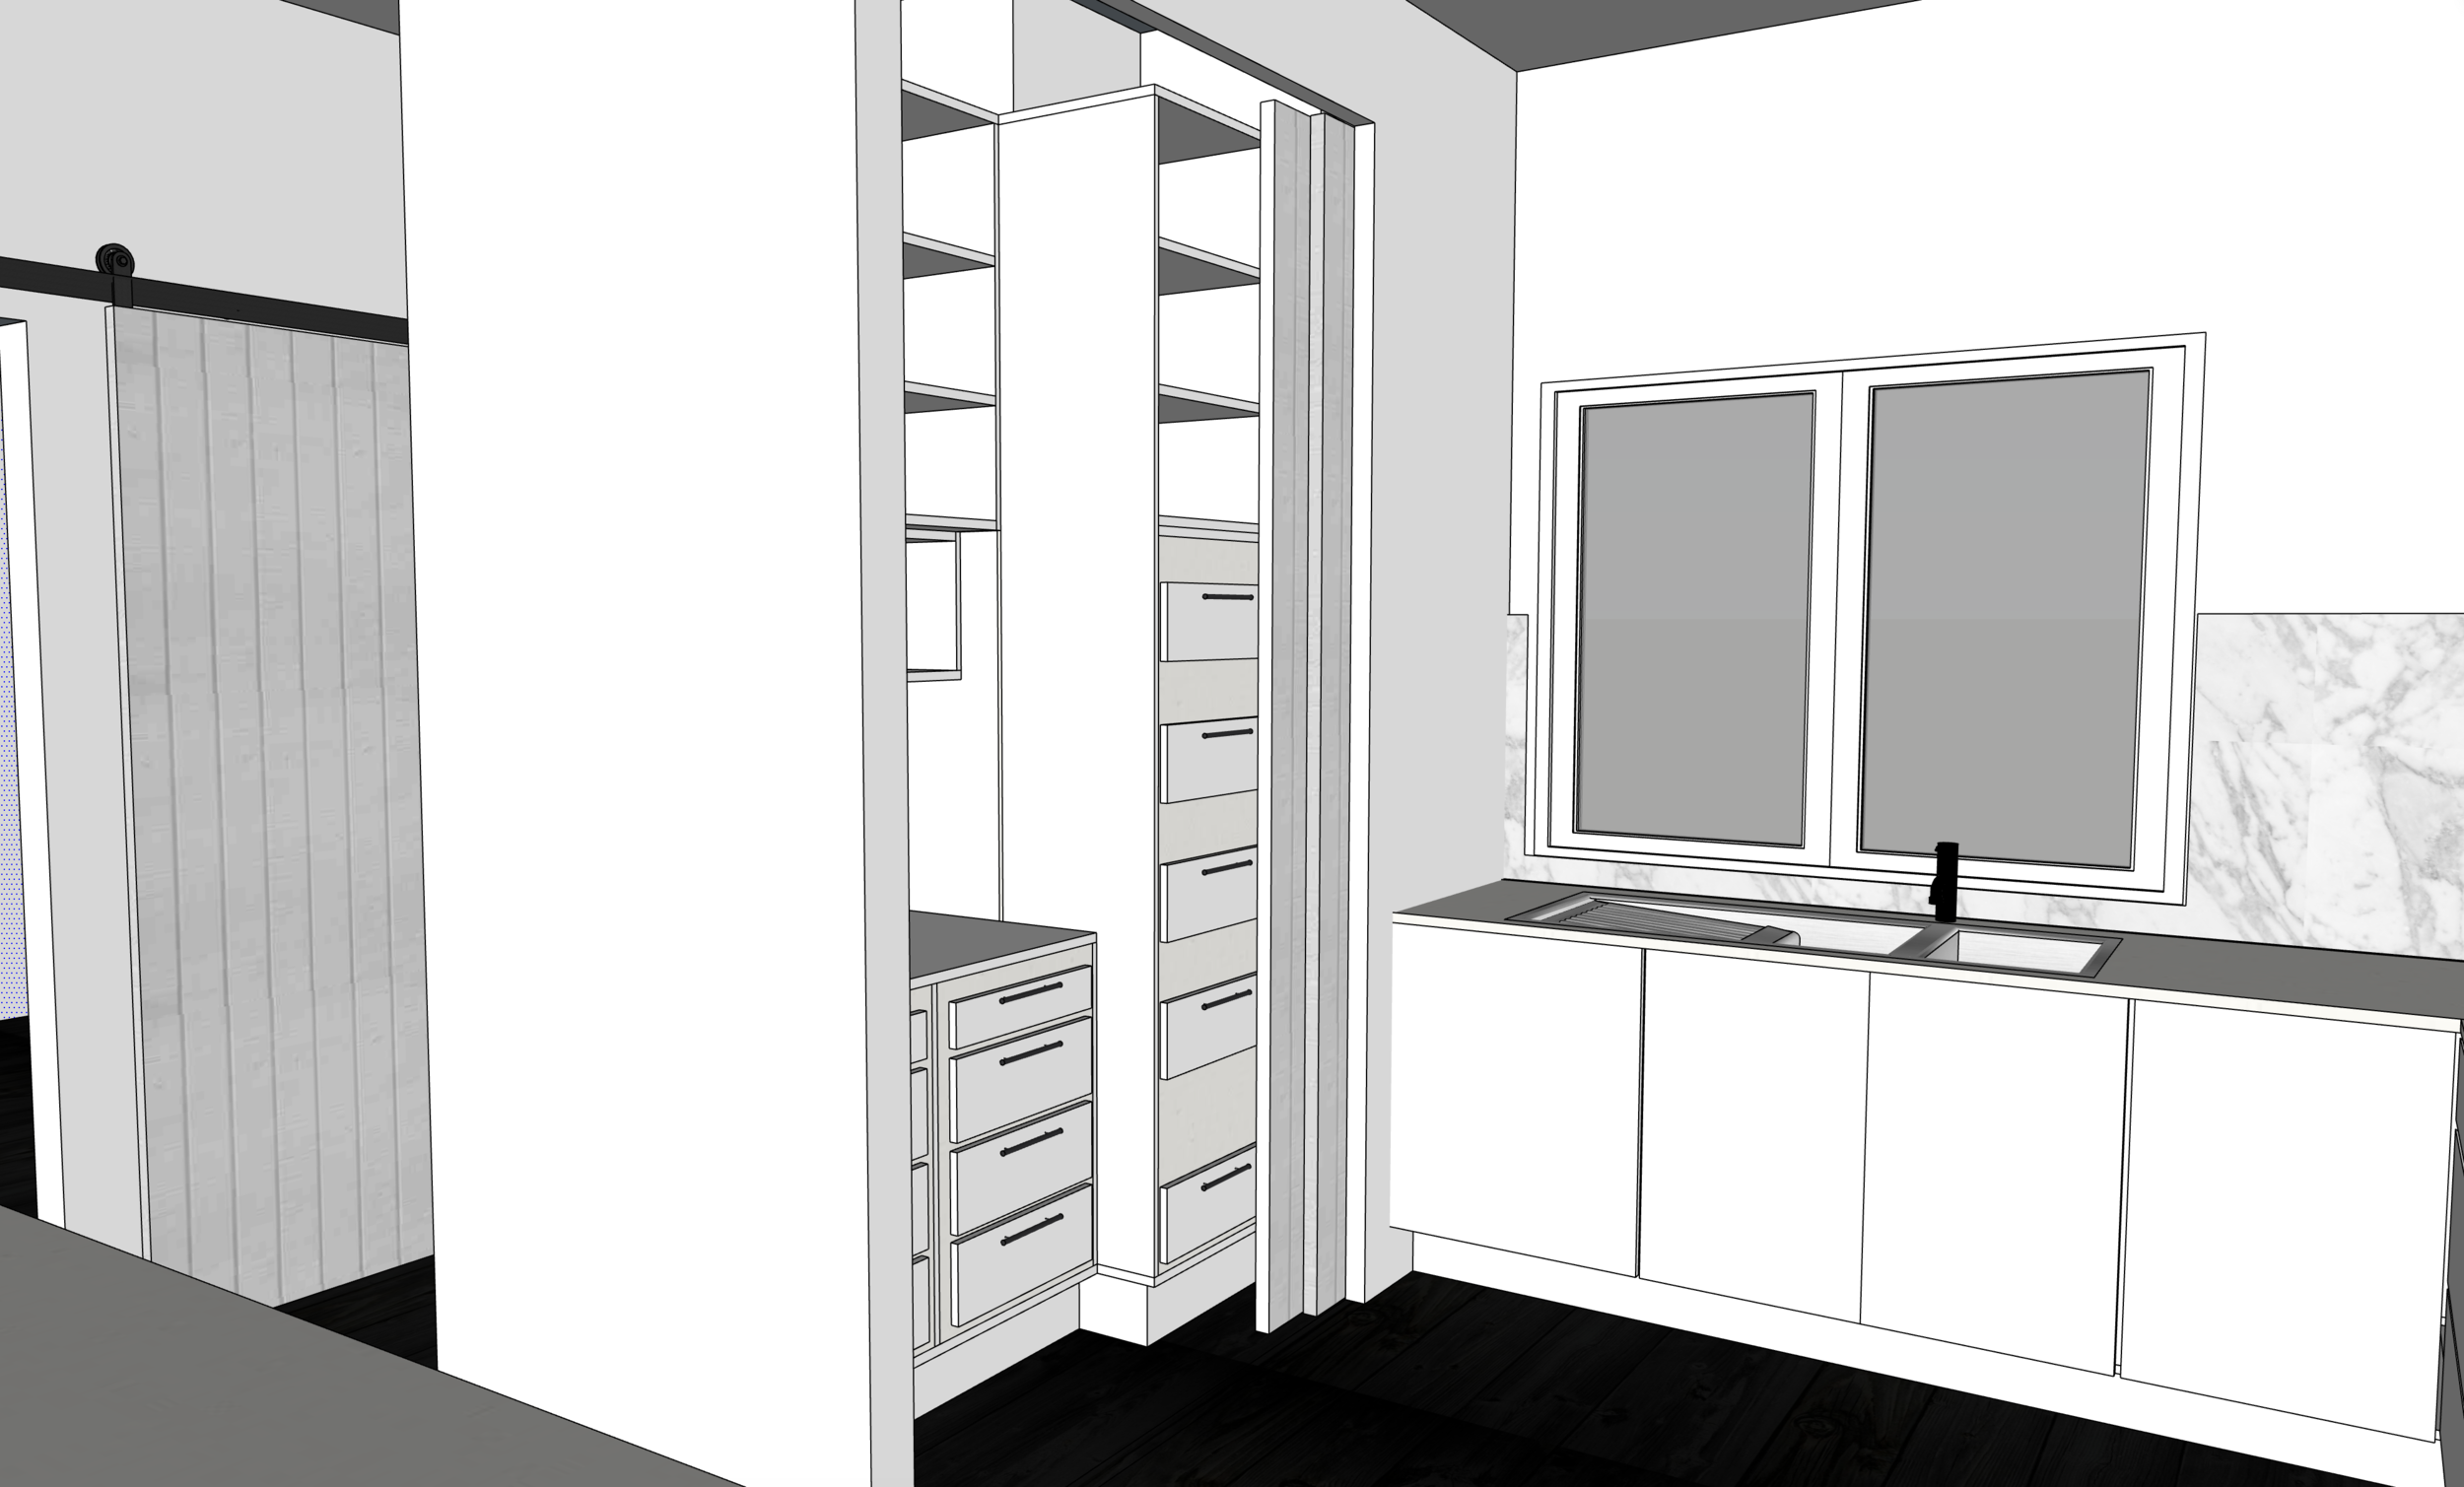
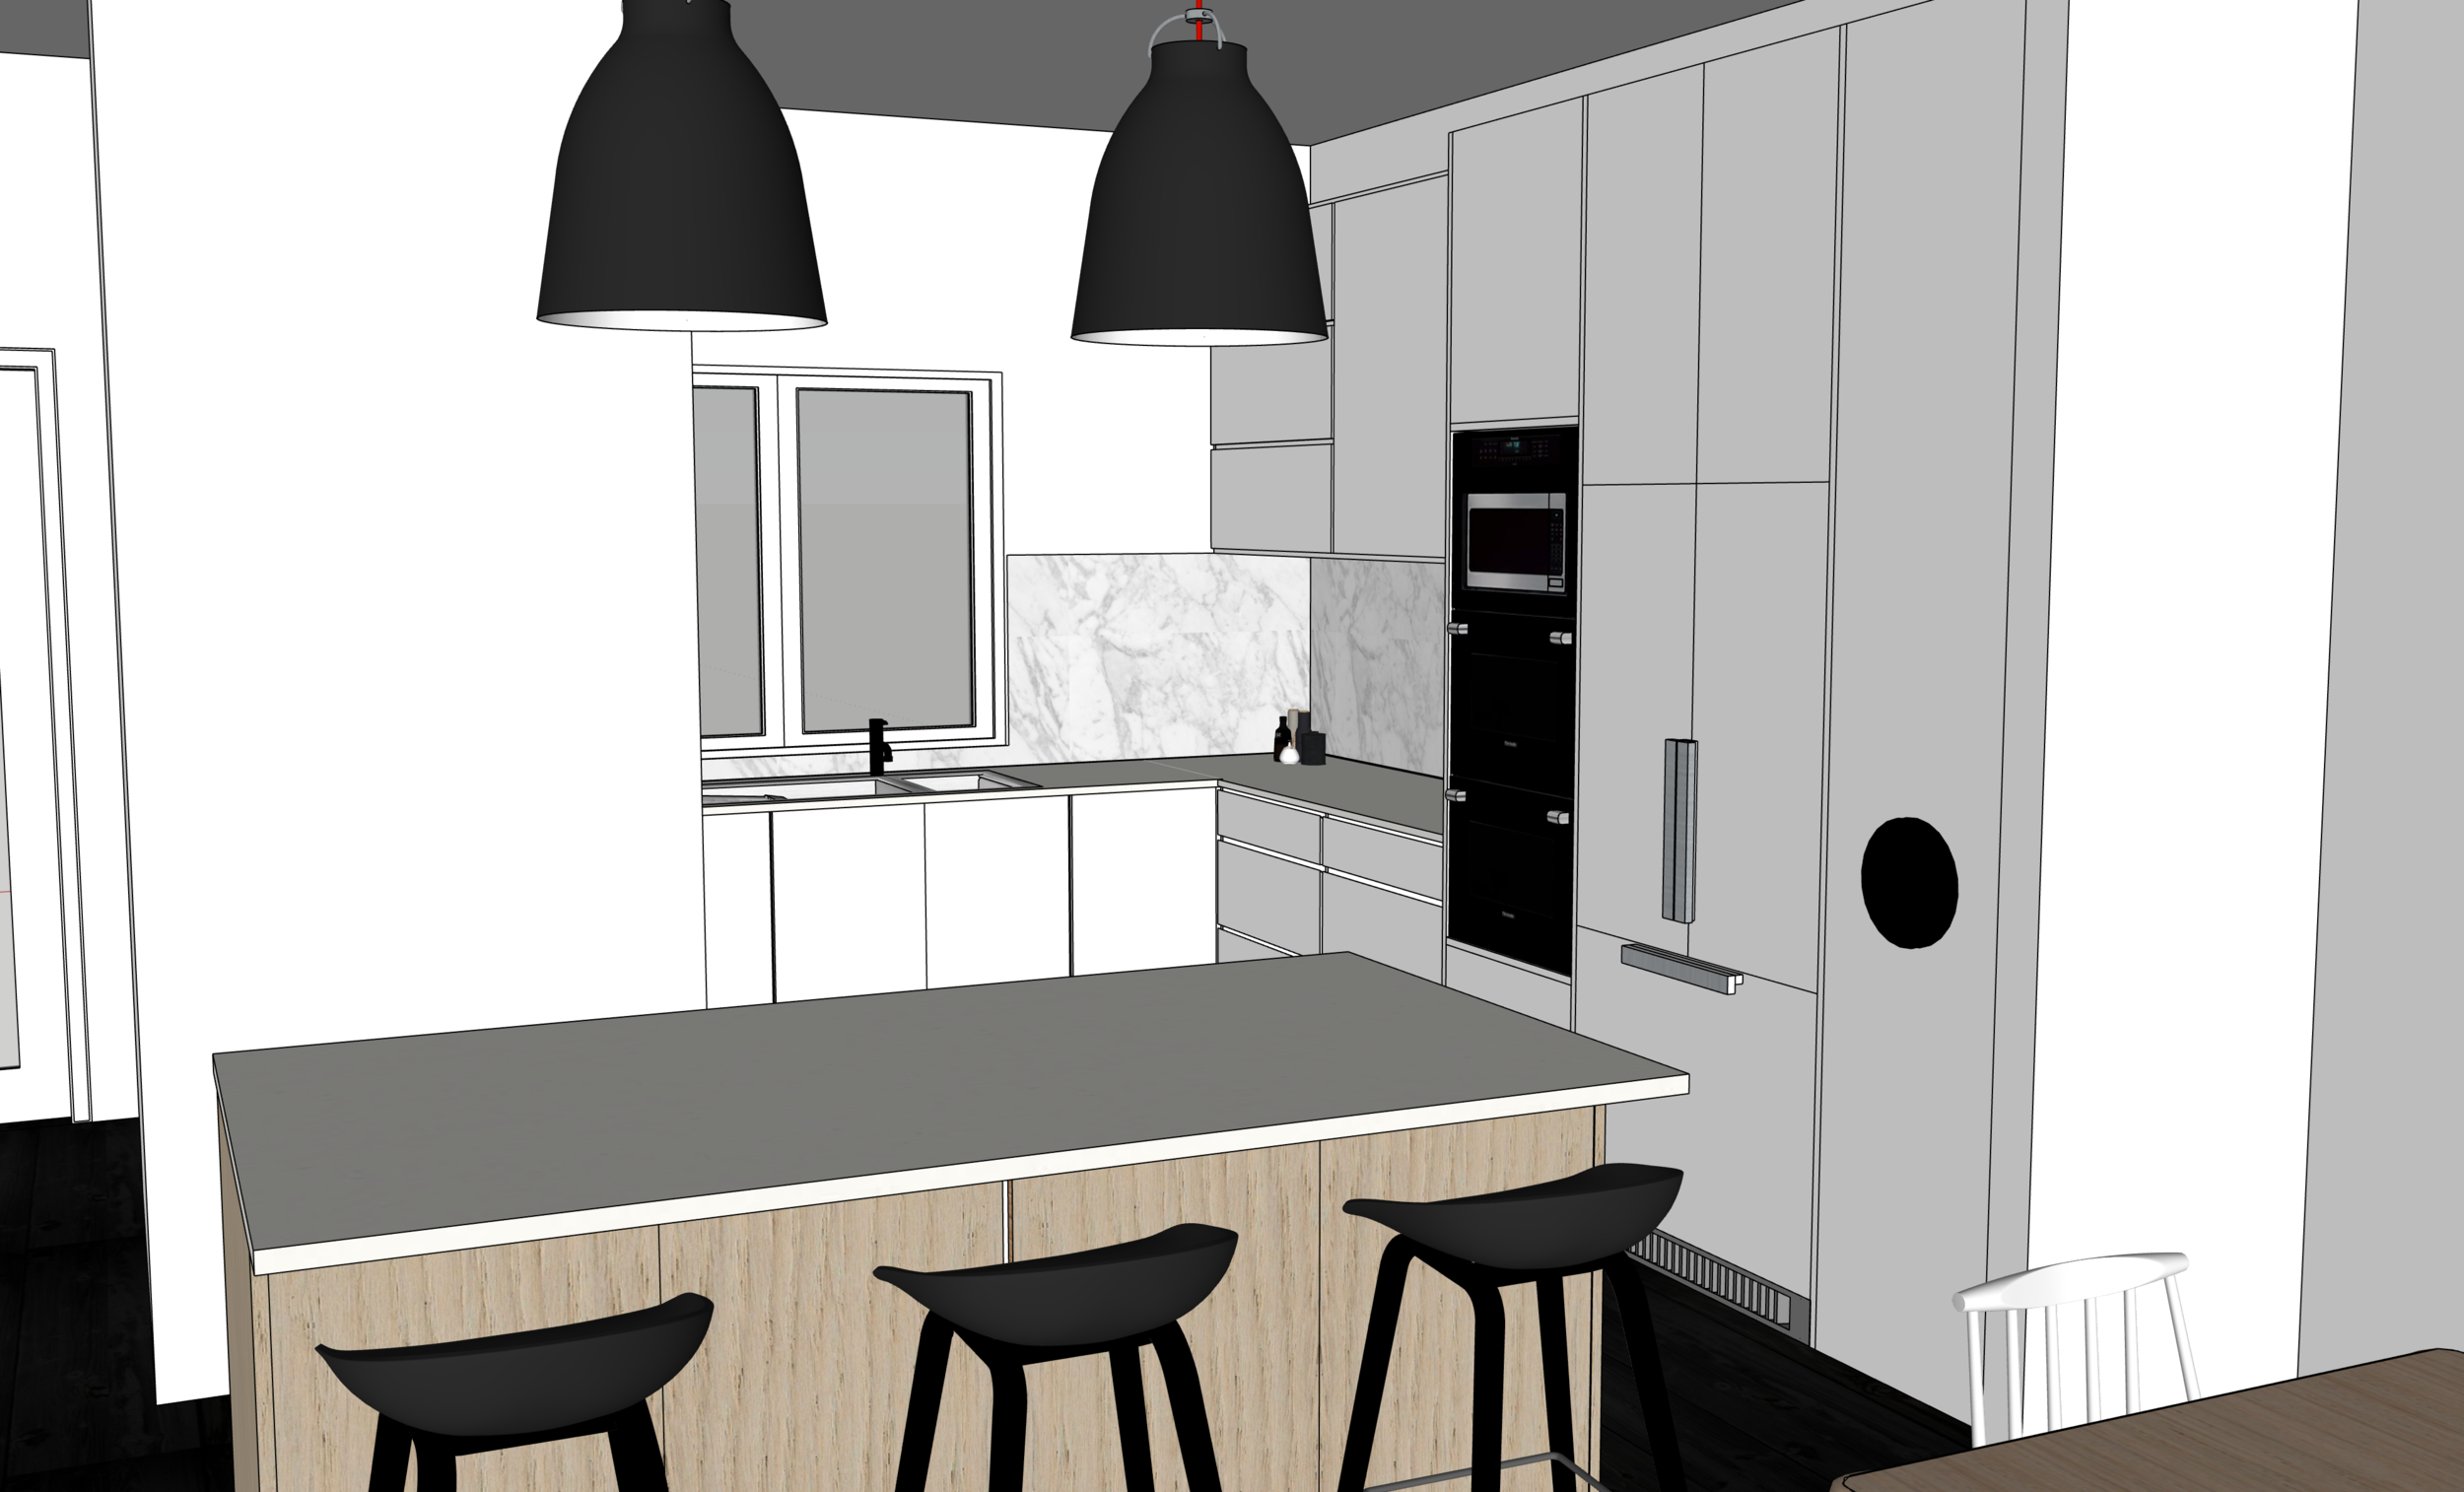
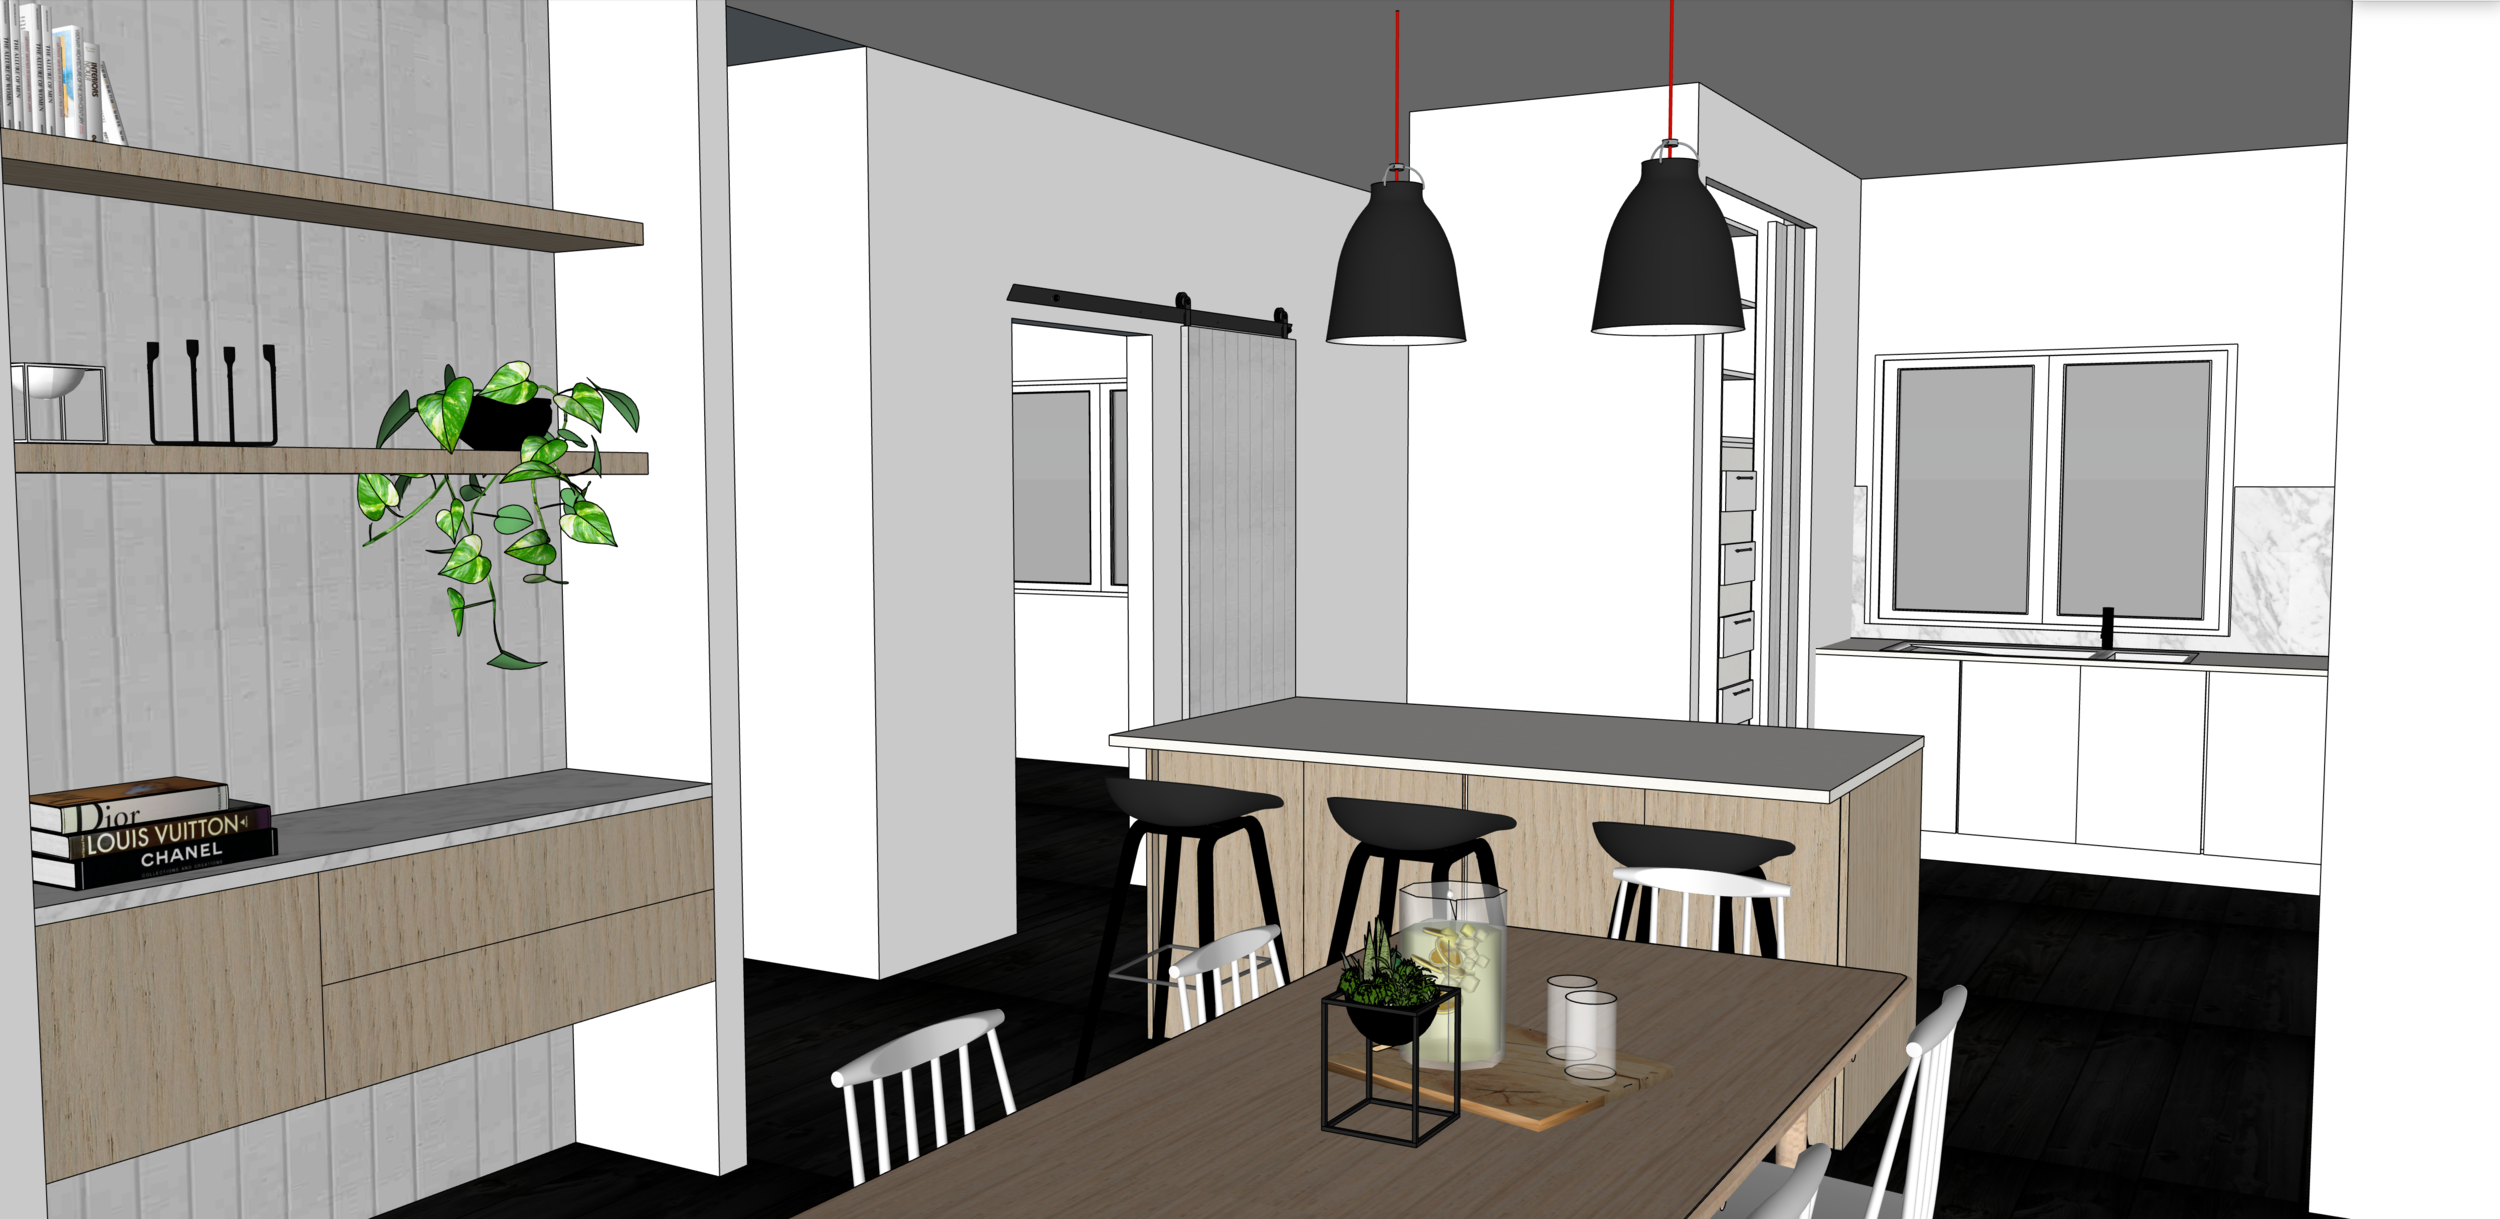
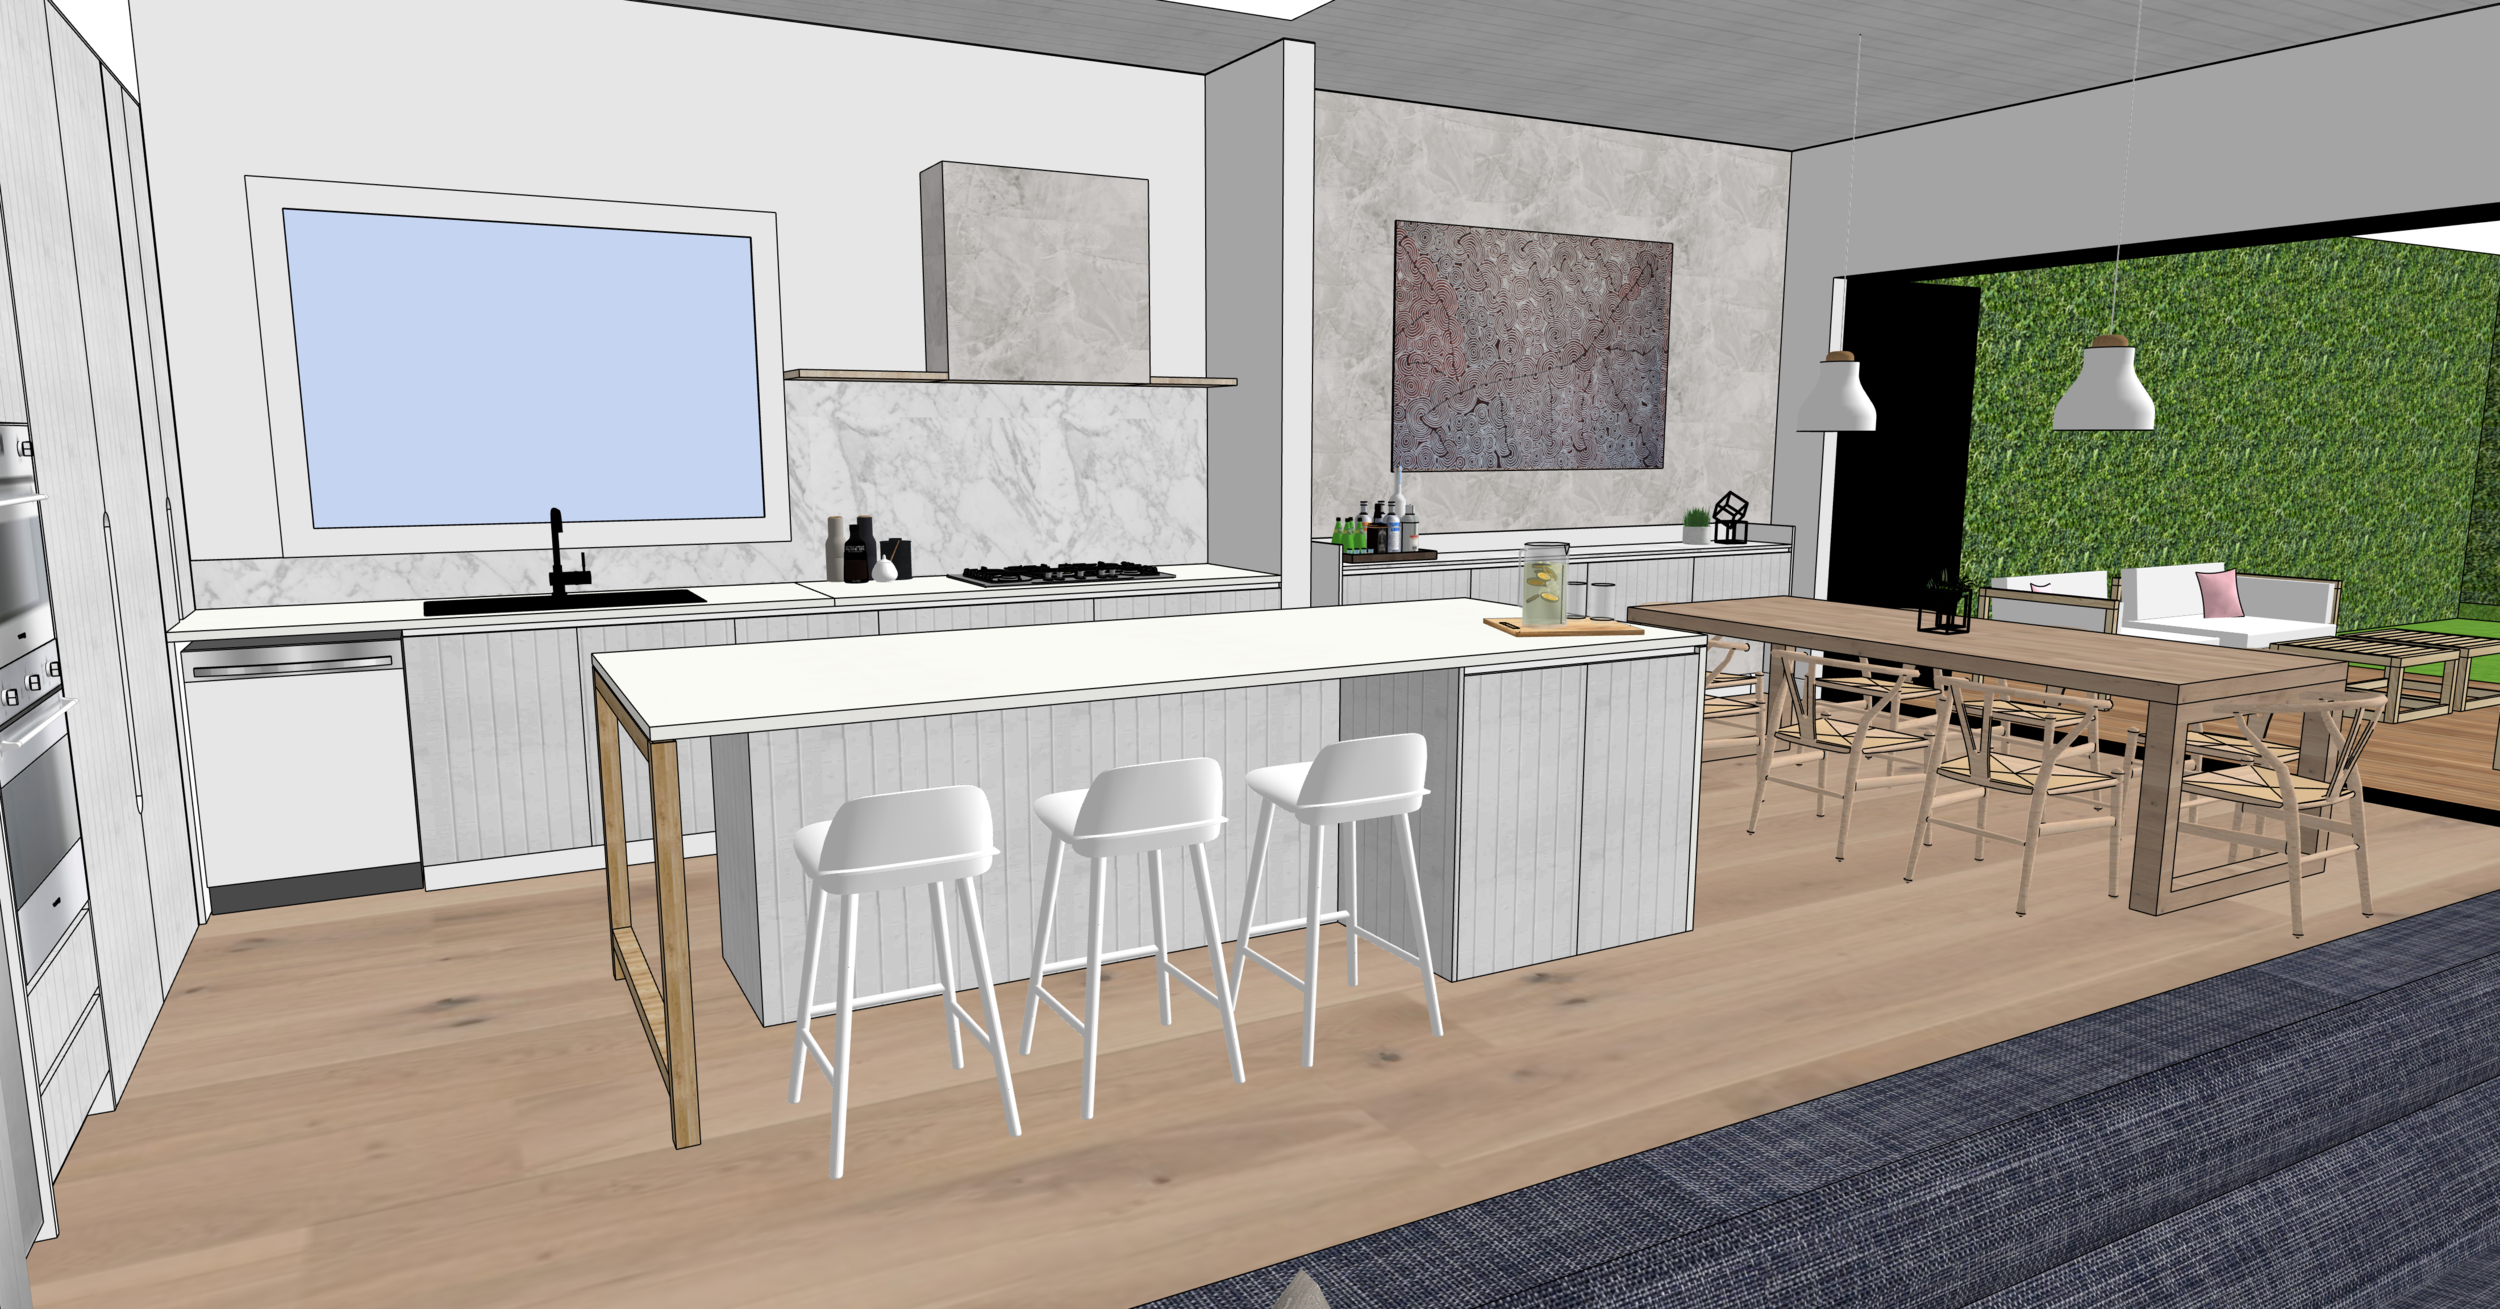
As mentioned, the clients had already been working with an architect to create the main structural changes of the project so the main plans and elevations had already been prepared for them. This was not part of the scope that I was engaged for in this project. However, the clients did engage me to create drawings for their kitchen and dining space as they were having trouble picturing how the materials selected would all work together.
As you can see below I drew up the proposed design using a 3D drawing tool called SketchUp. If you are interested in learning how to use this tool I offer an online course all about how to do this sort of drawing for yourself. You can learn about that here. SketchUp is a great tool as it helps clients see what their finished spaces are going to look like before they are built and helps avoid costly errors as well.
After Photos
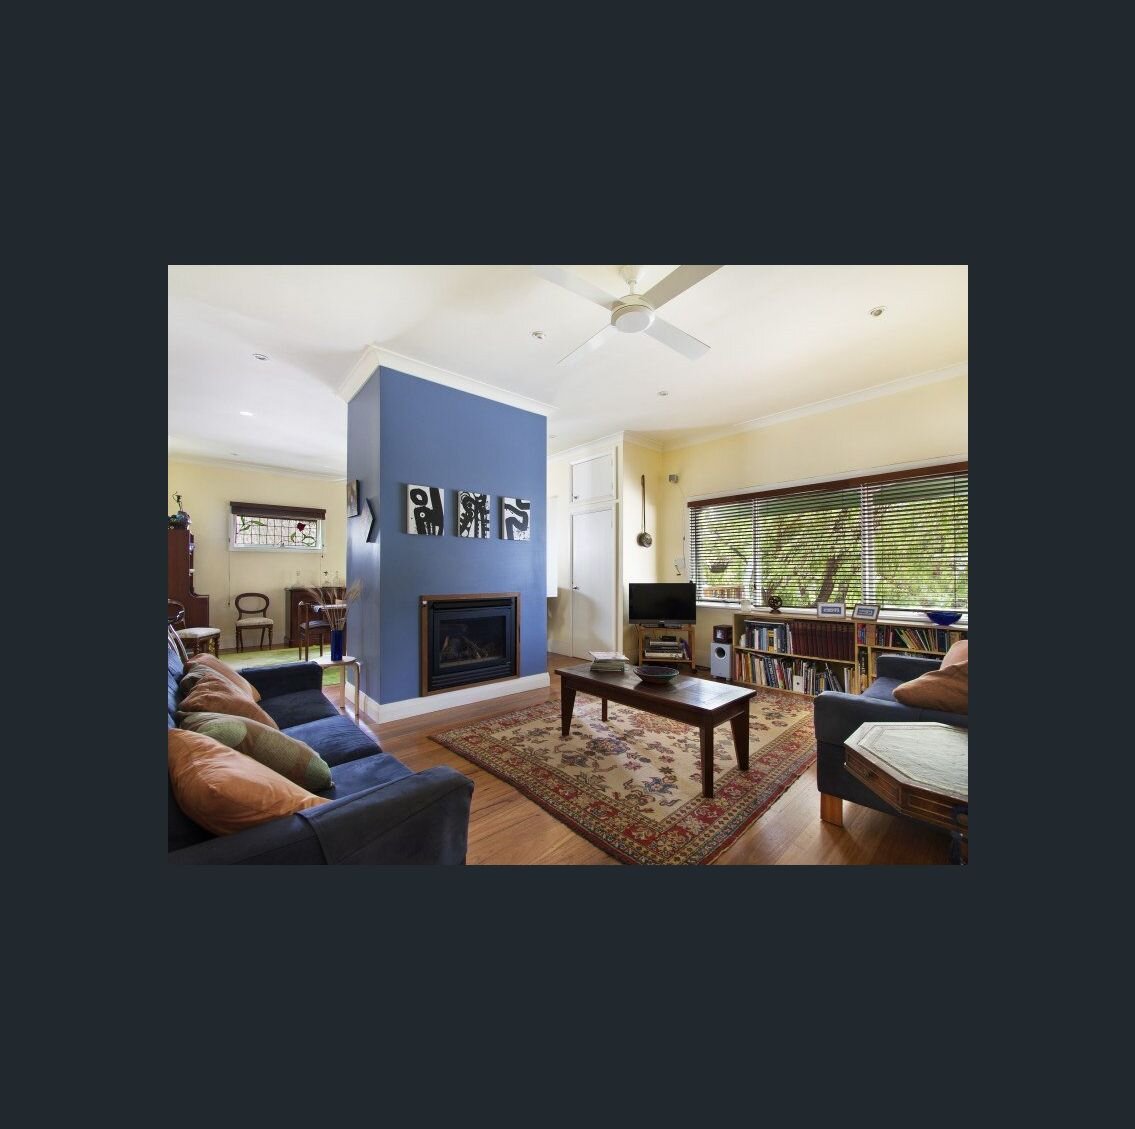
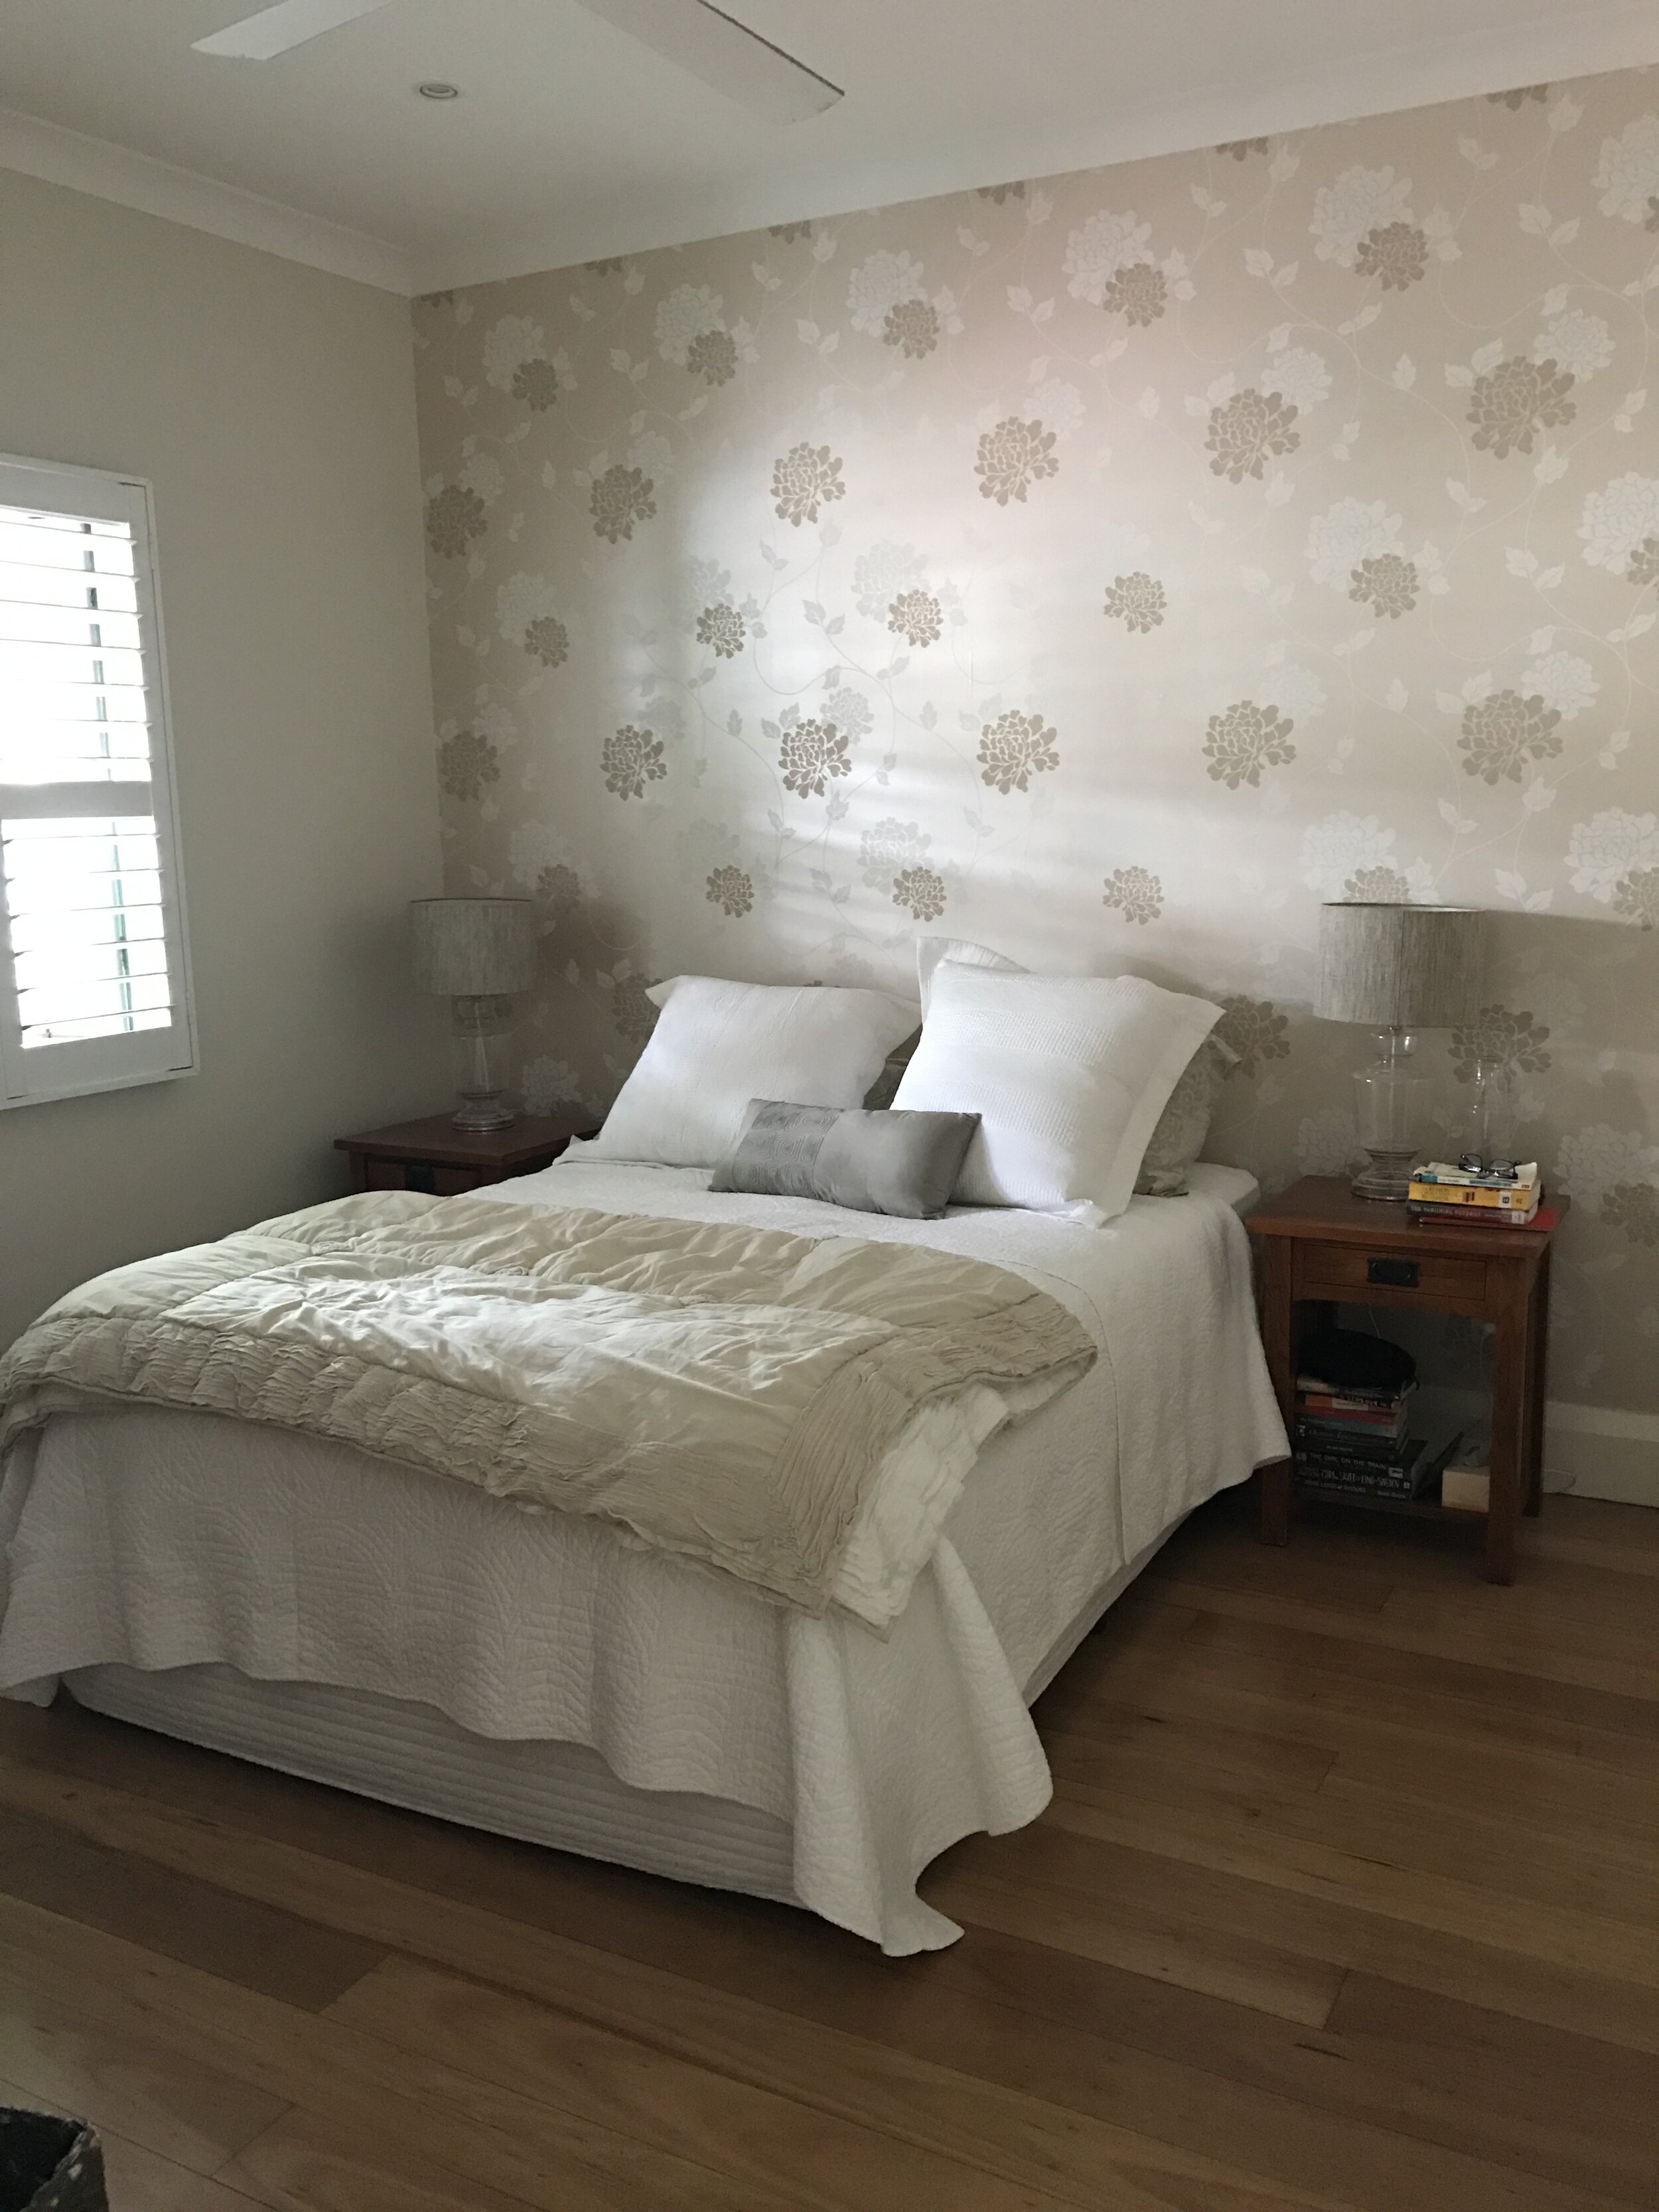
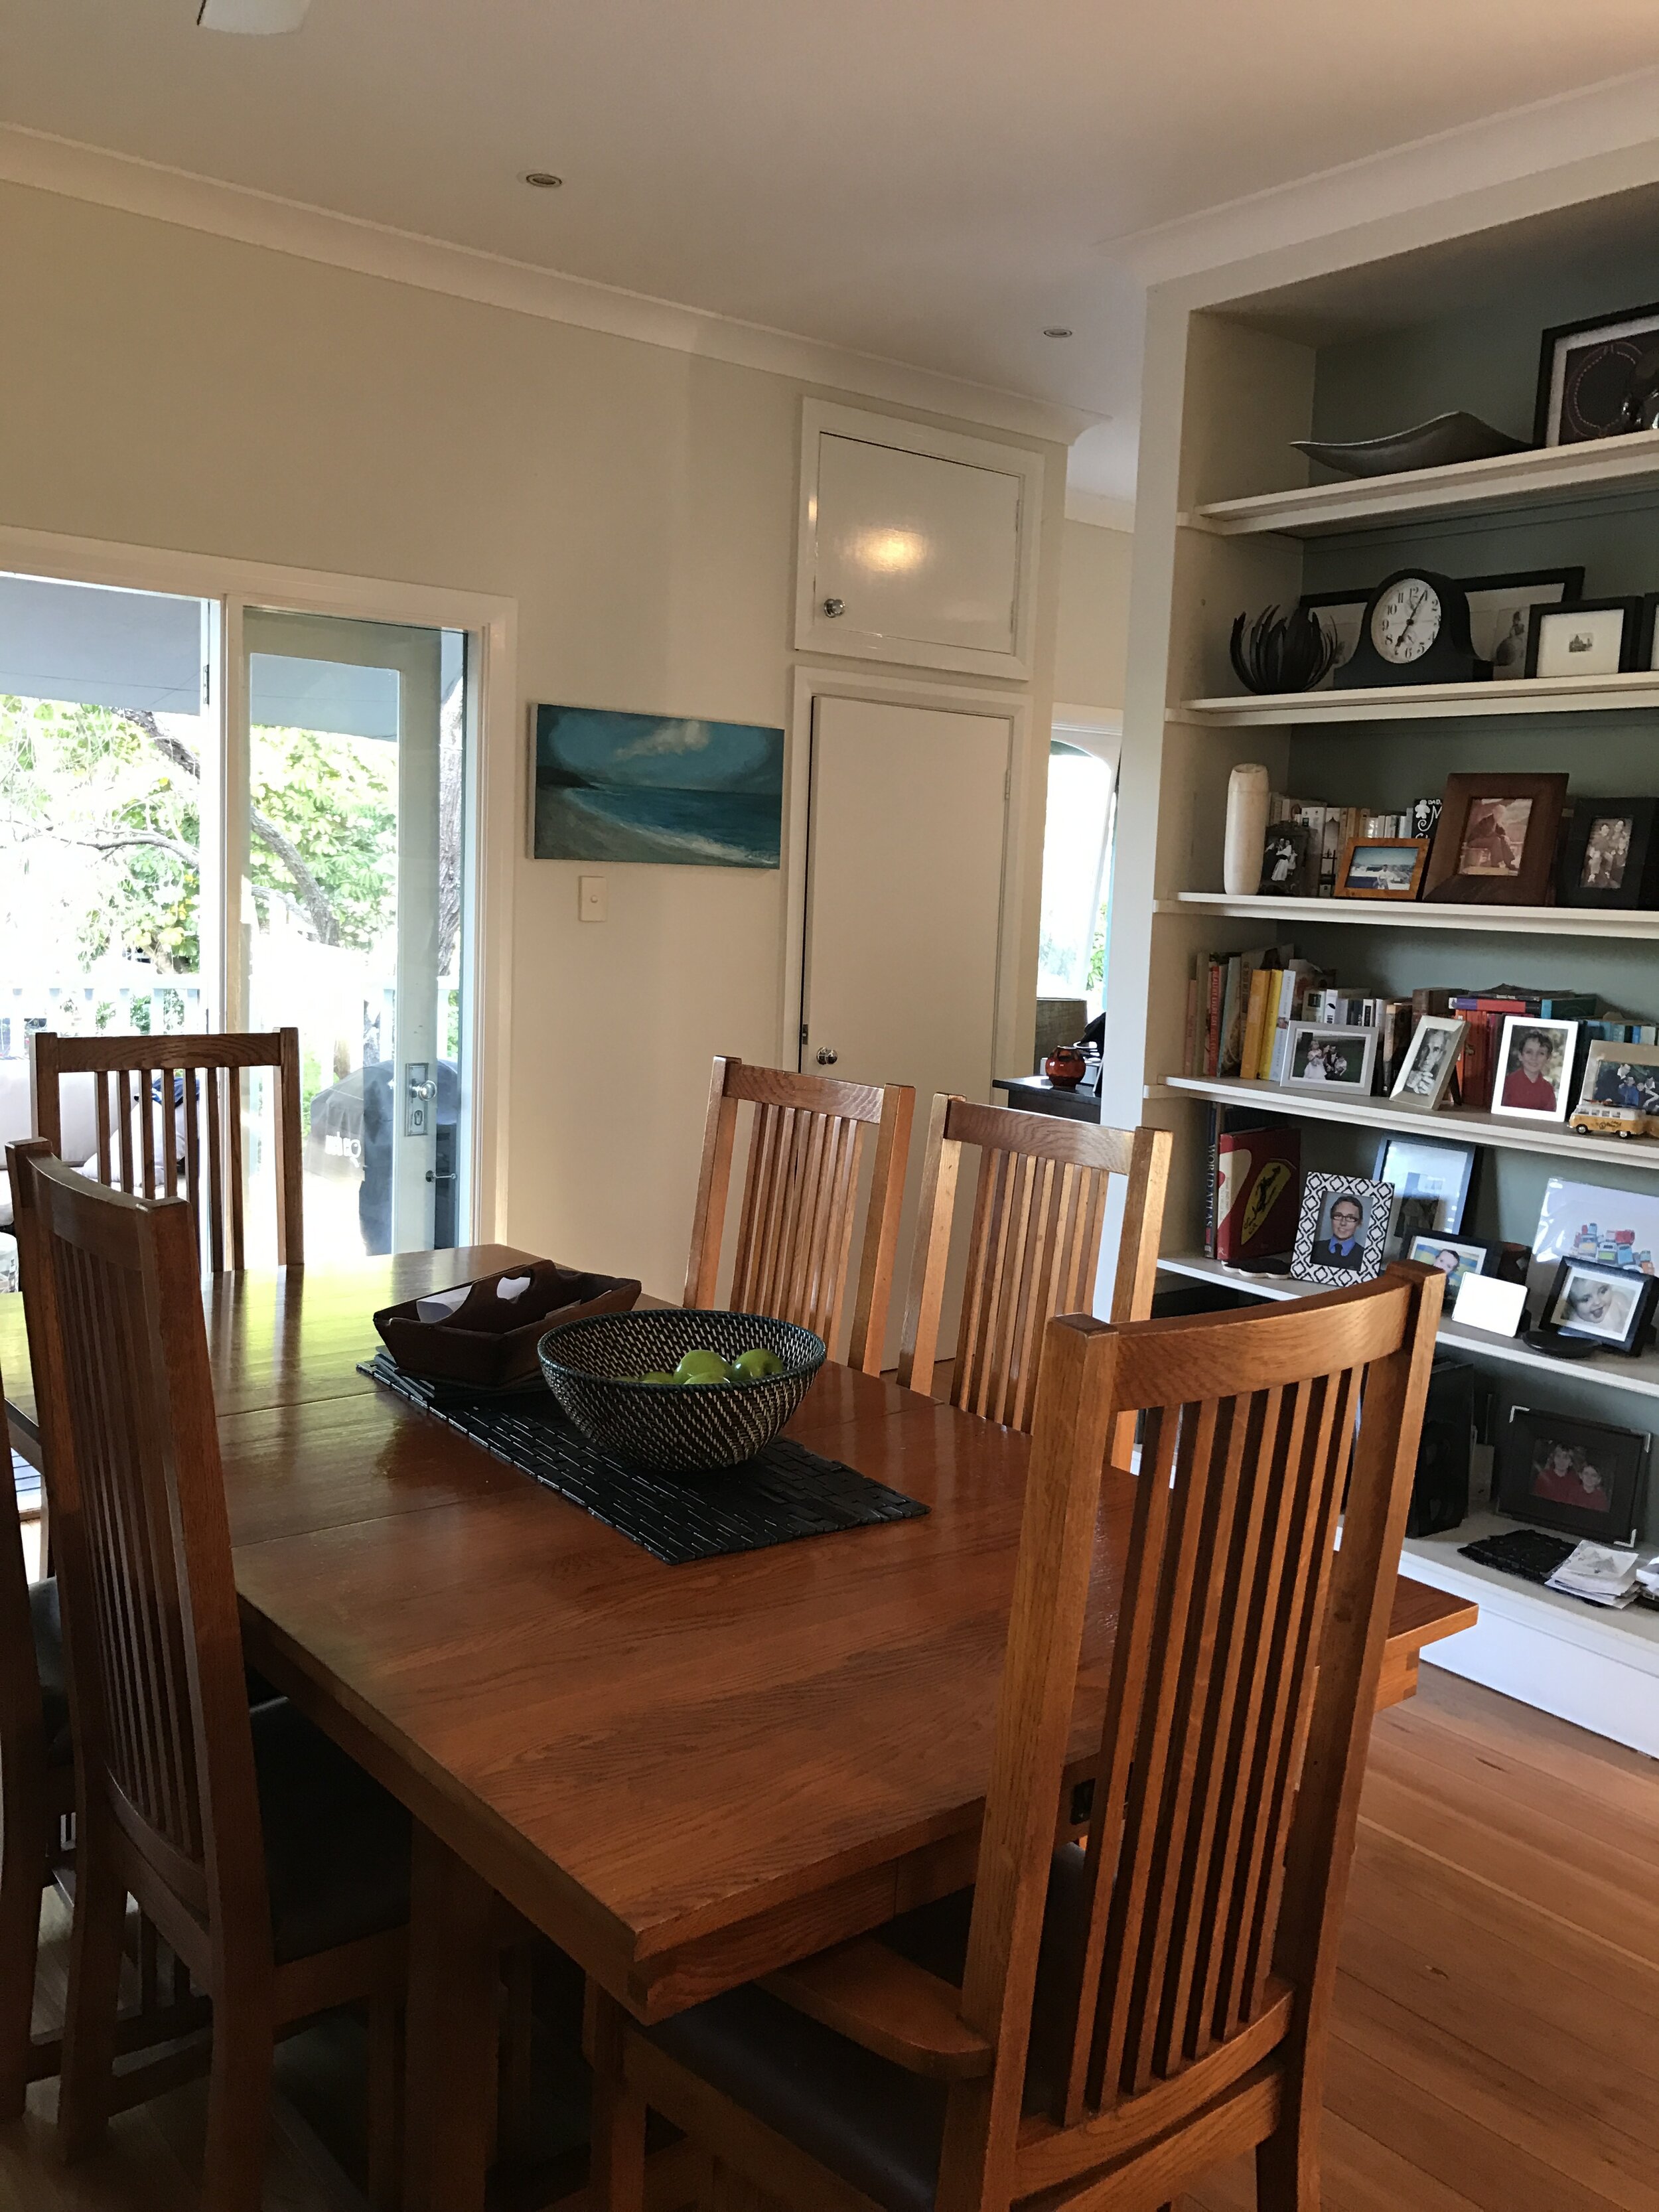
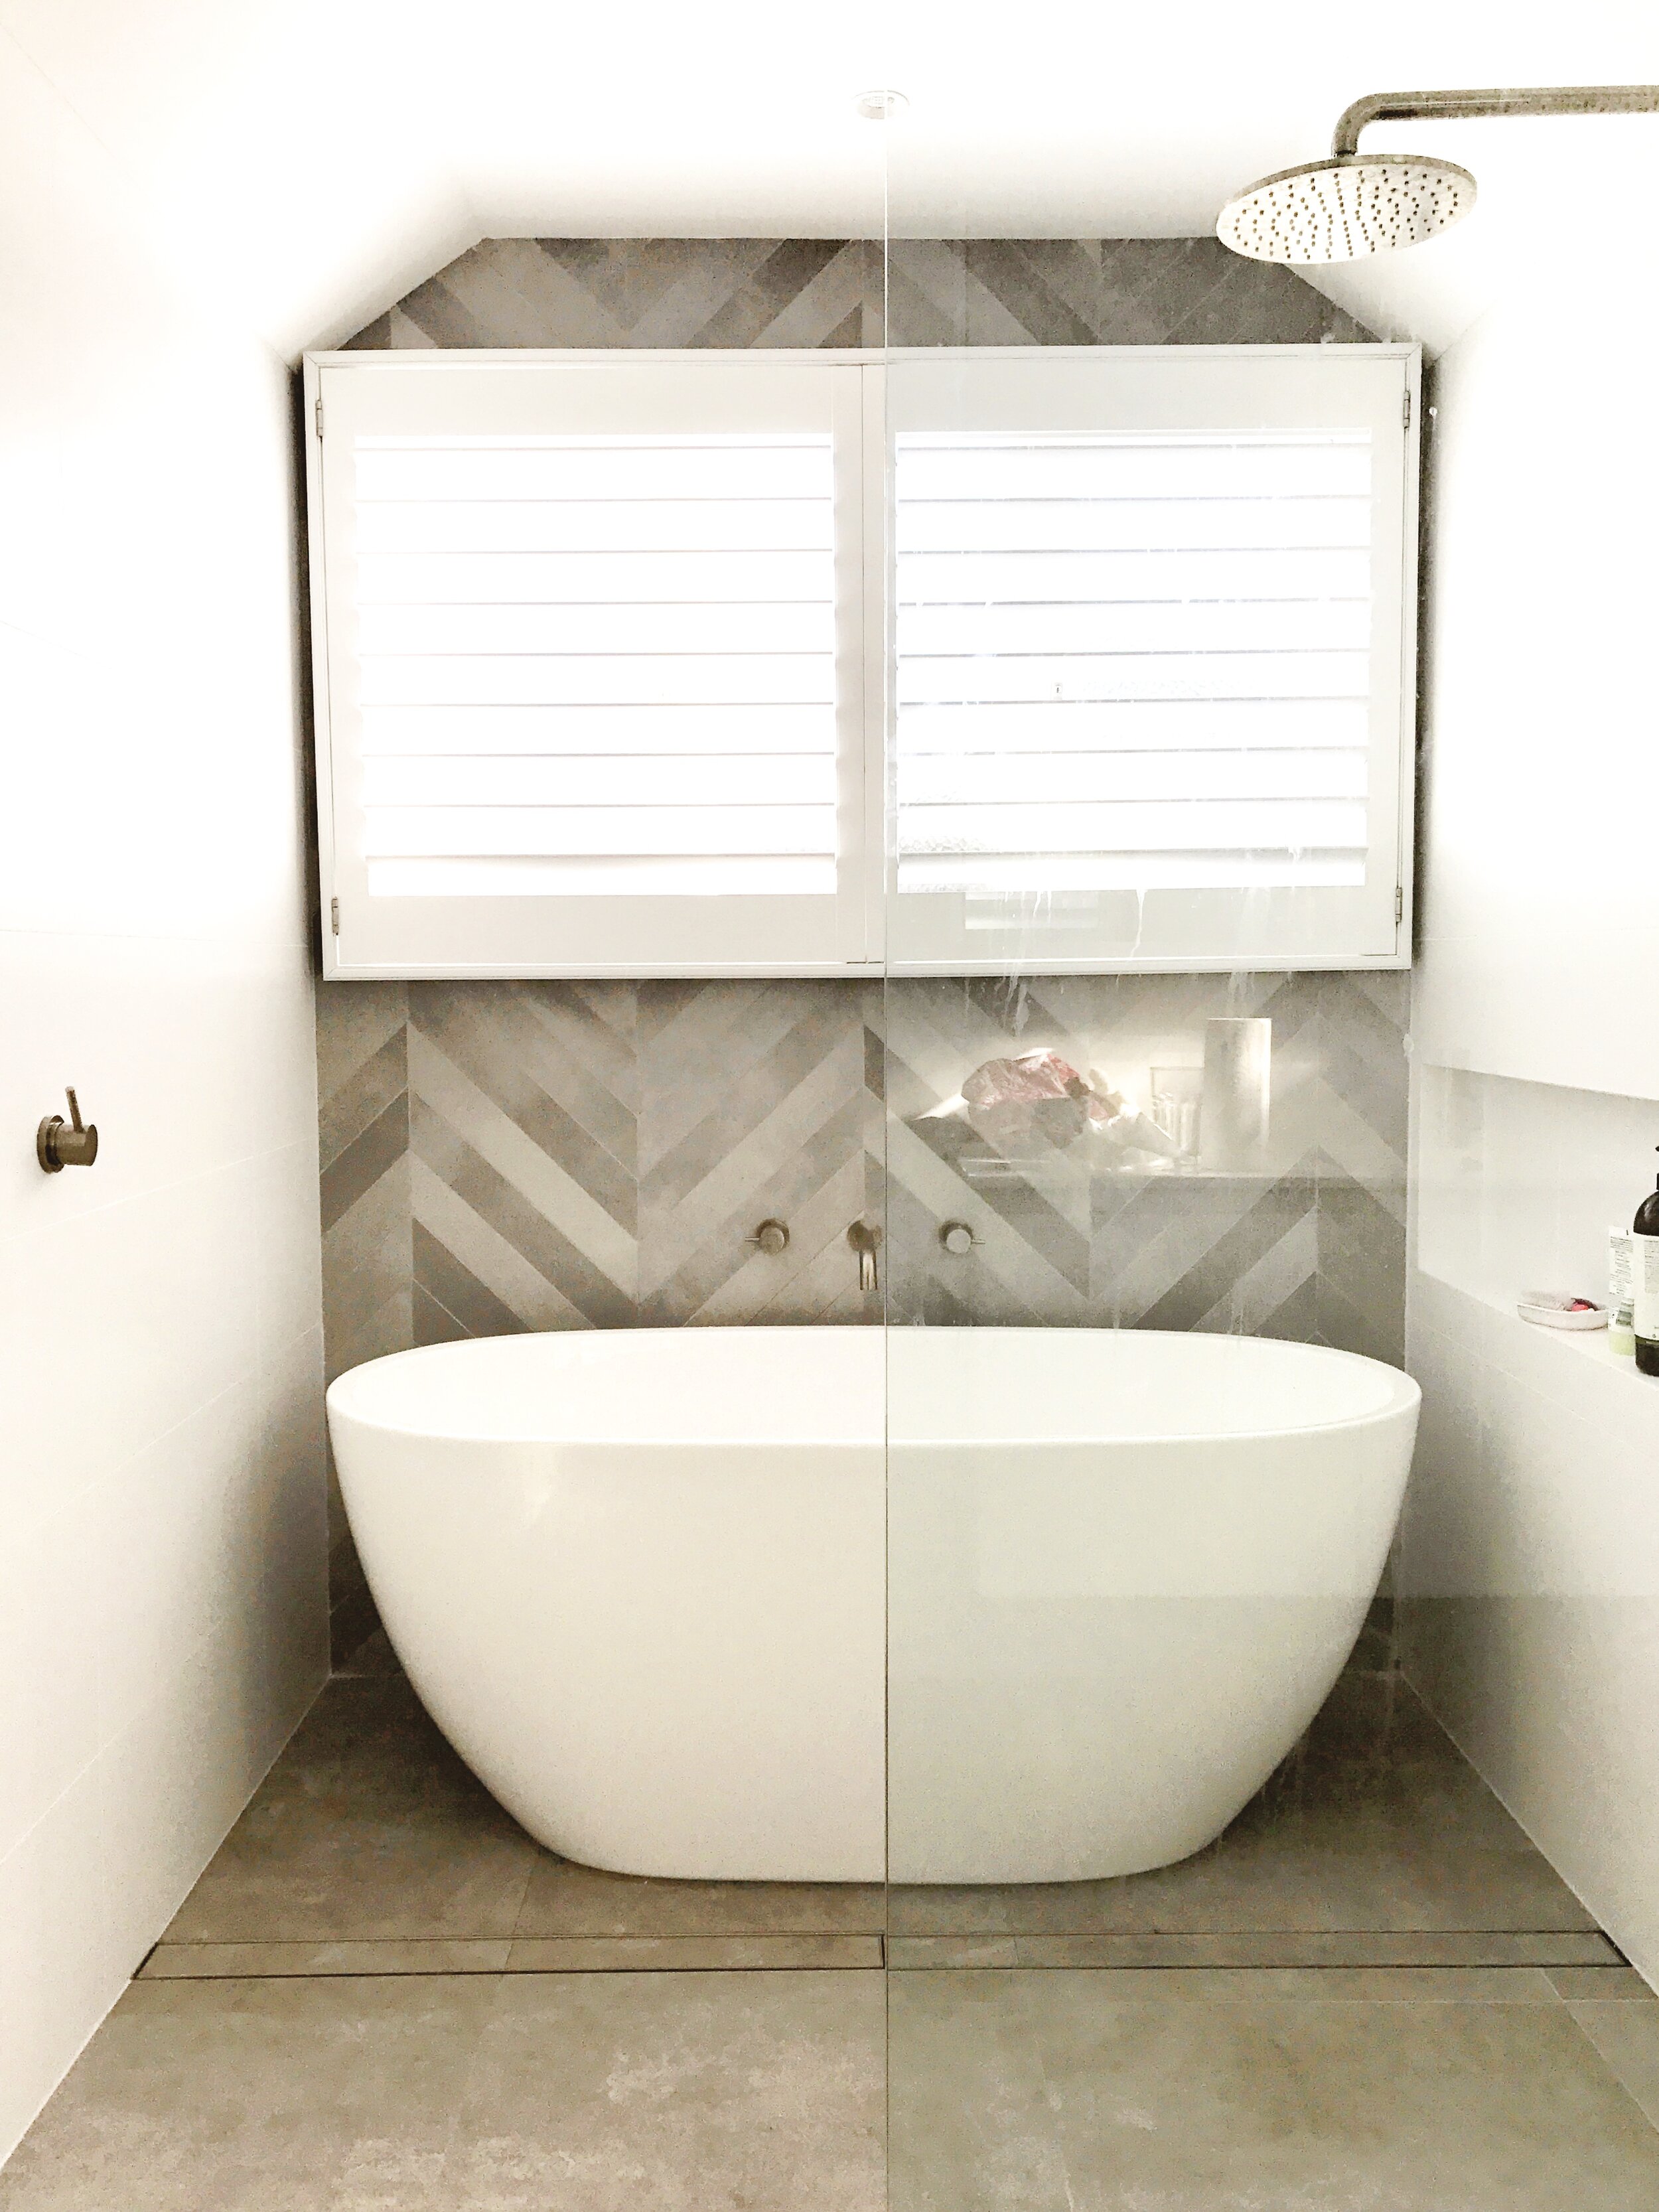
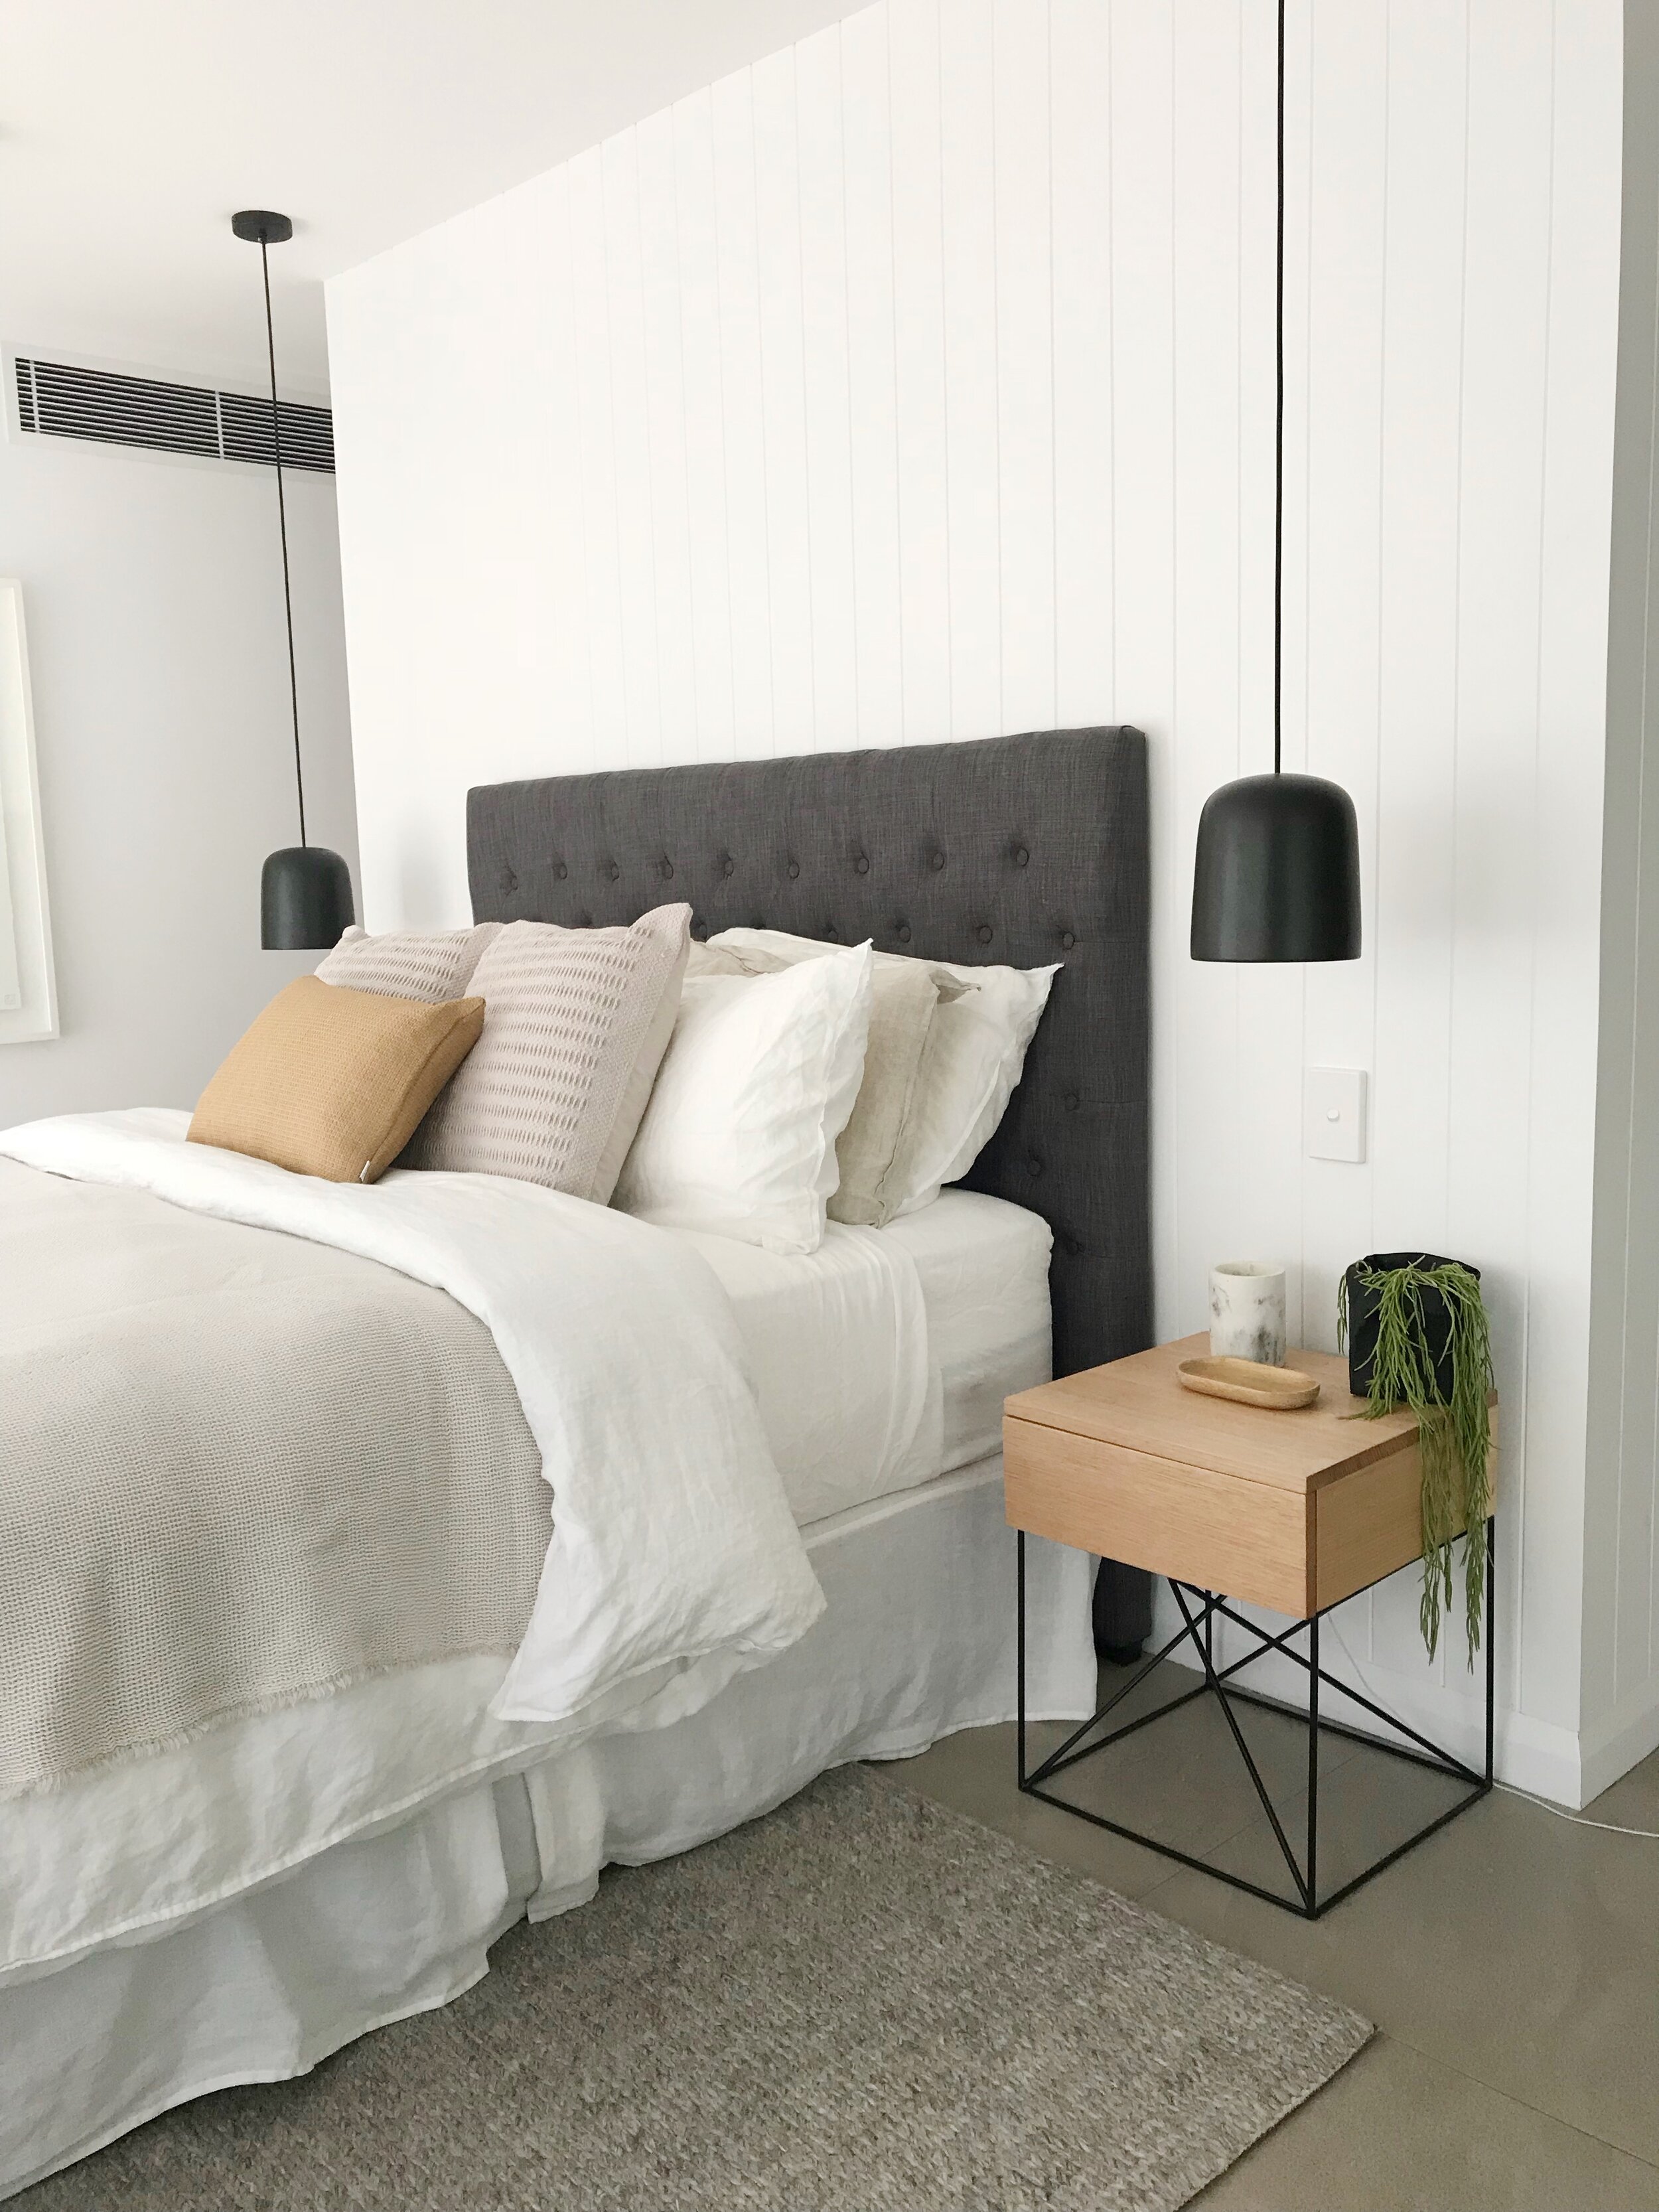
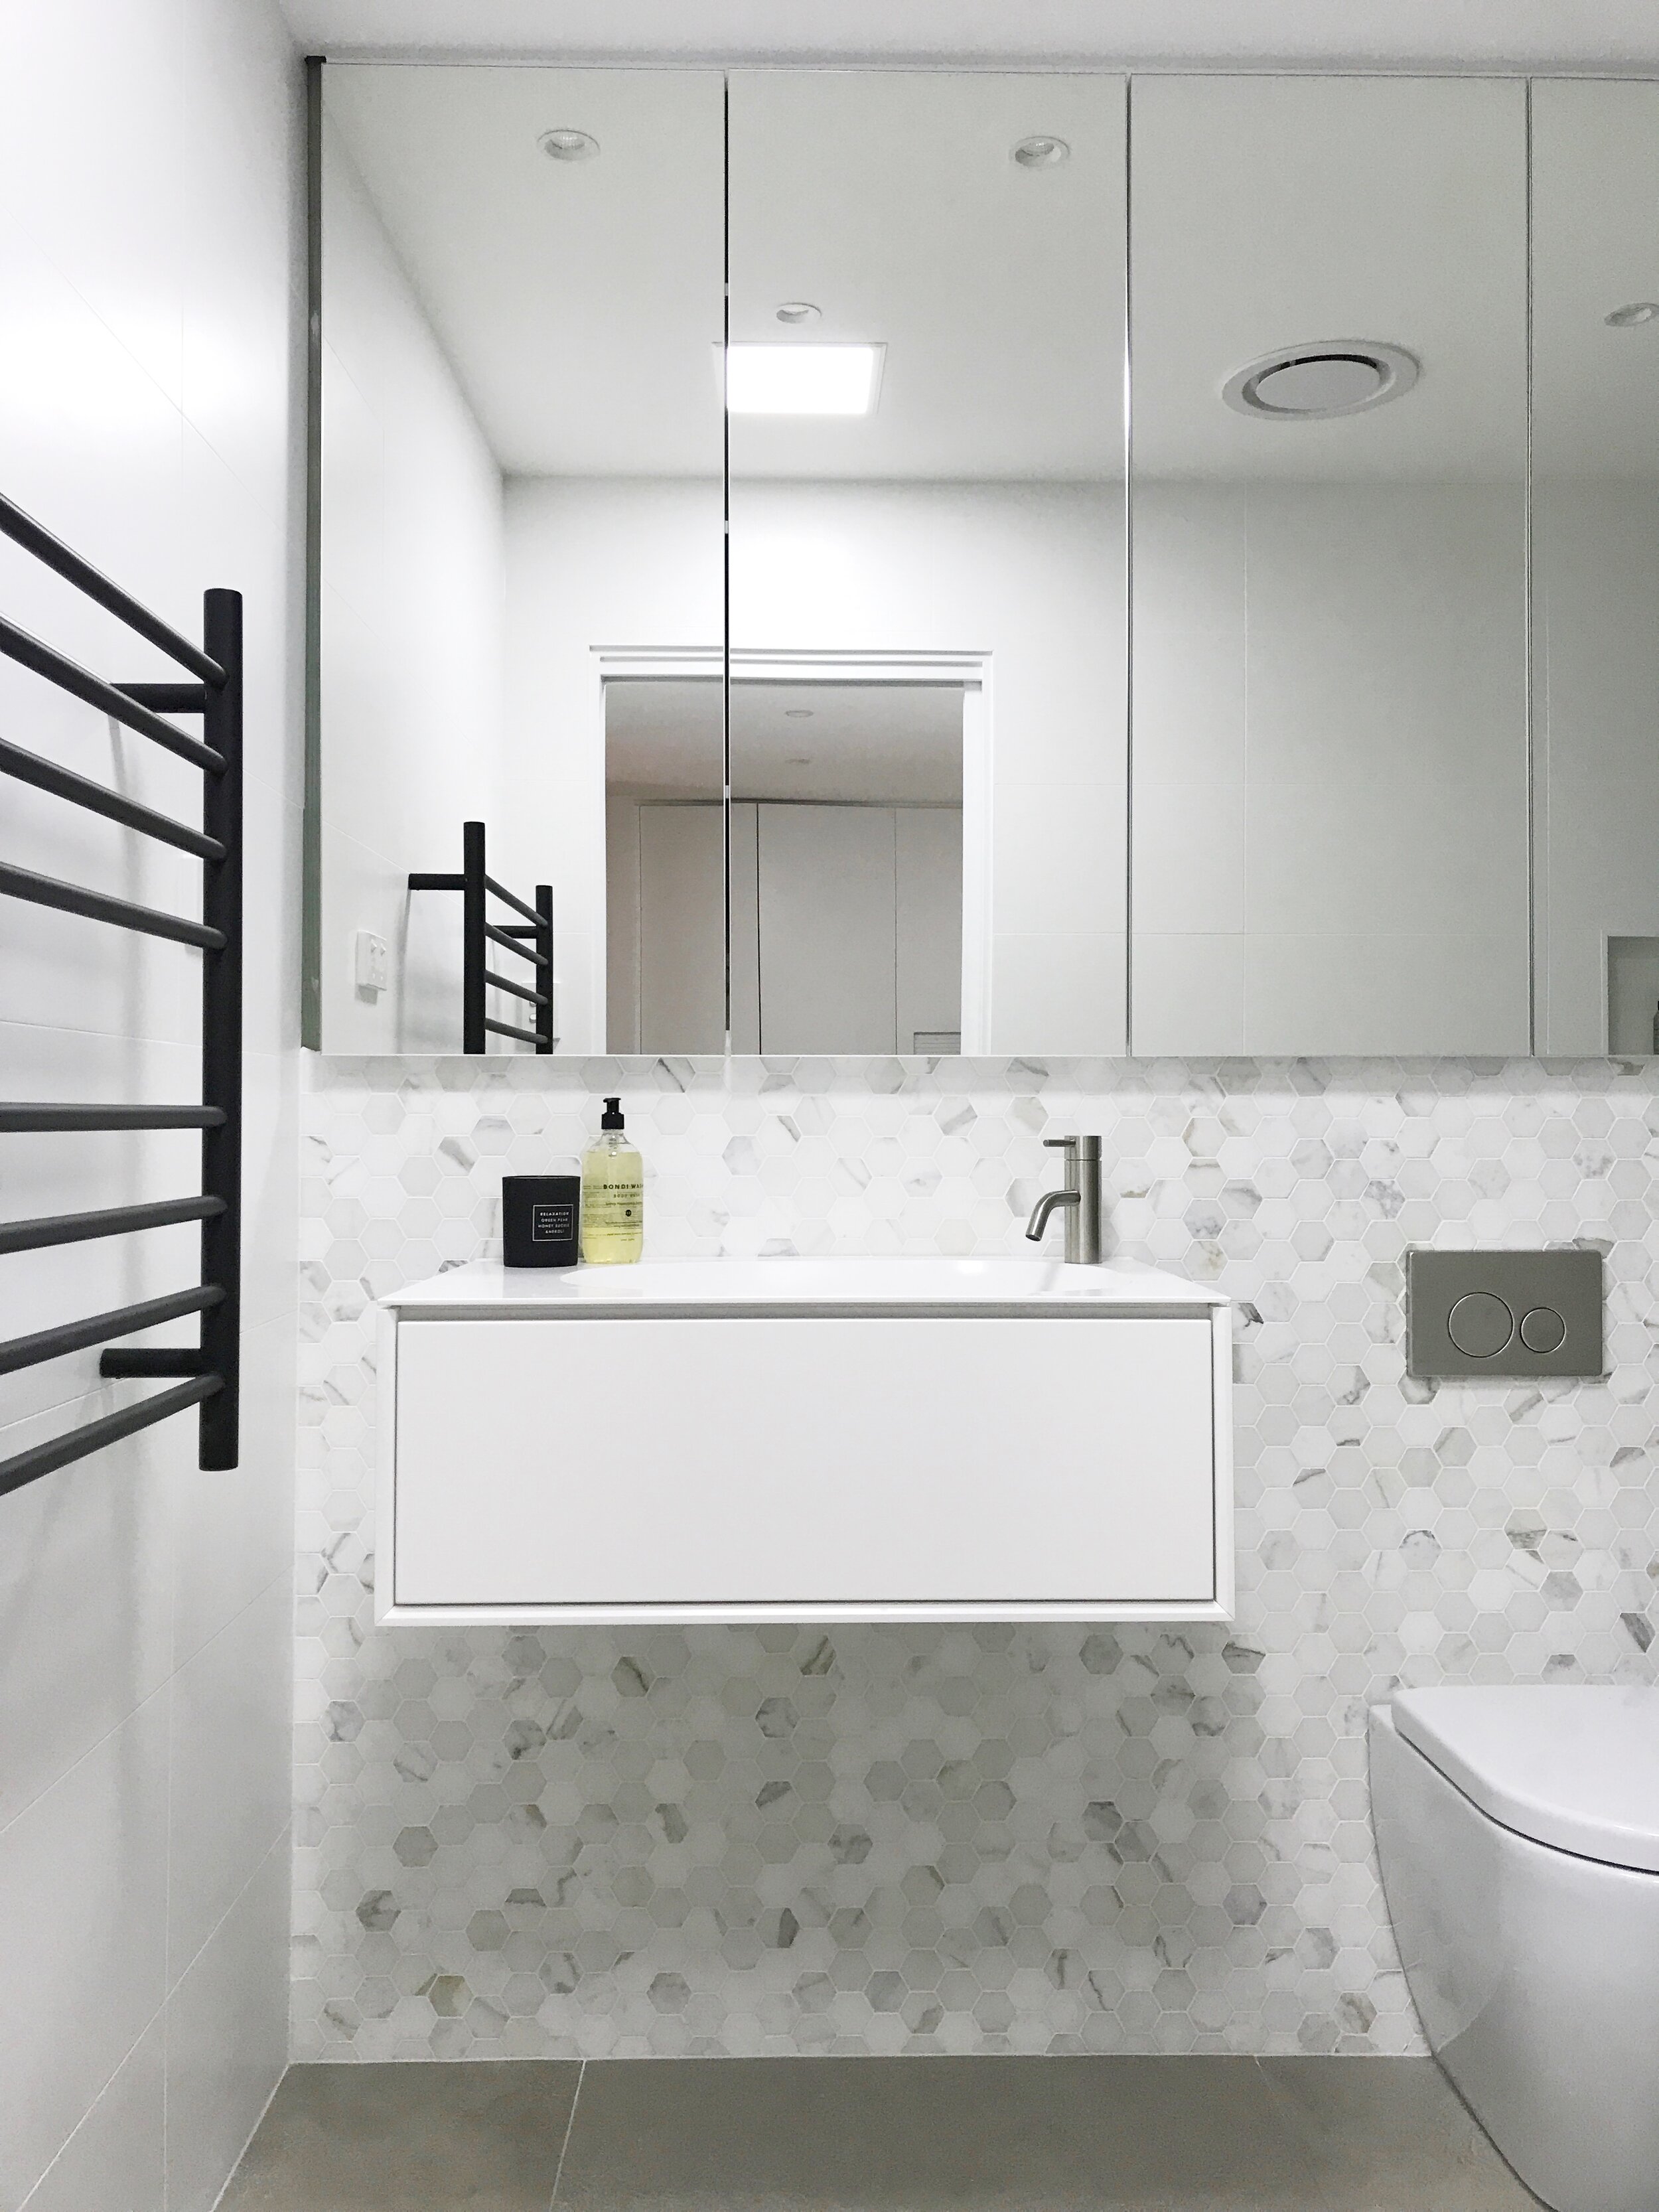
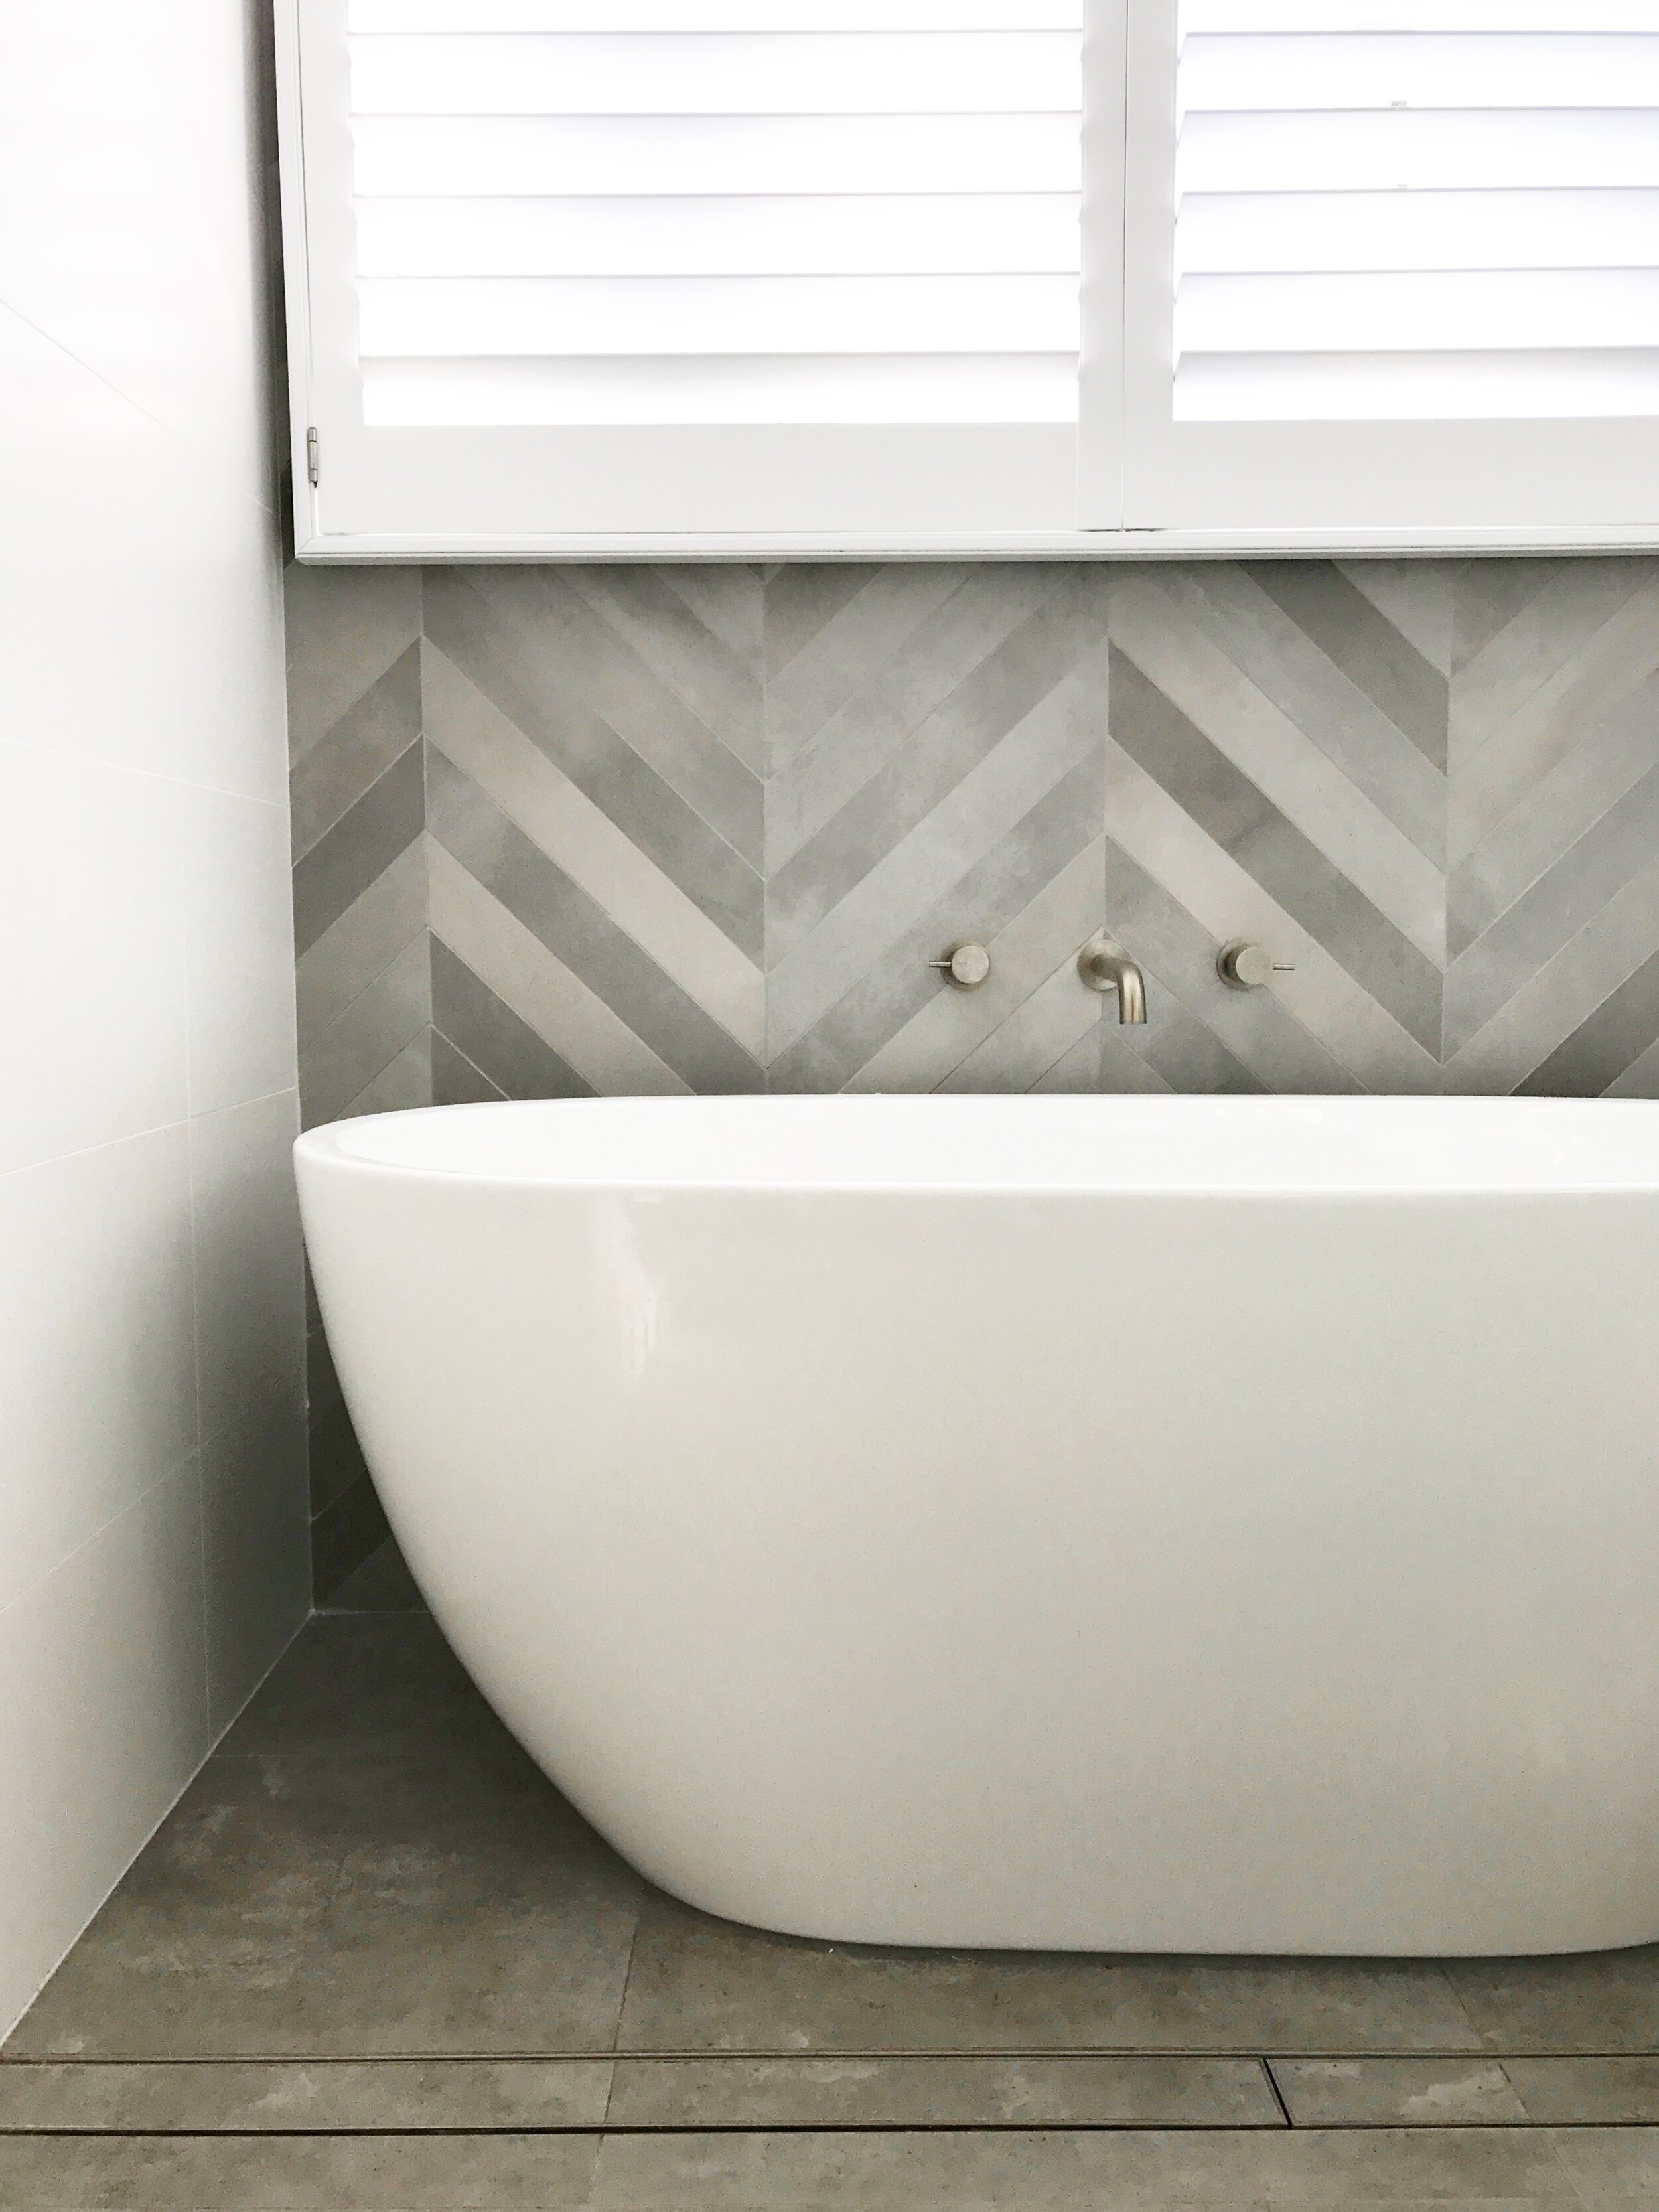
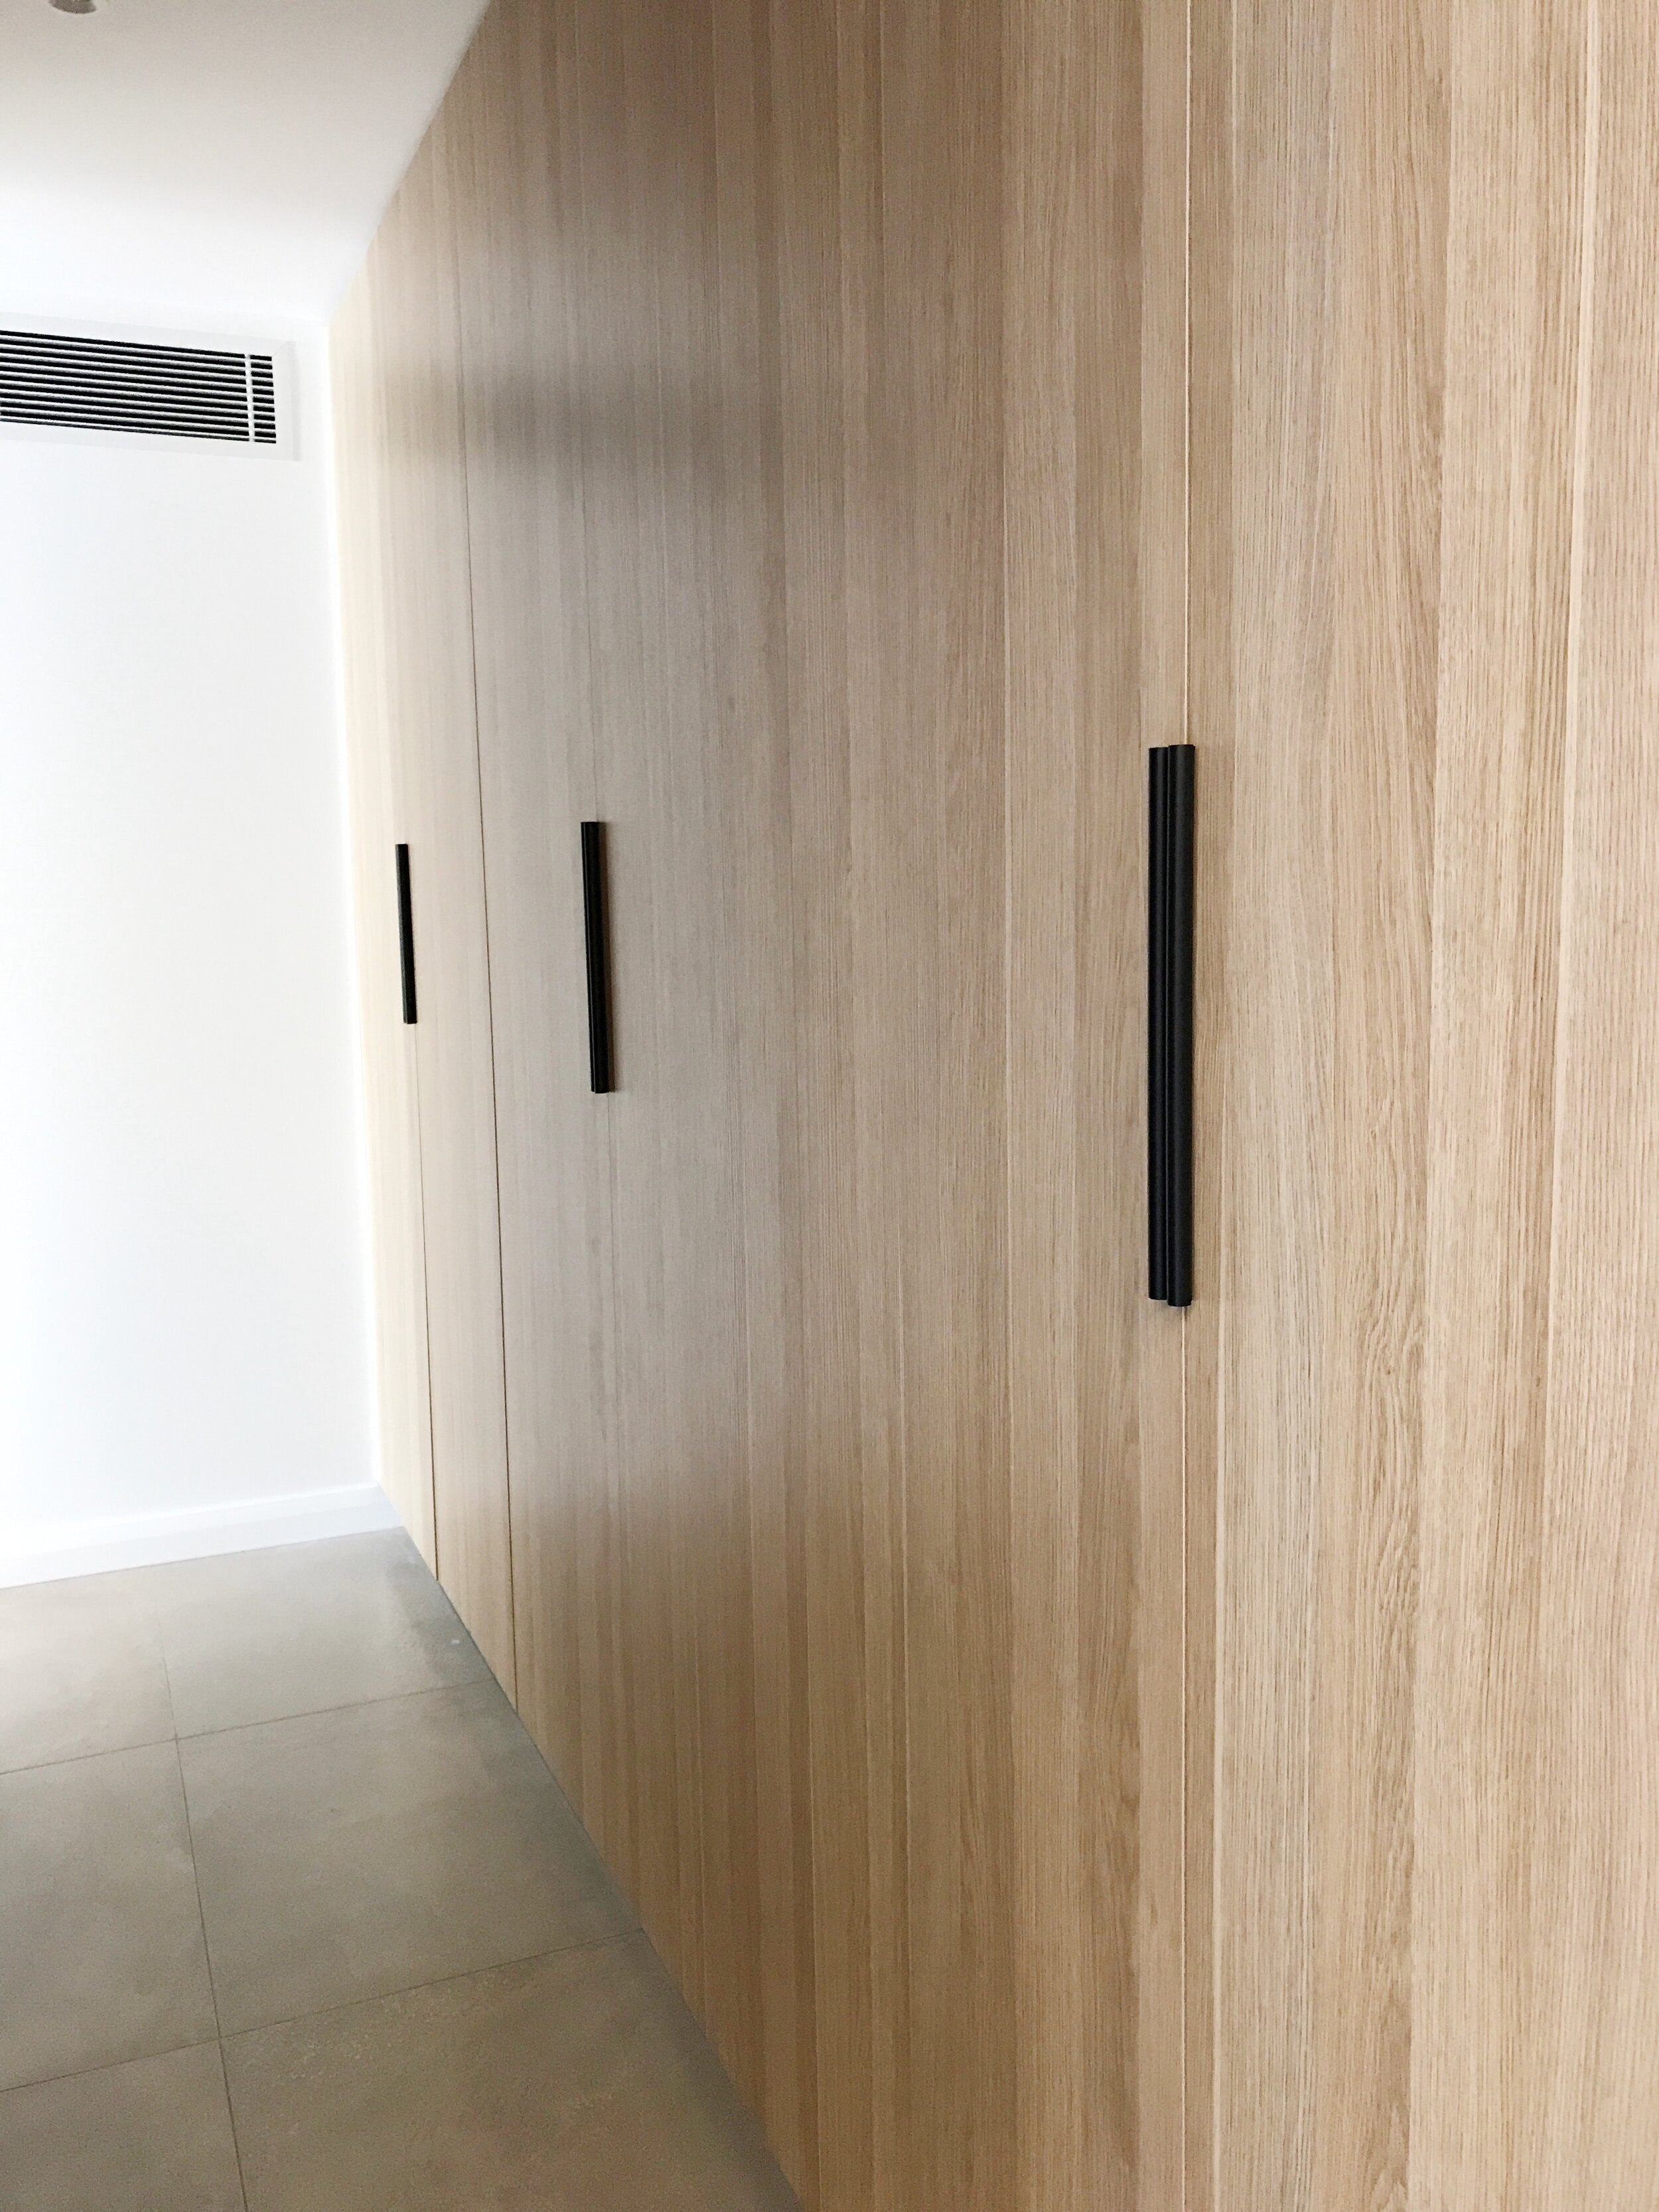
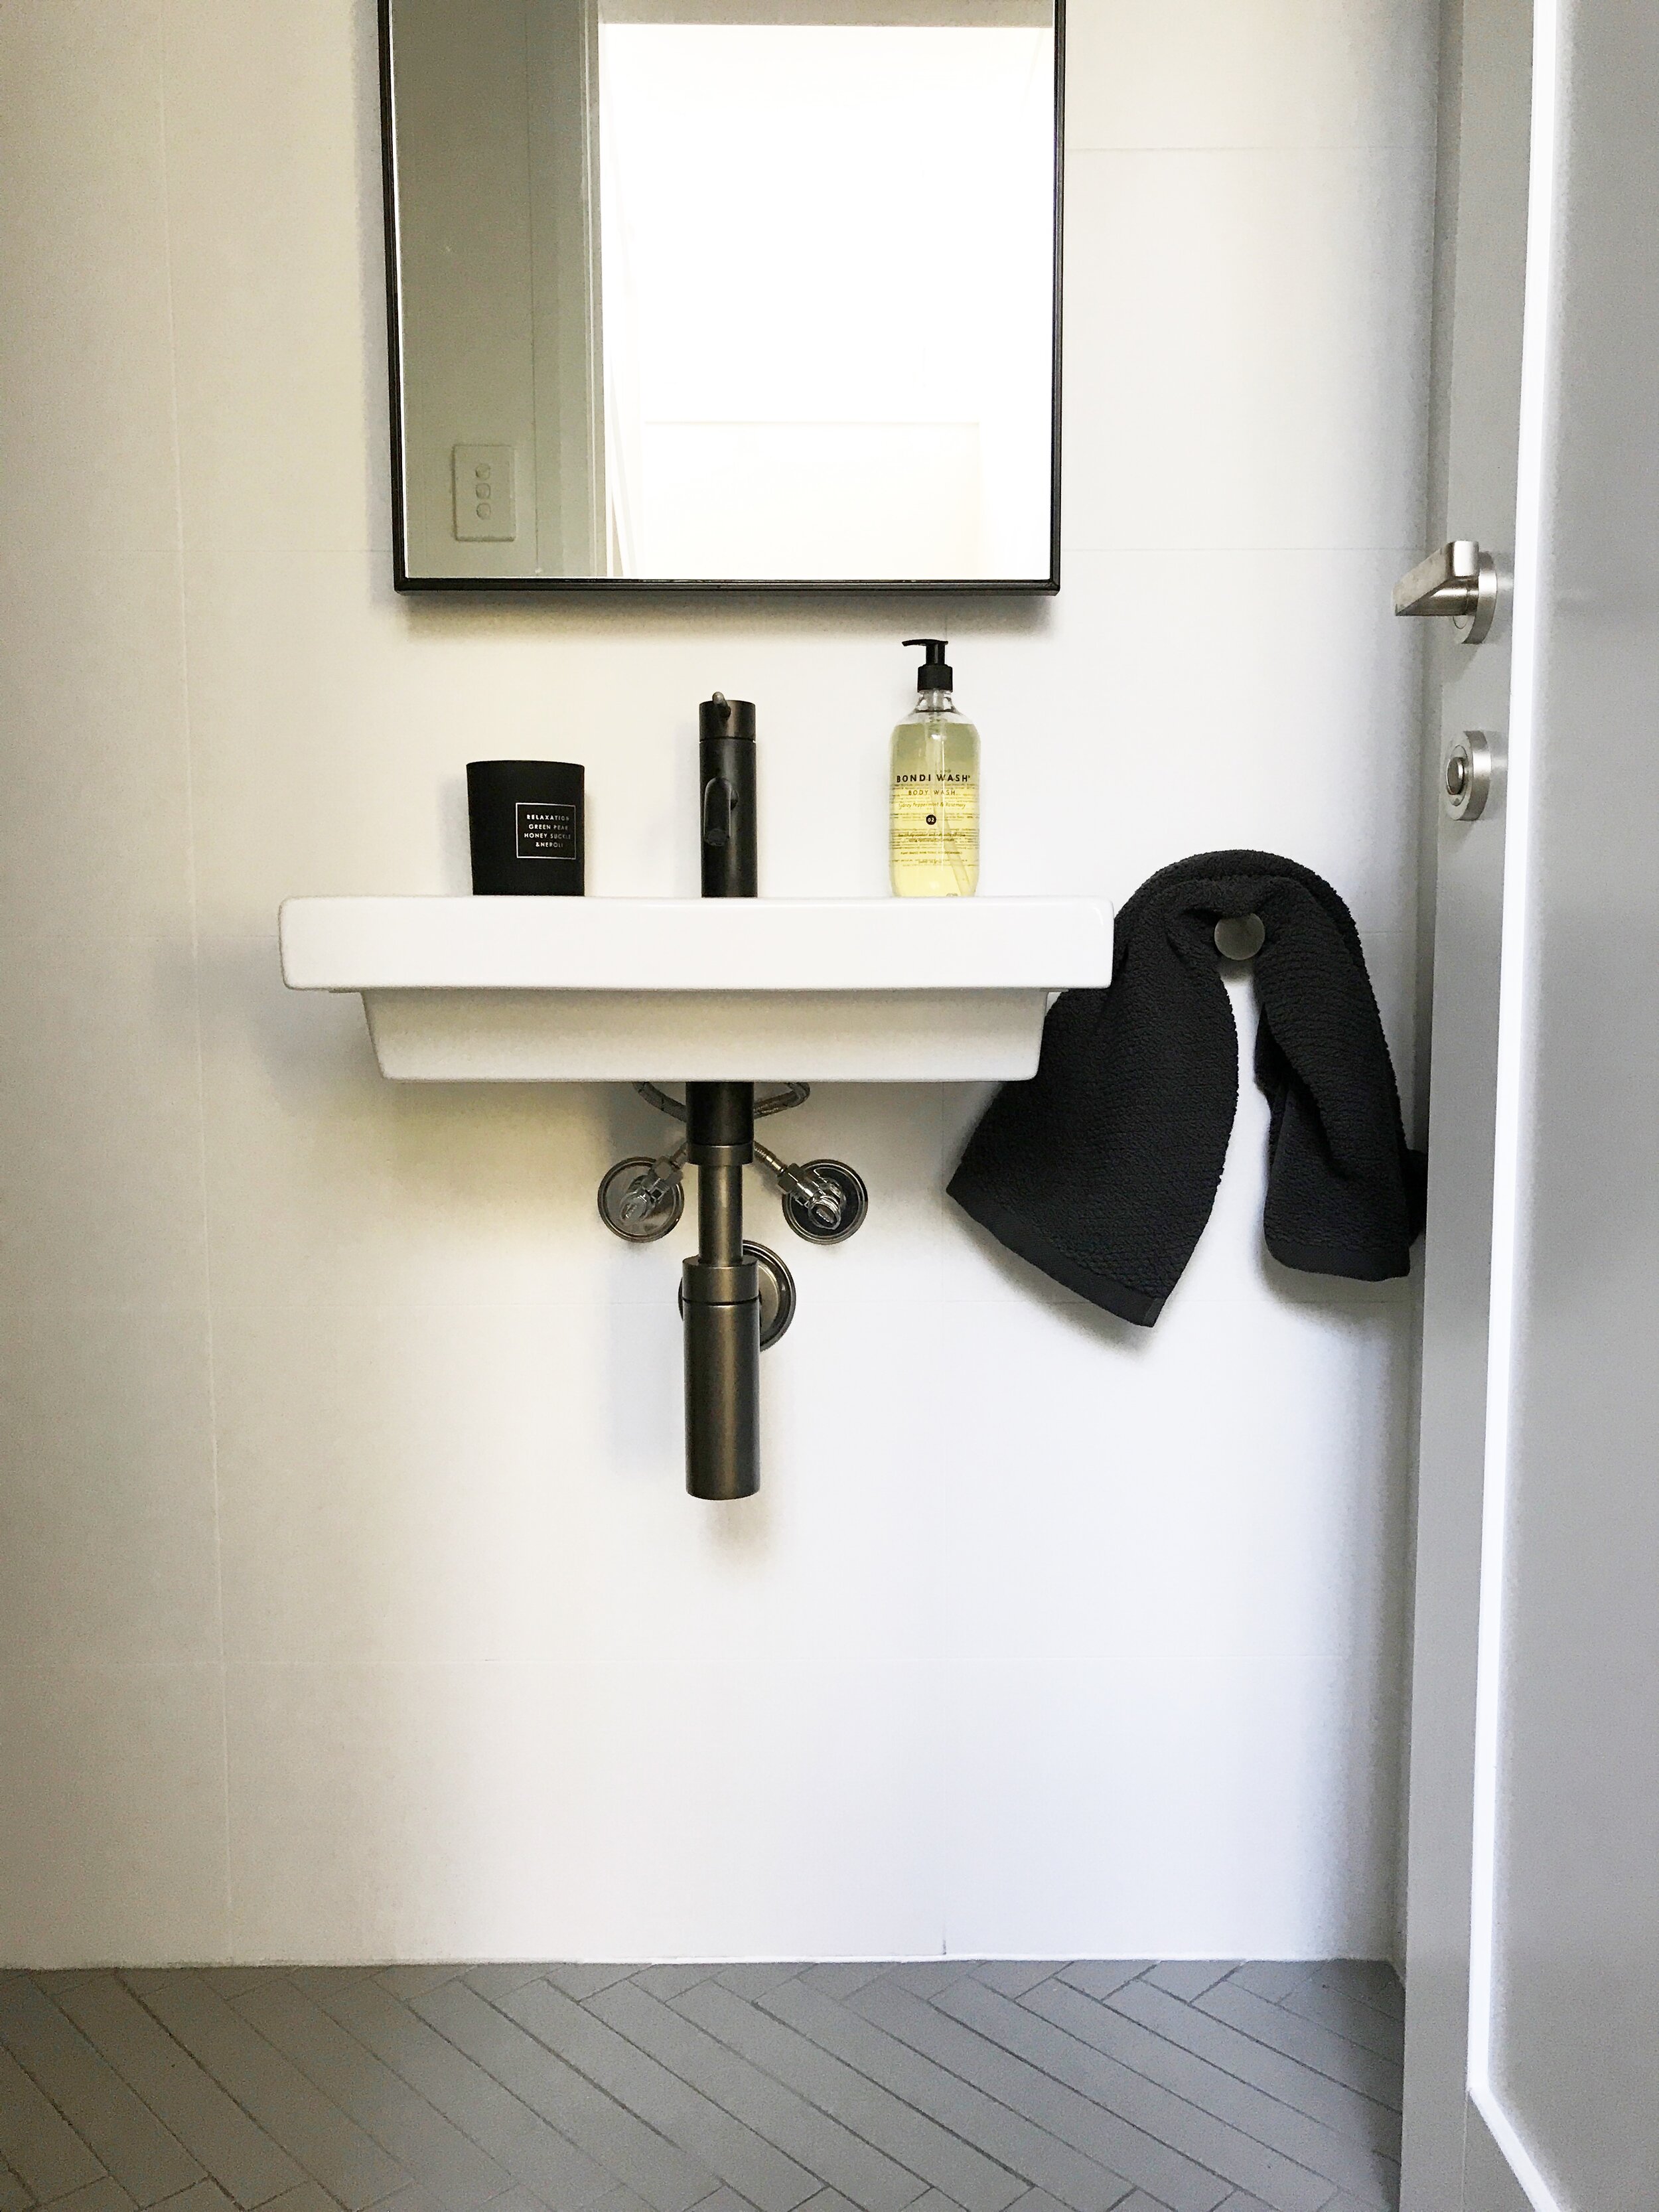
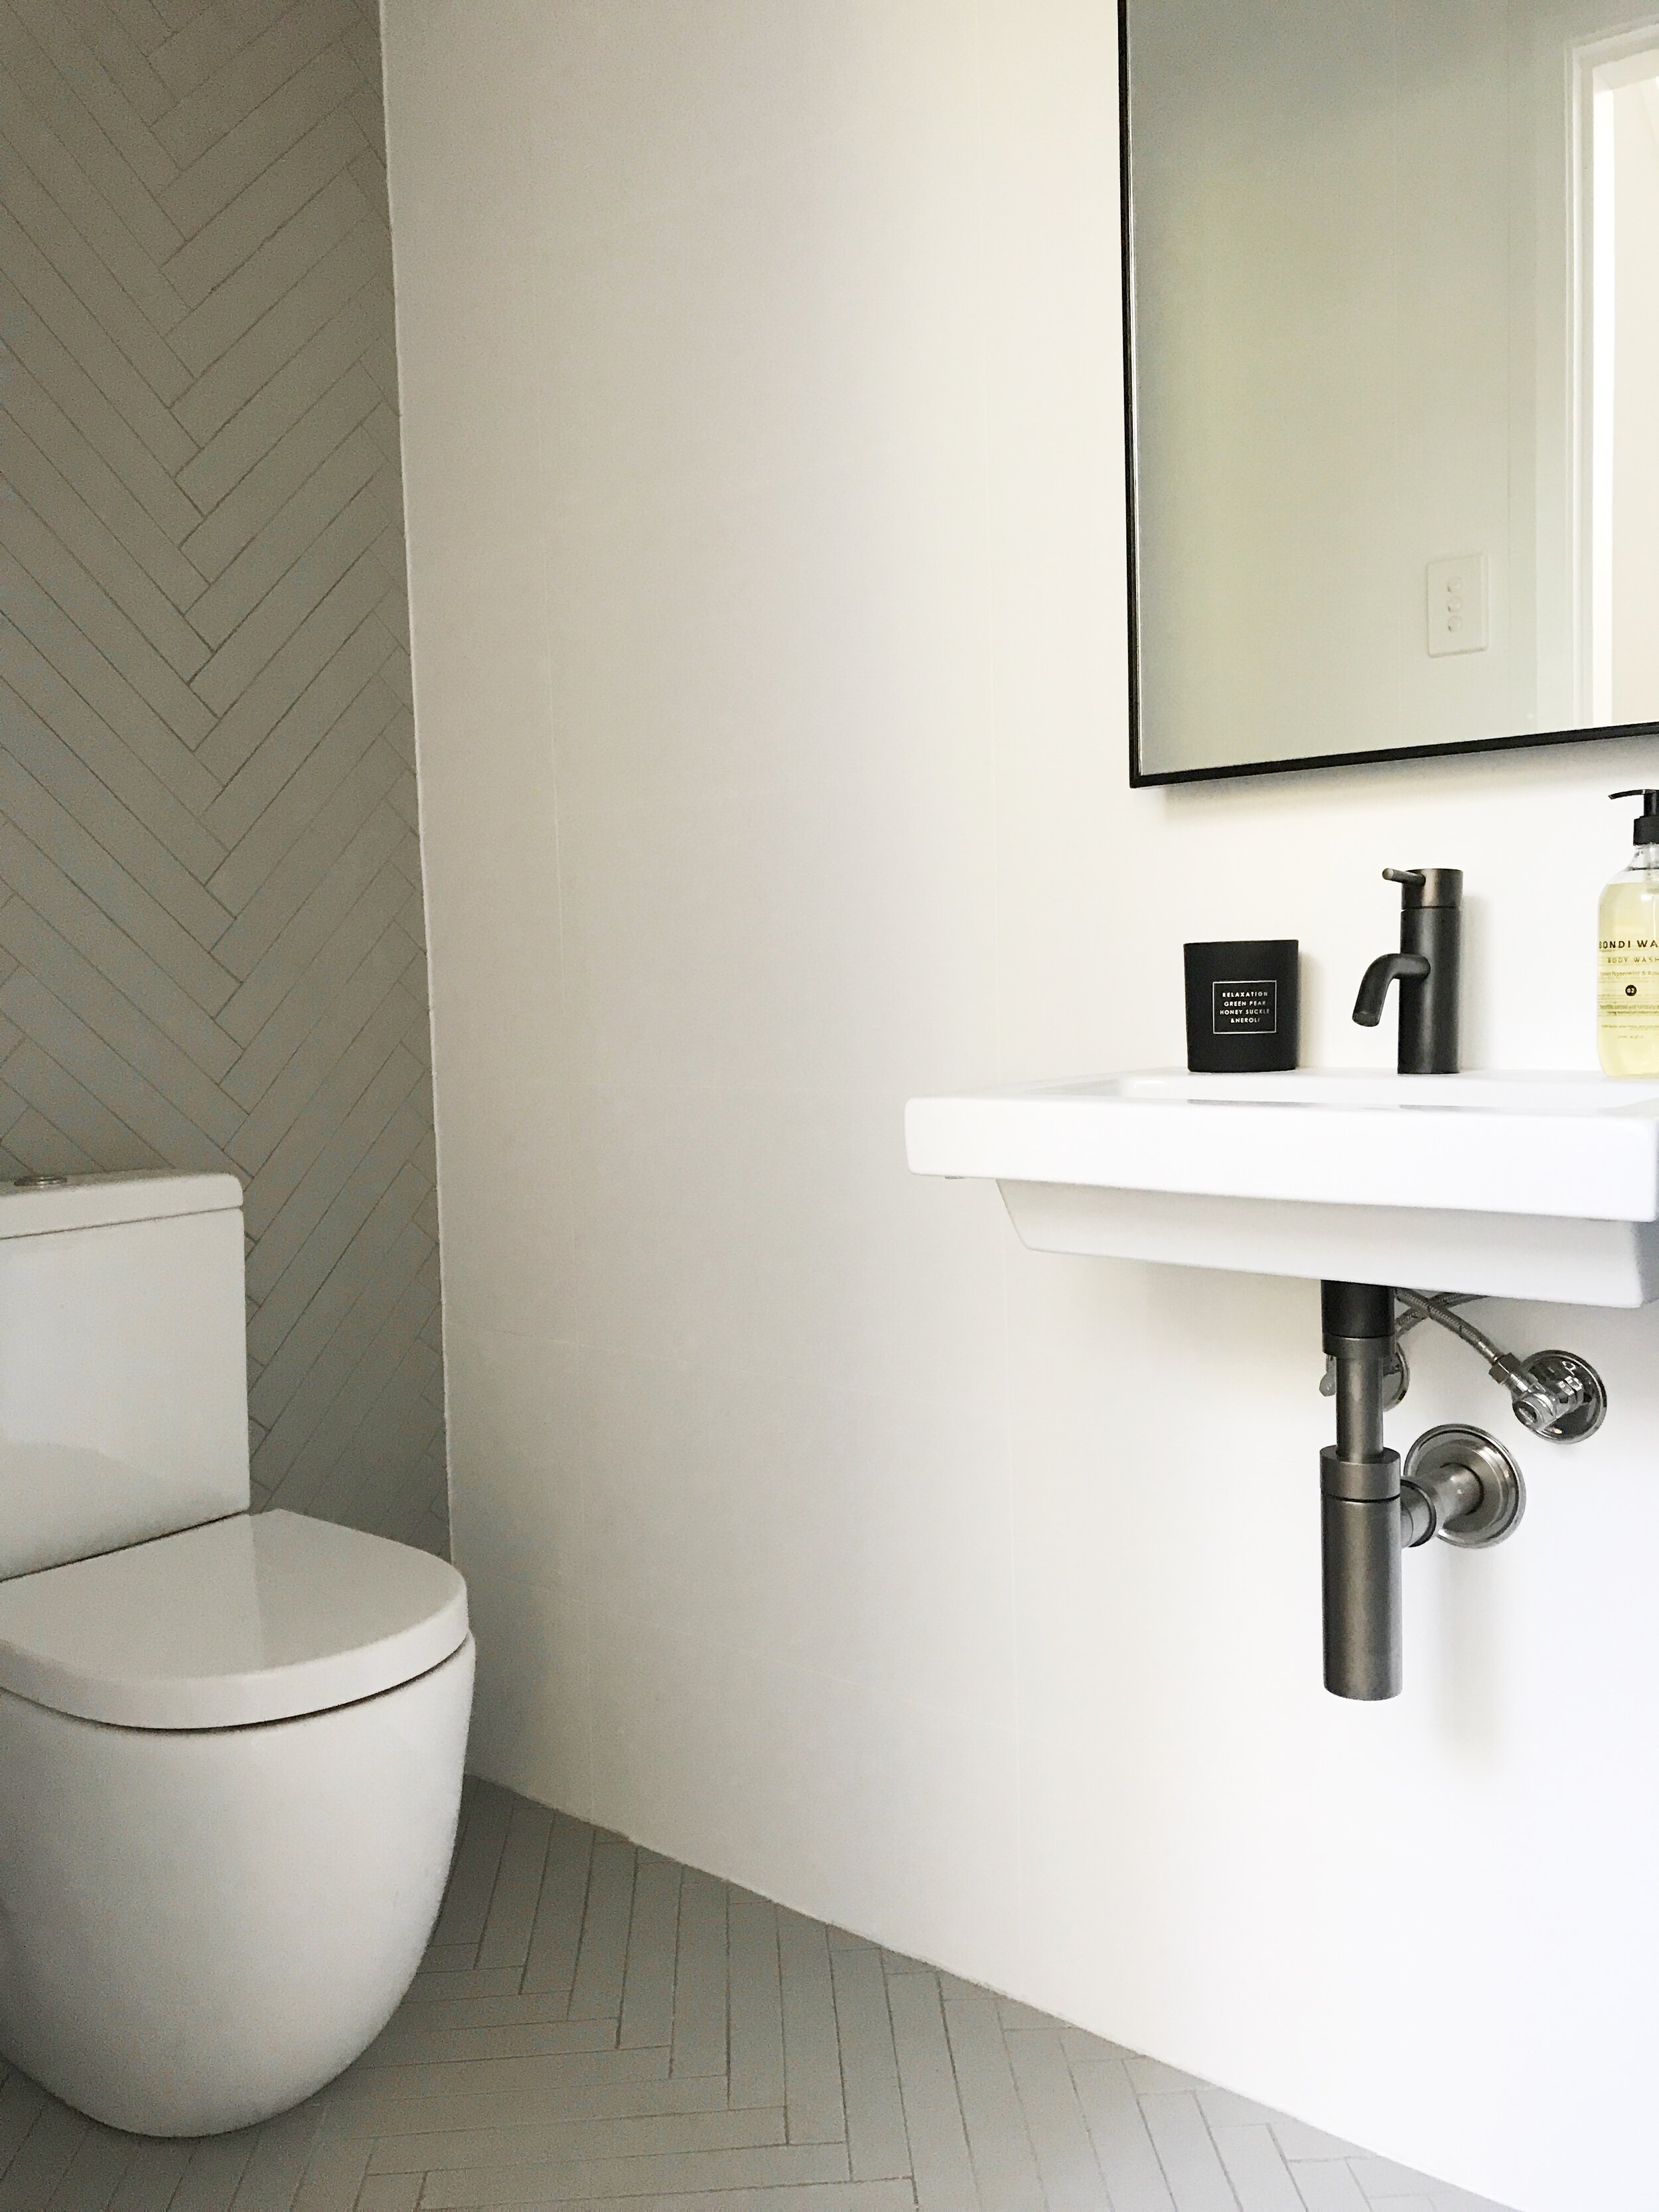
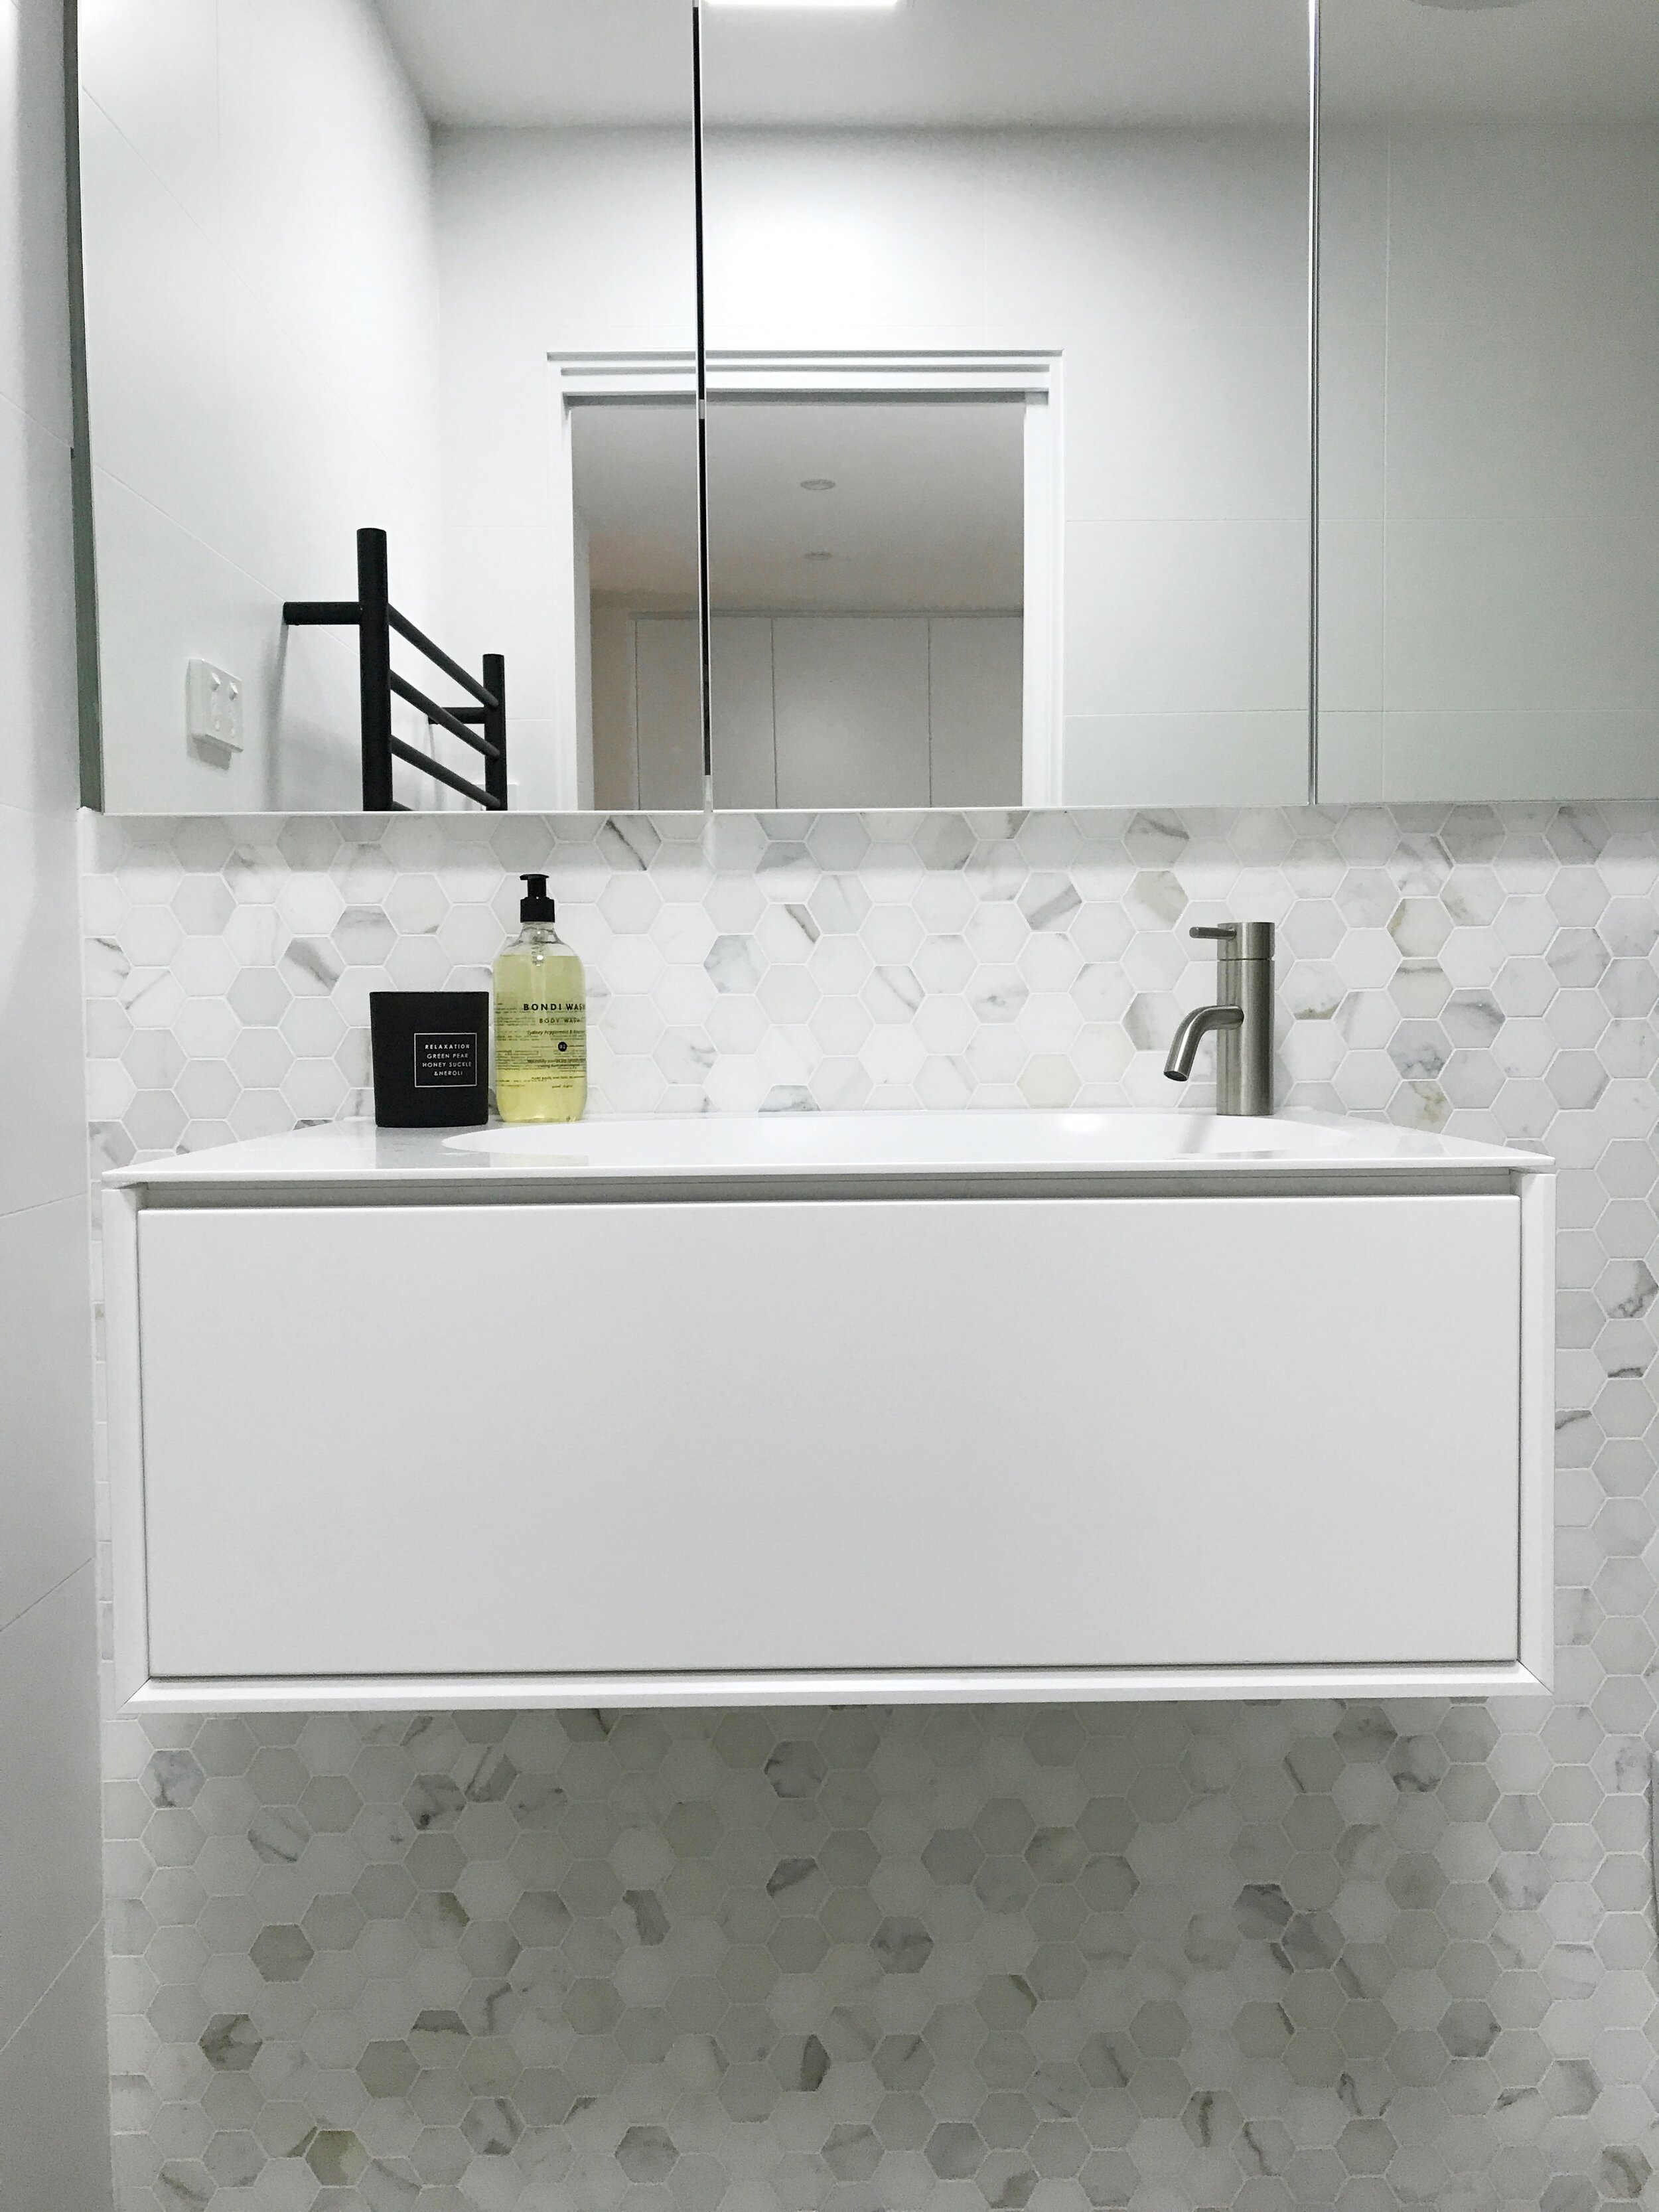
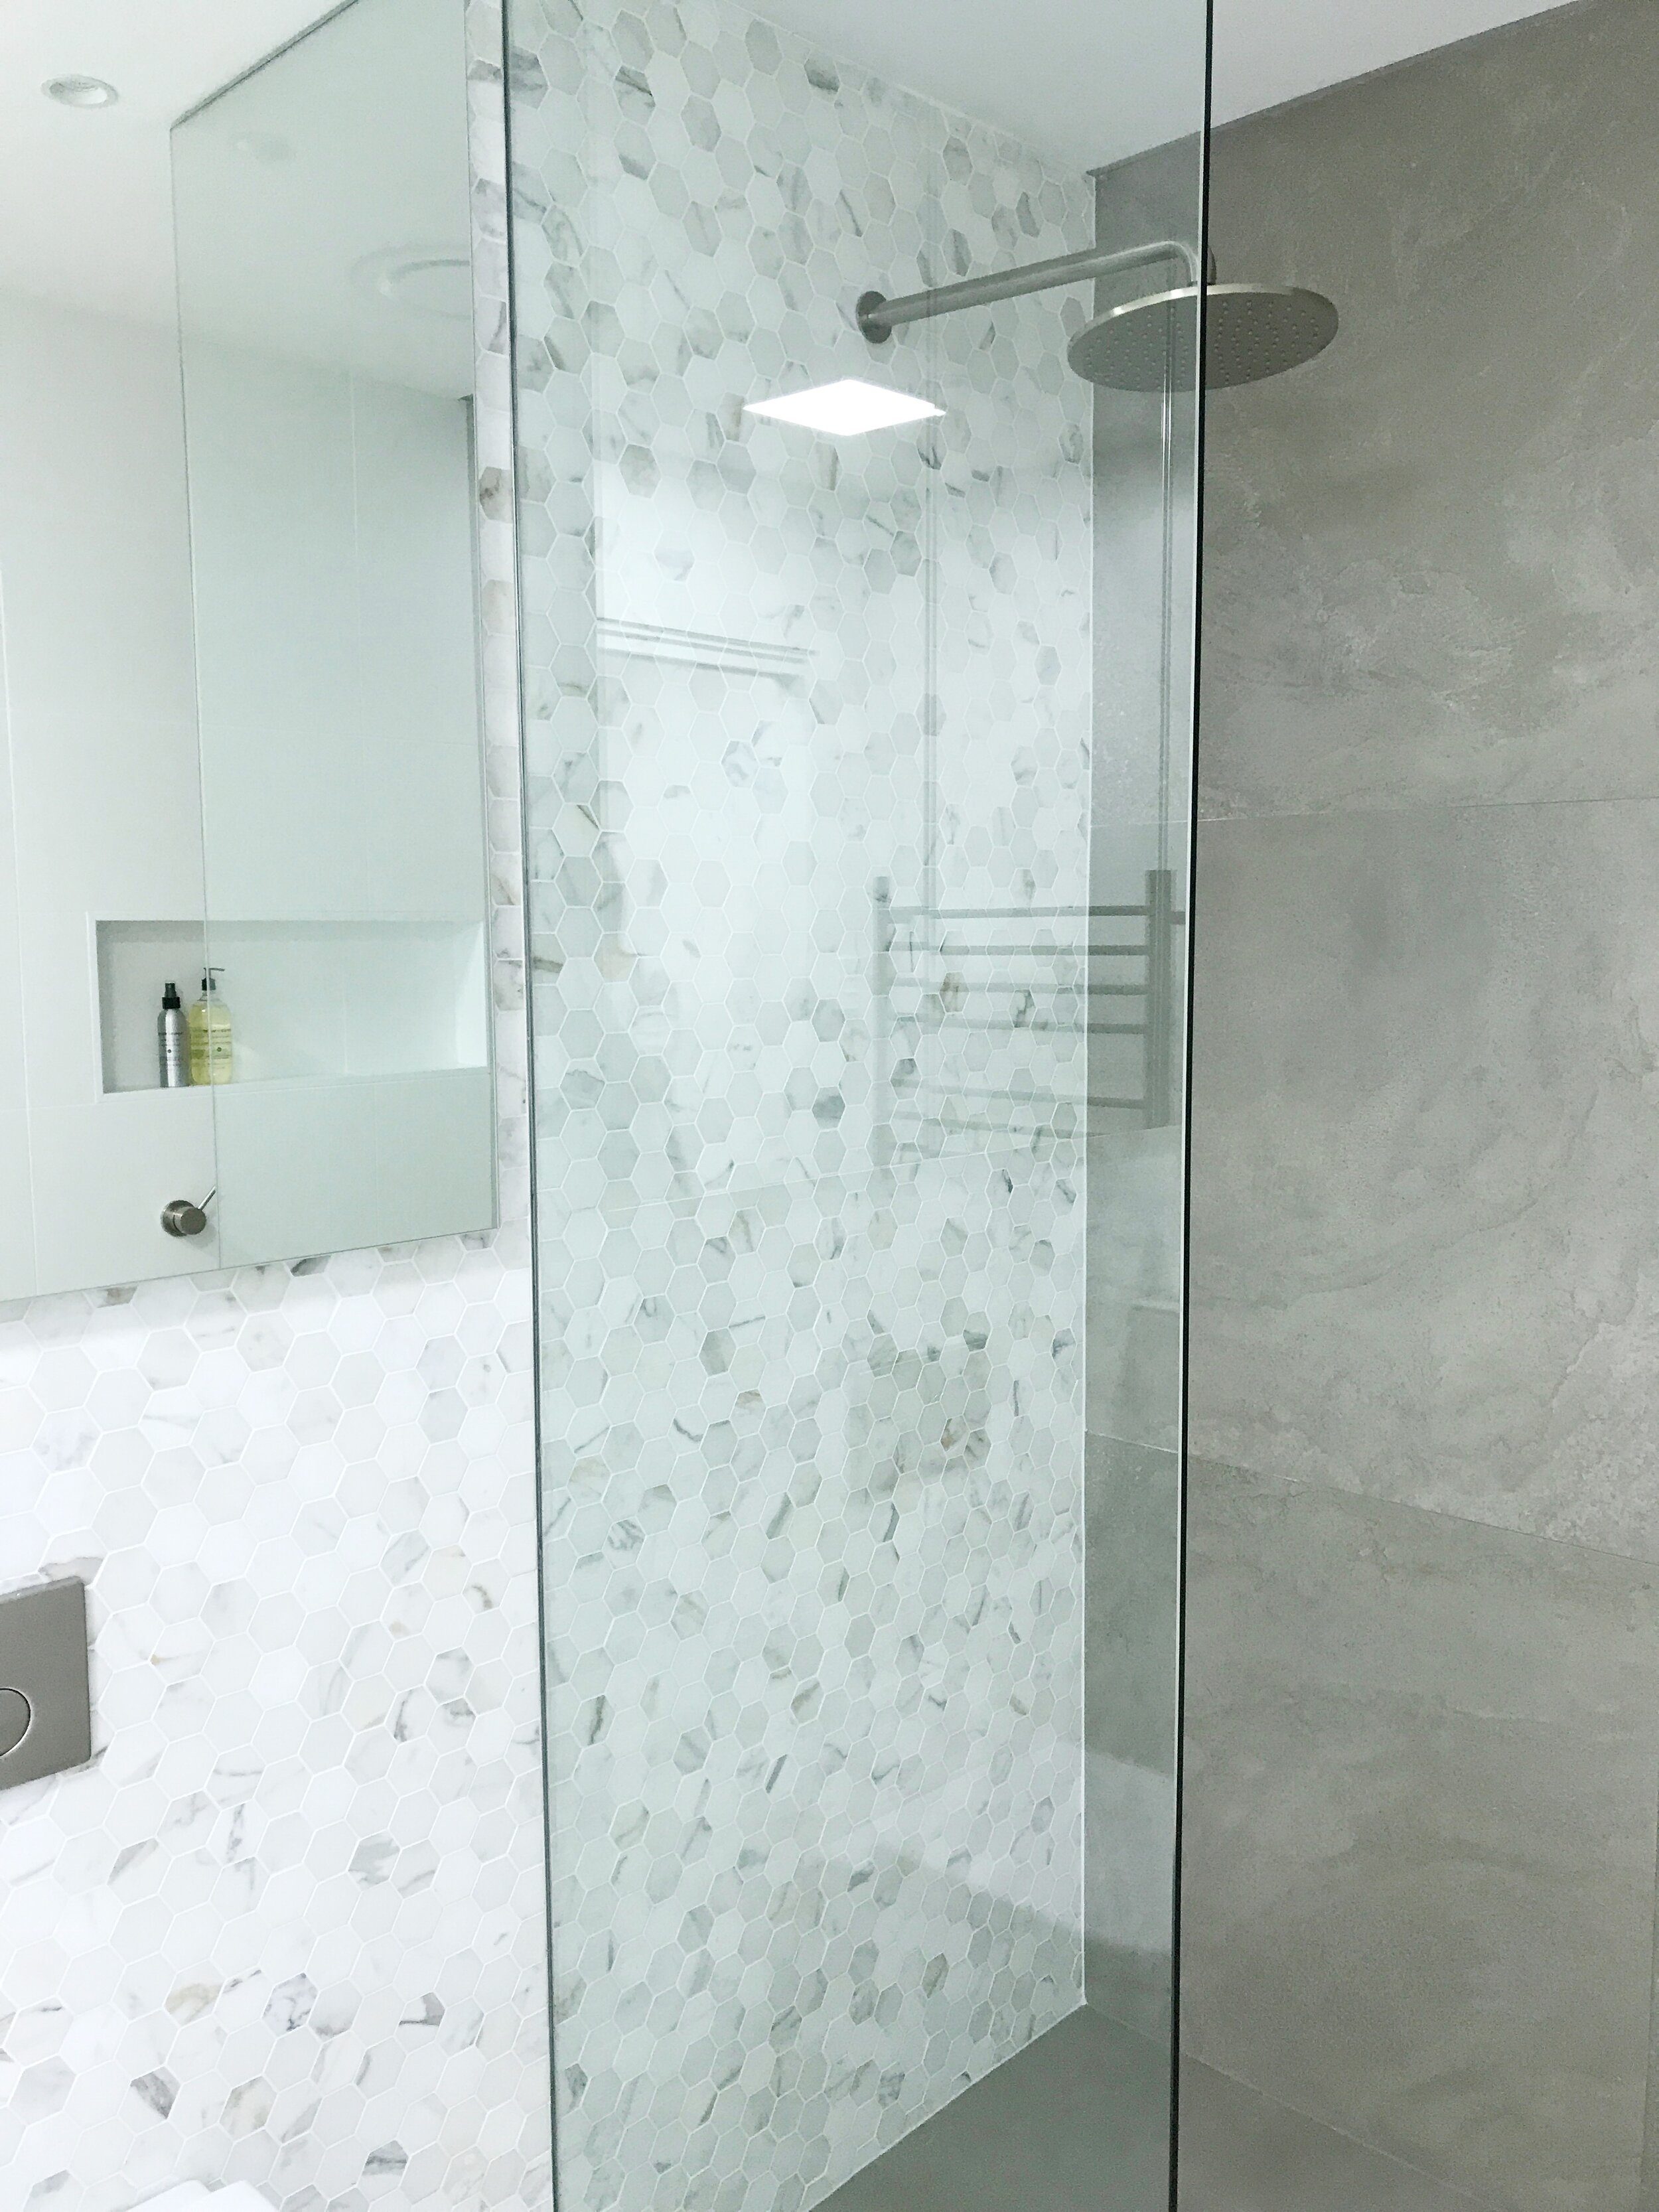
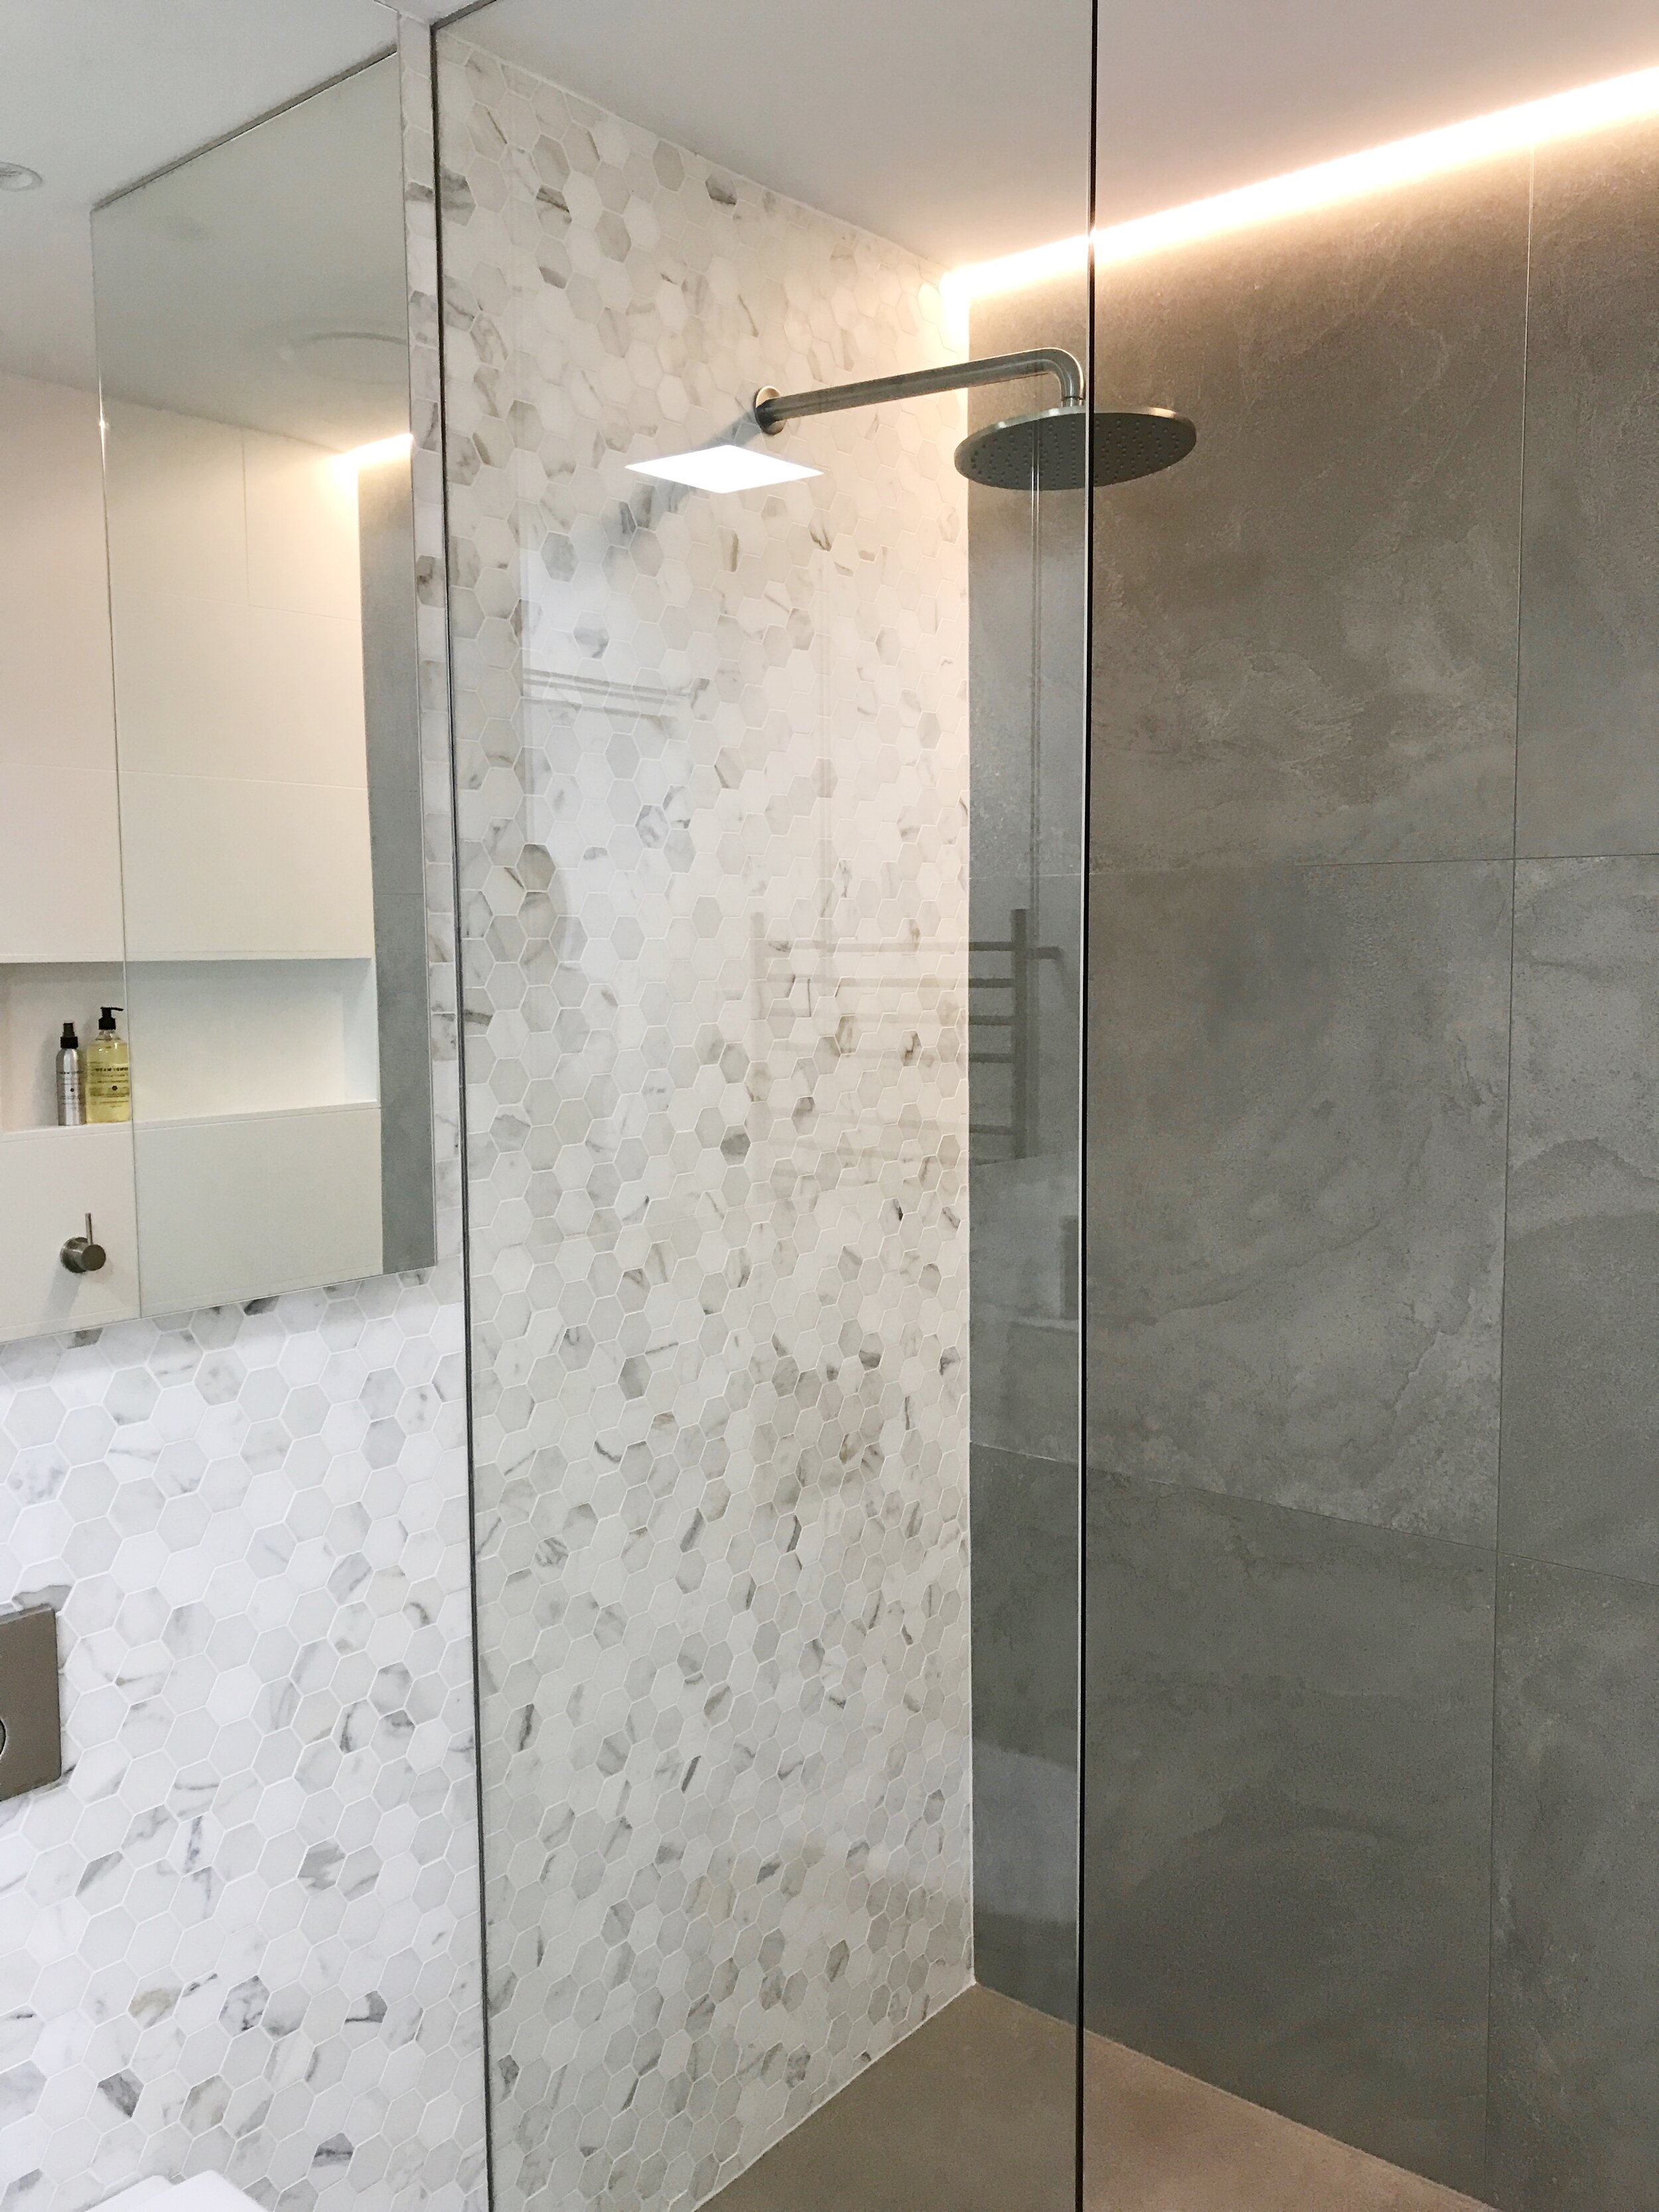
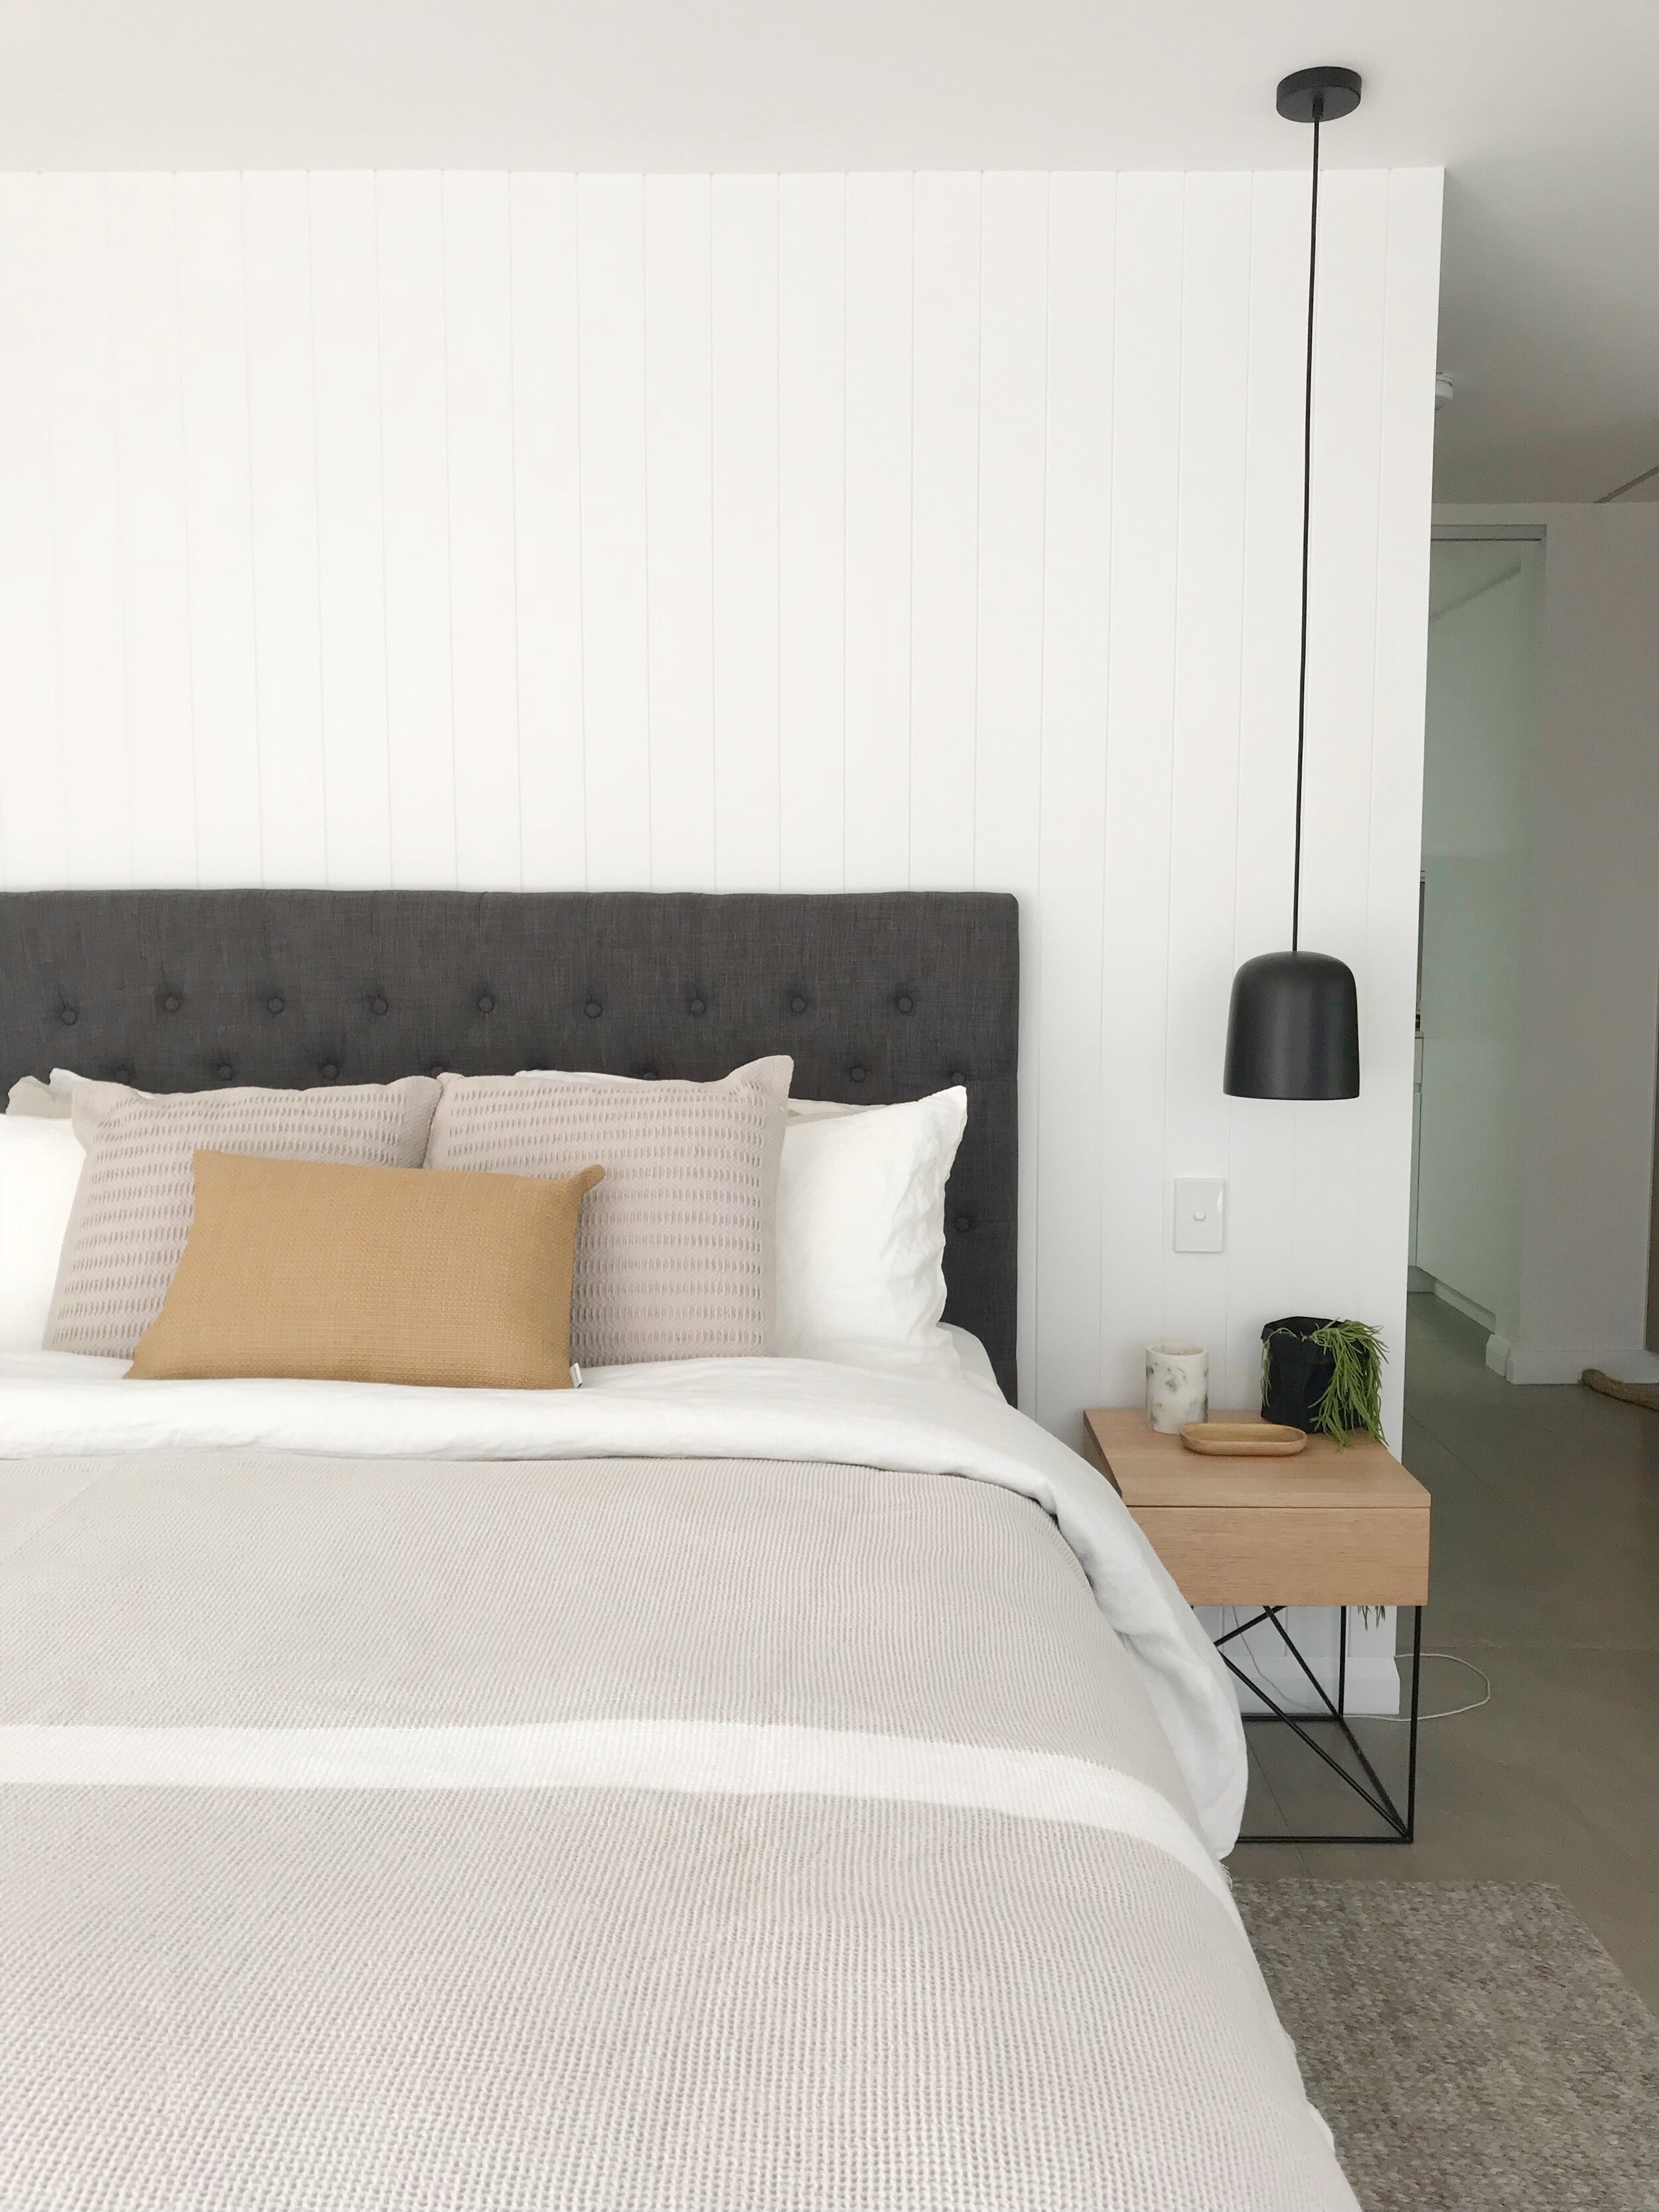
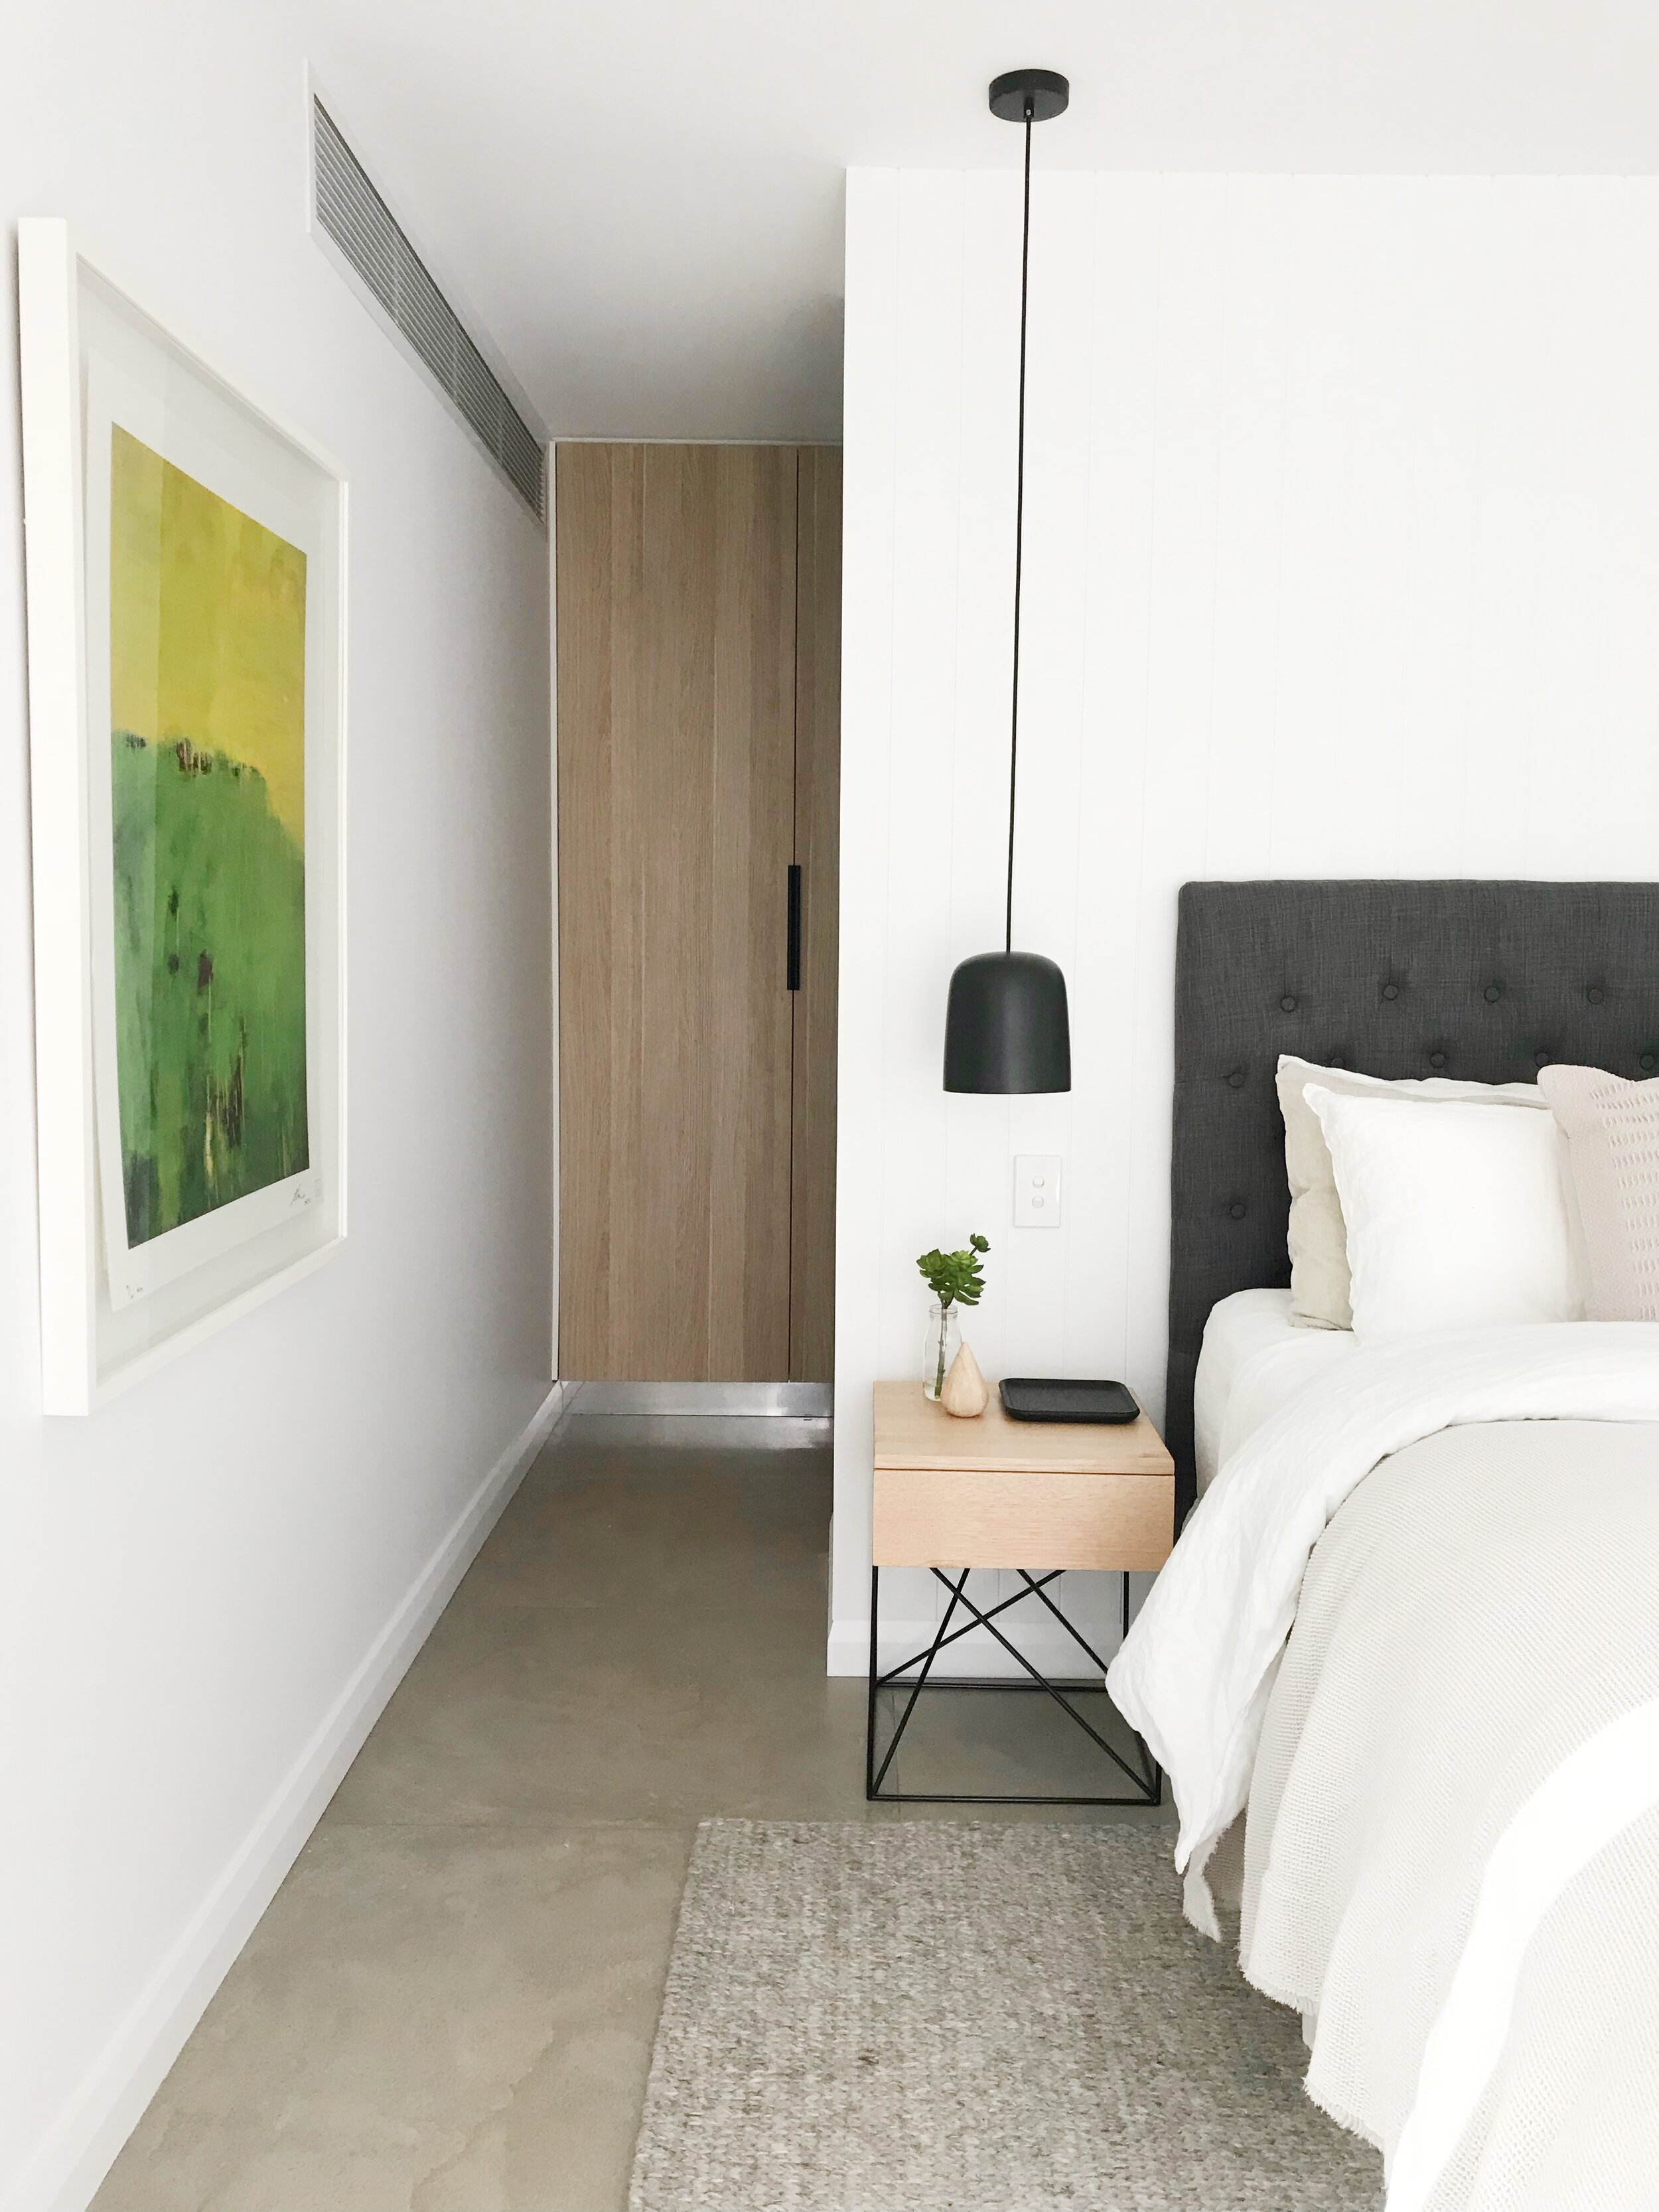
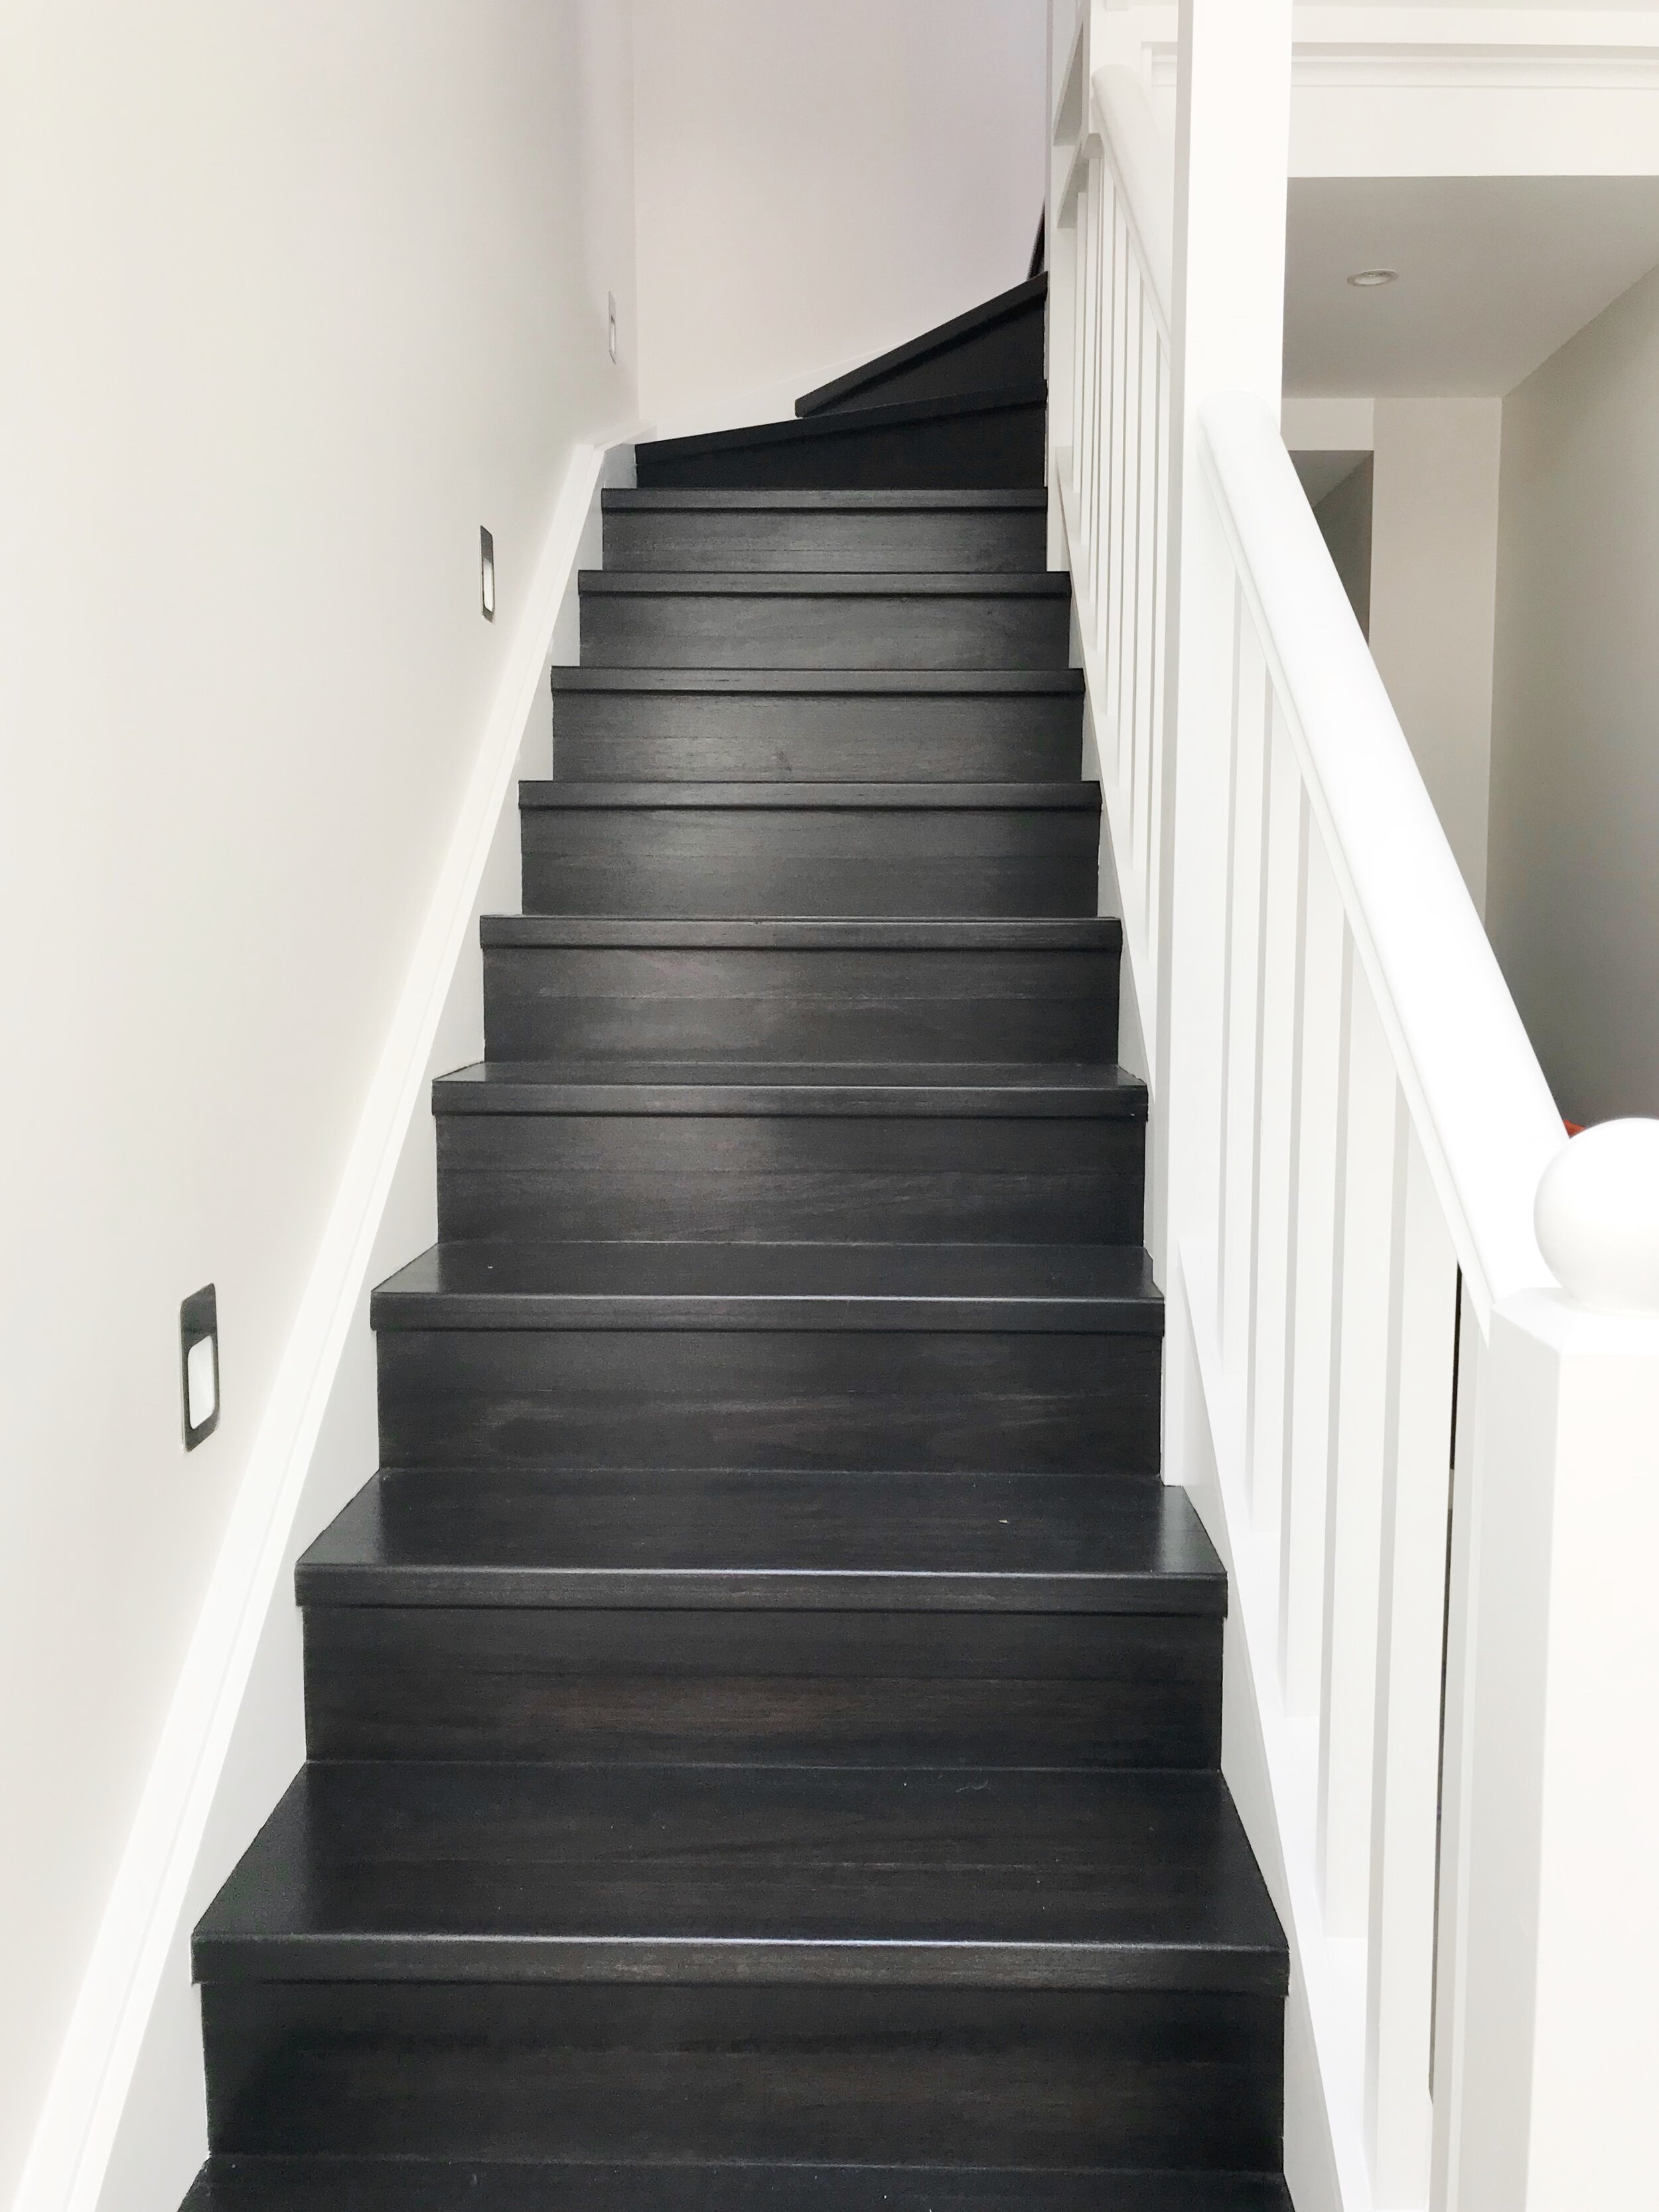
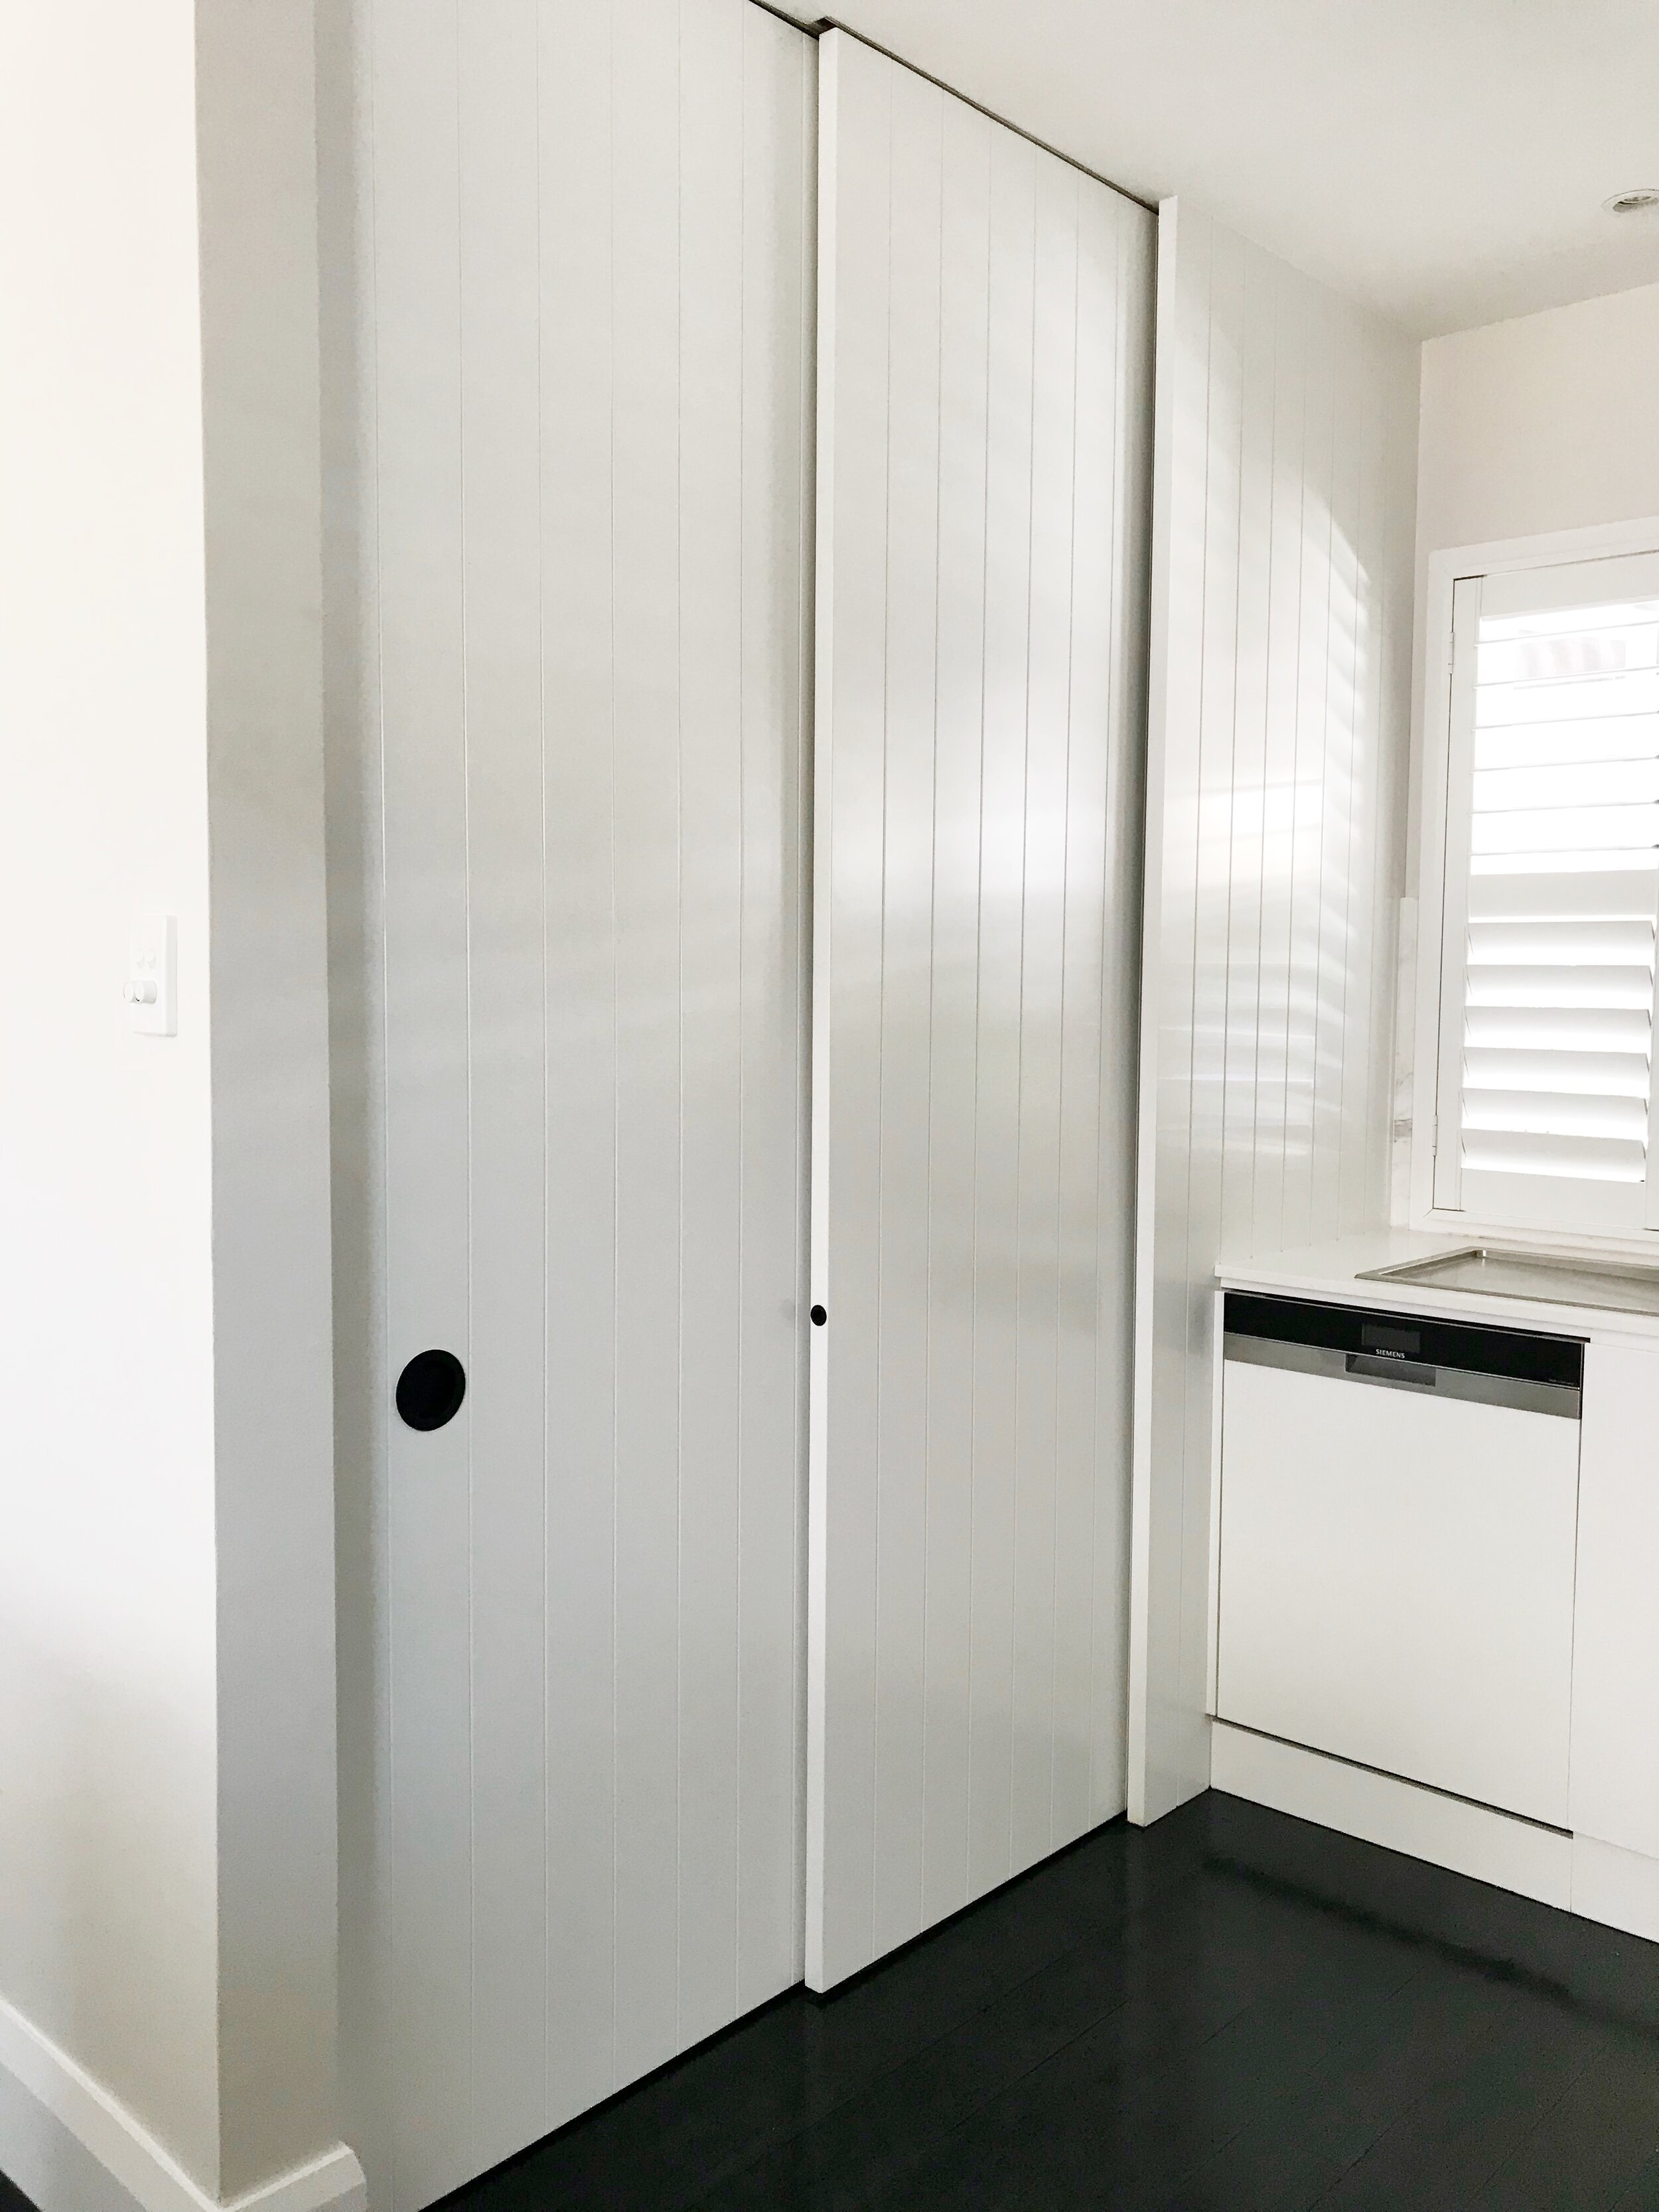
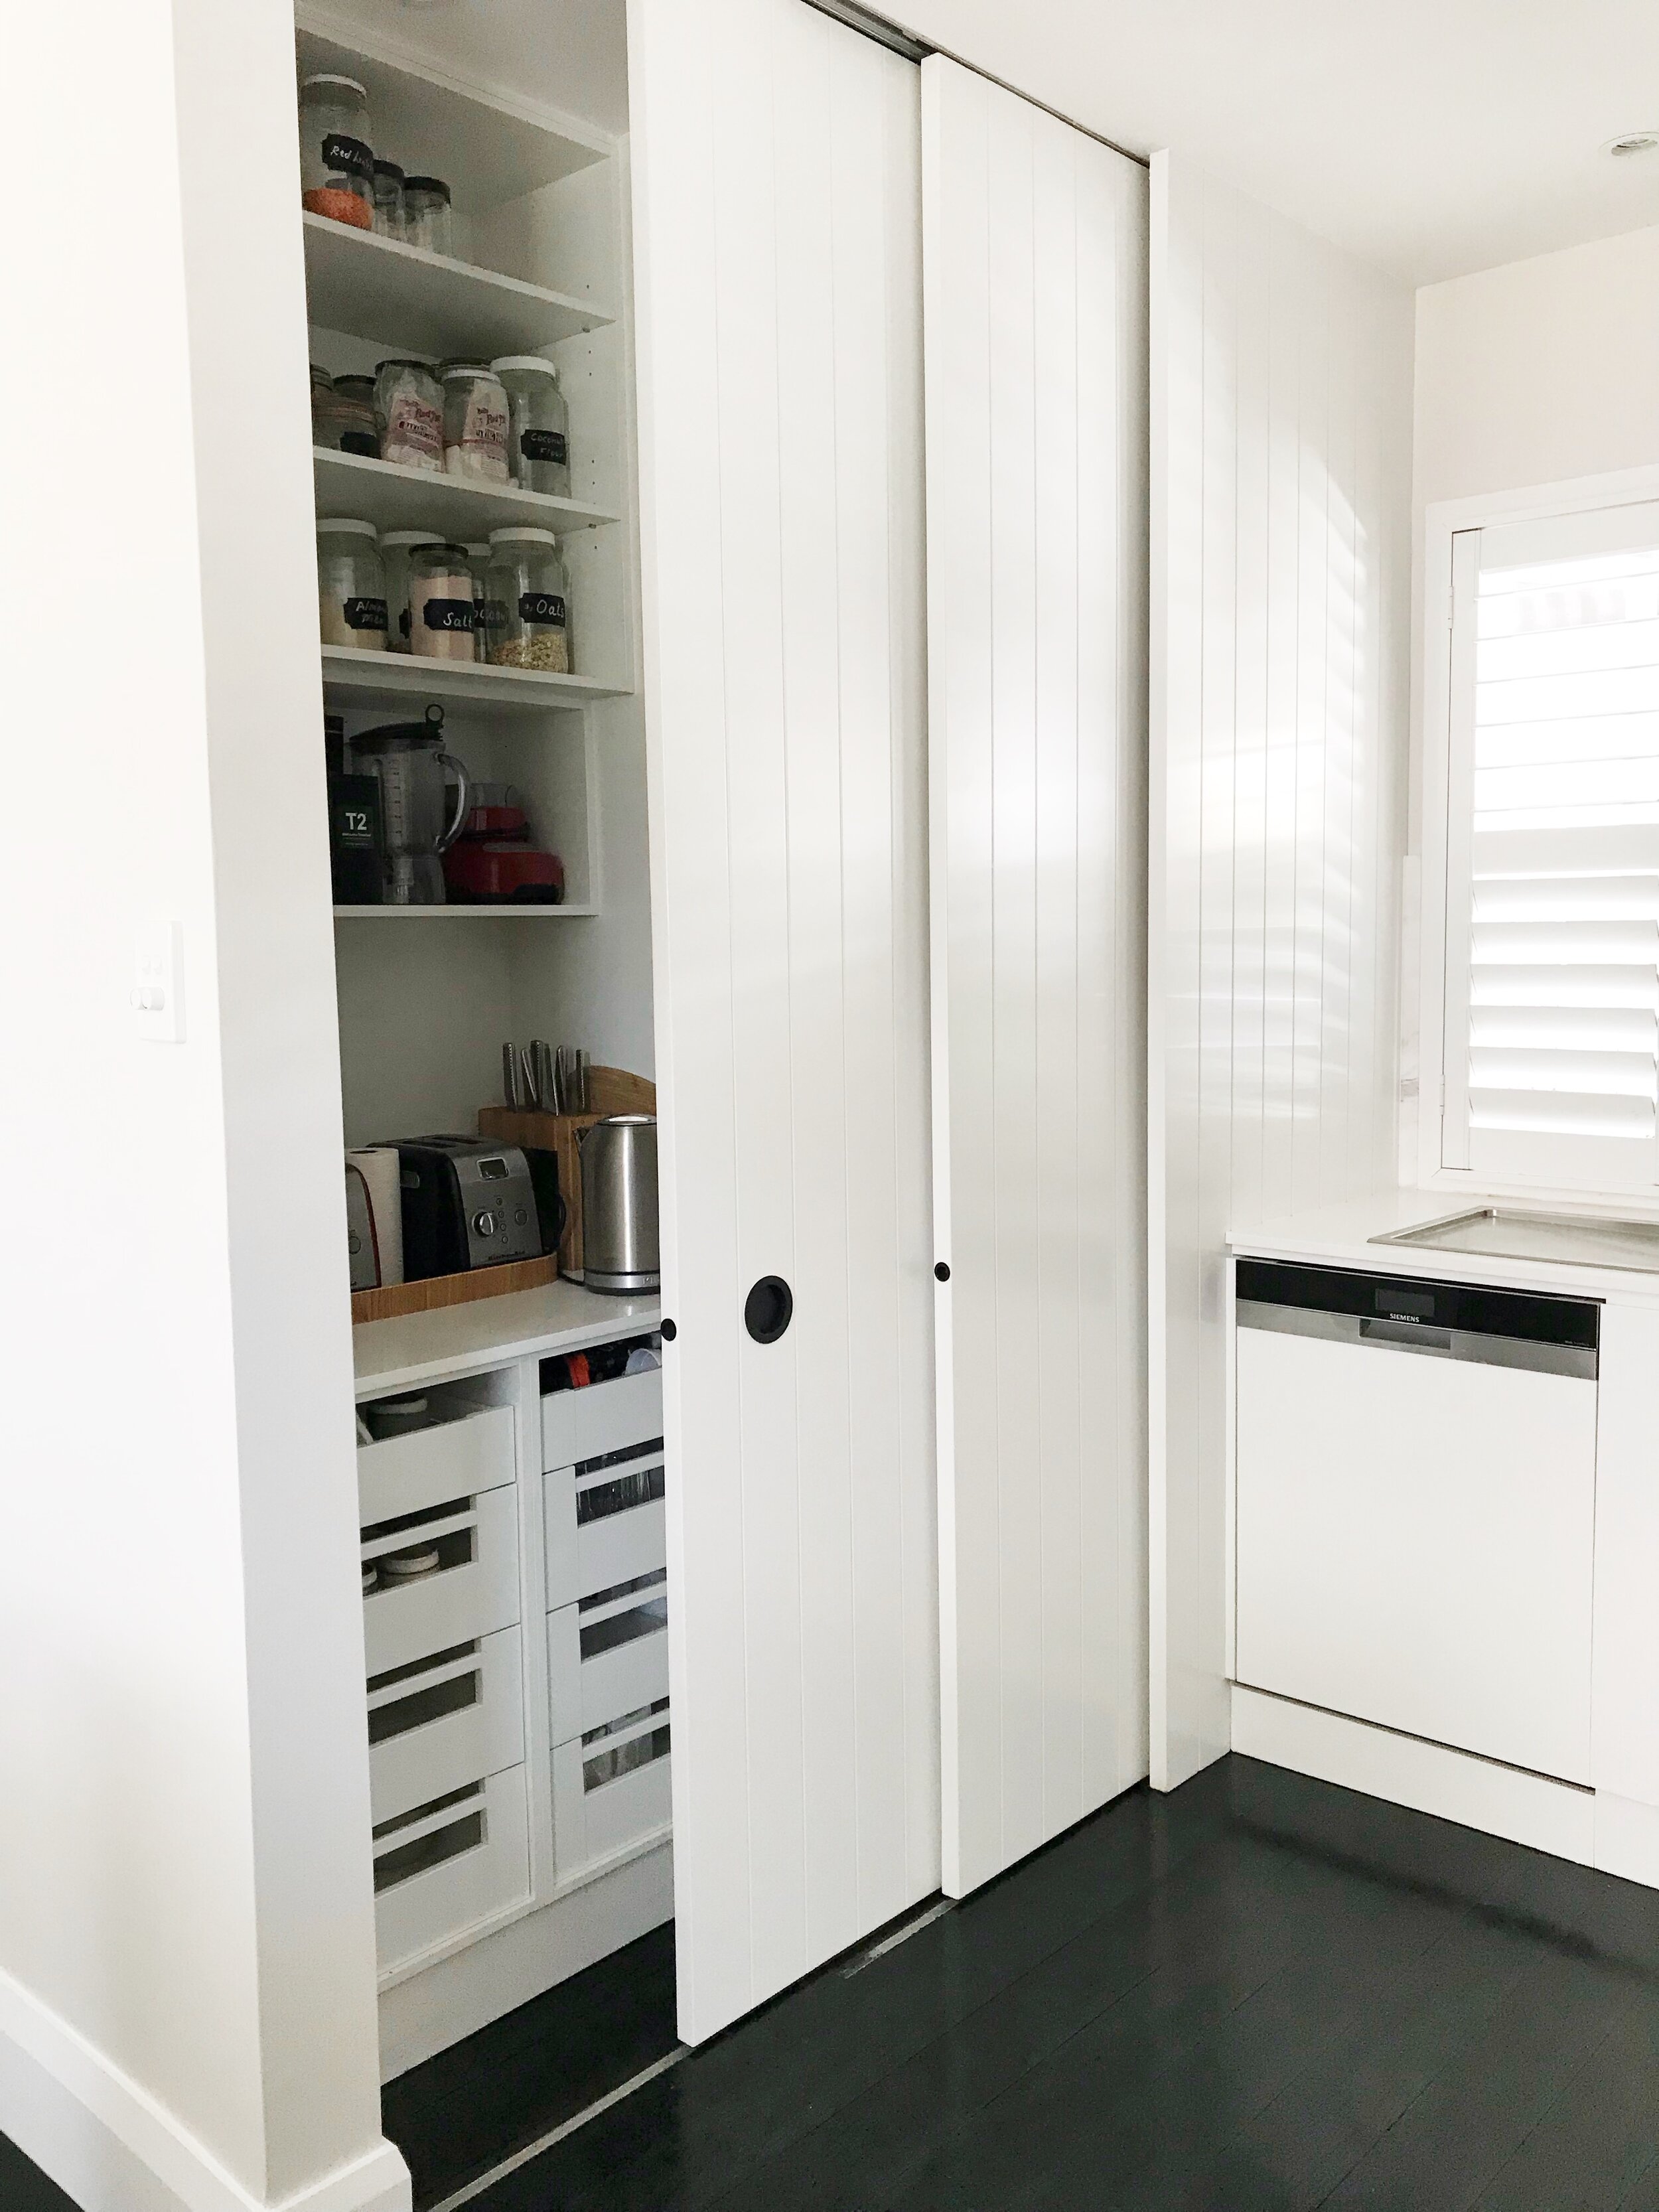
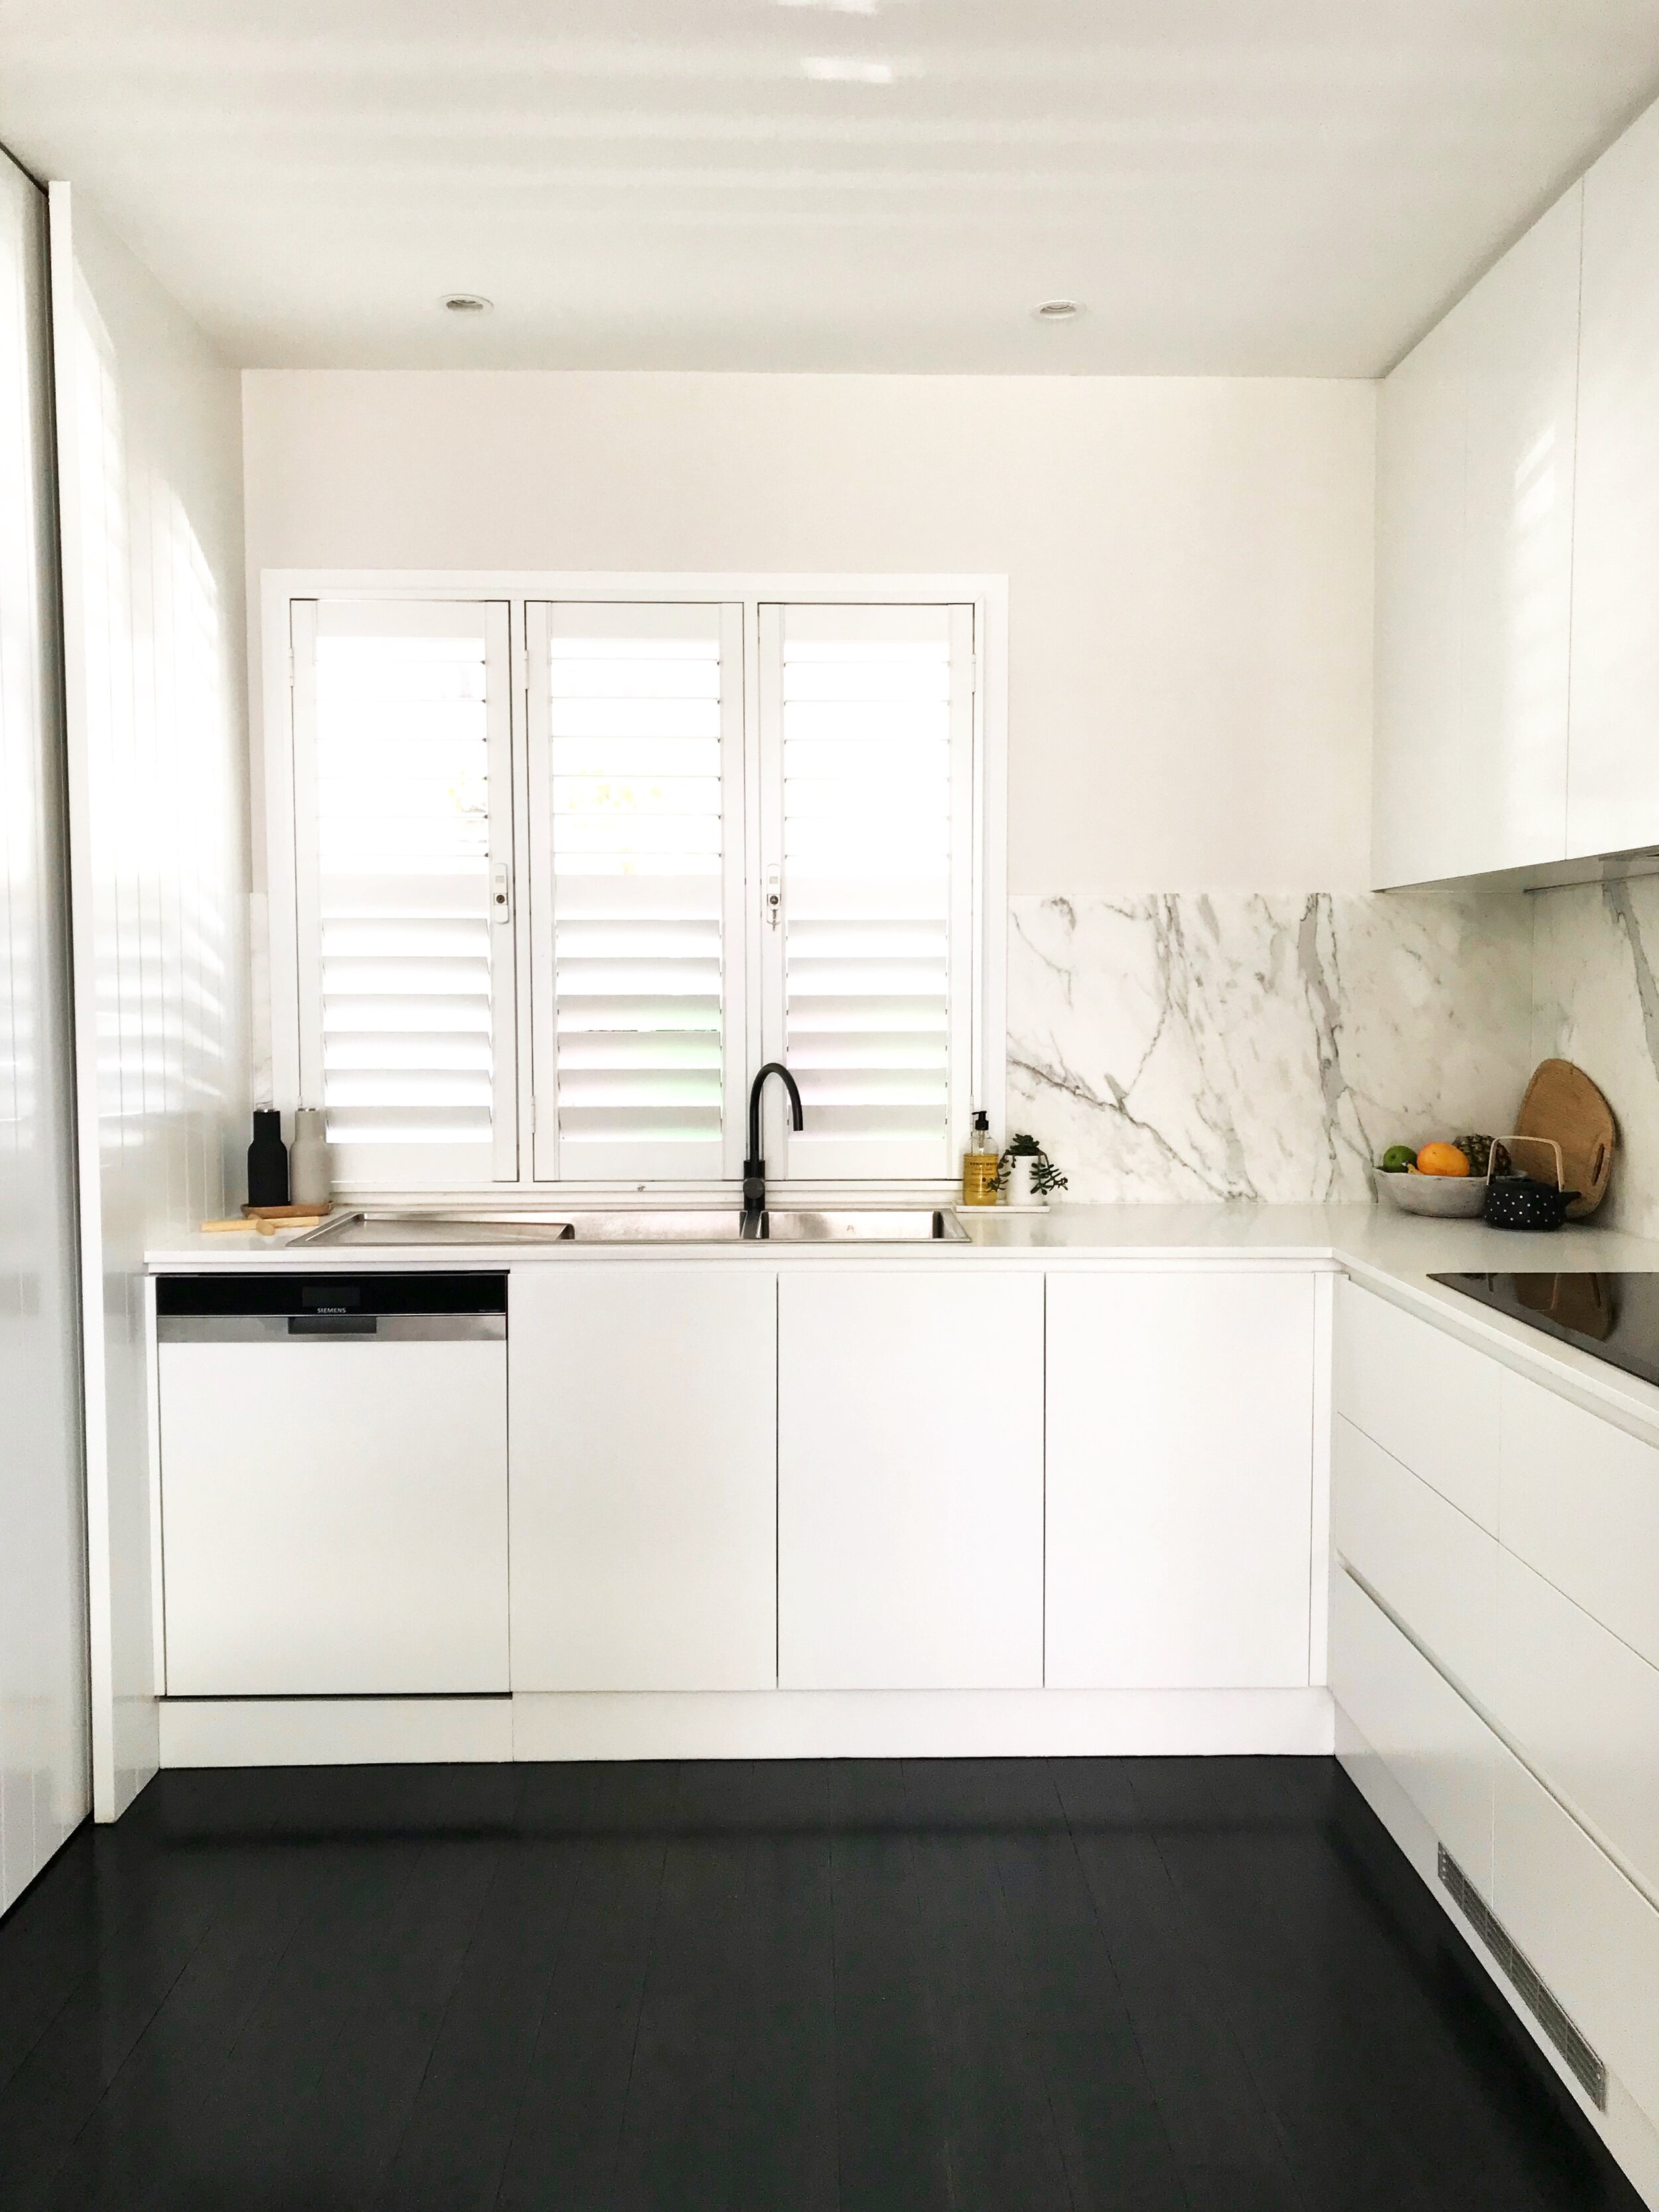
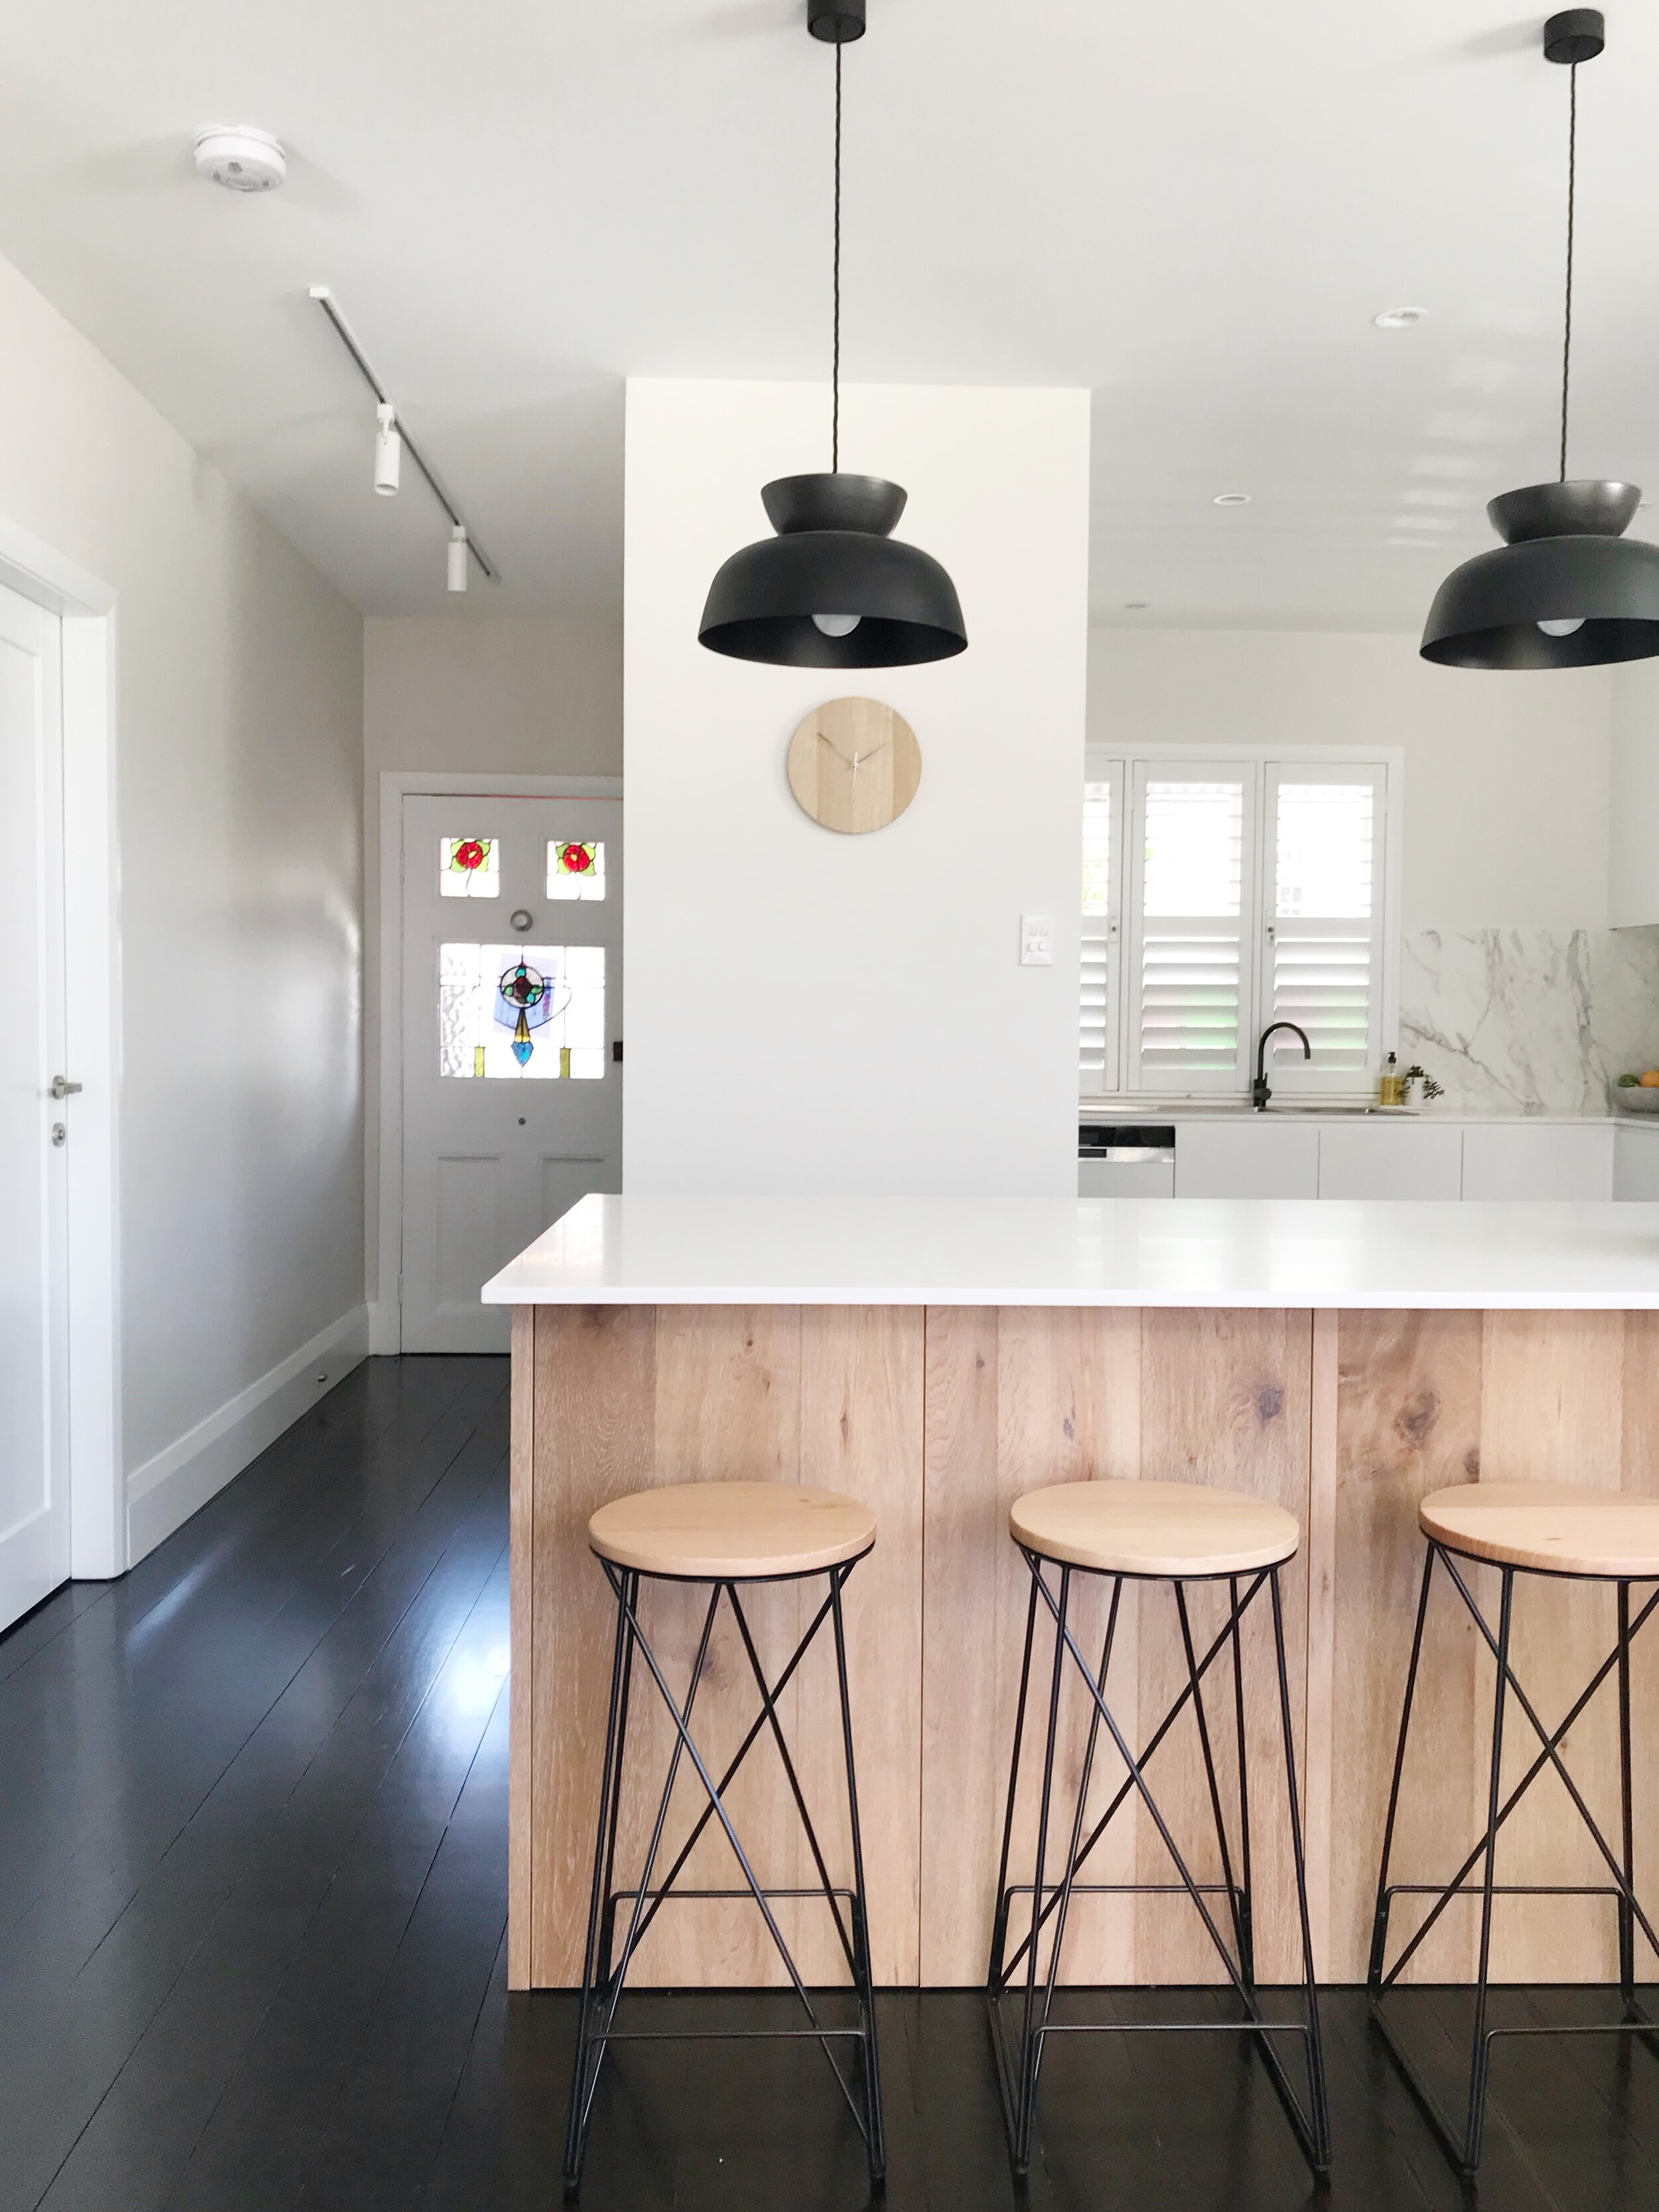
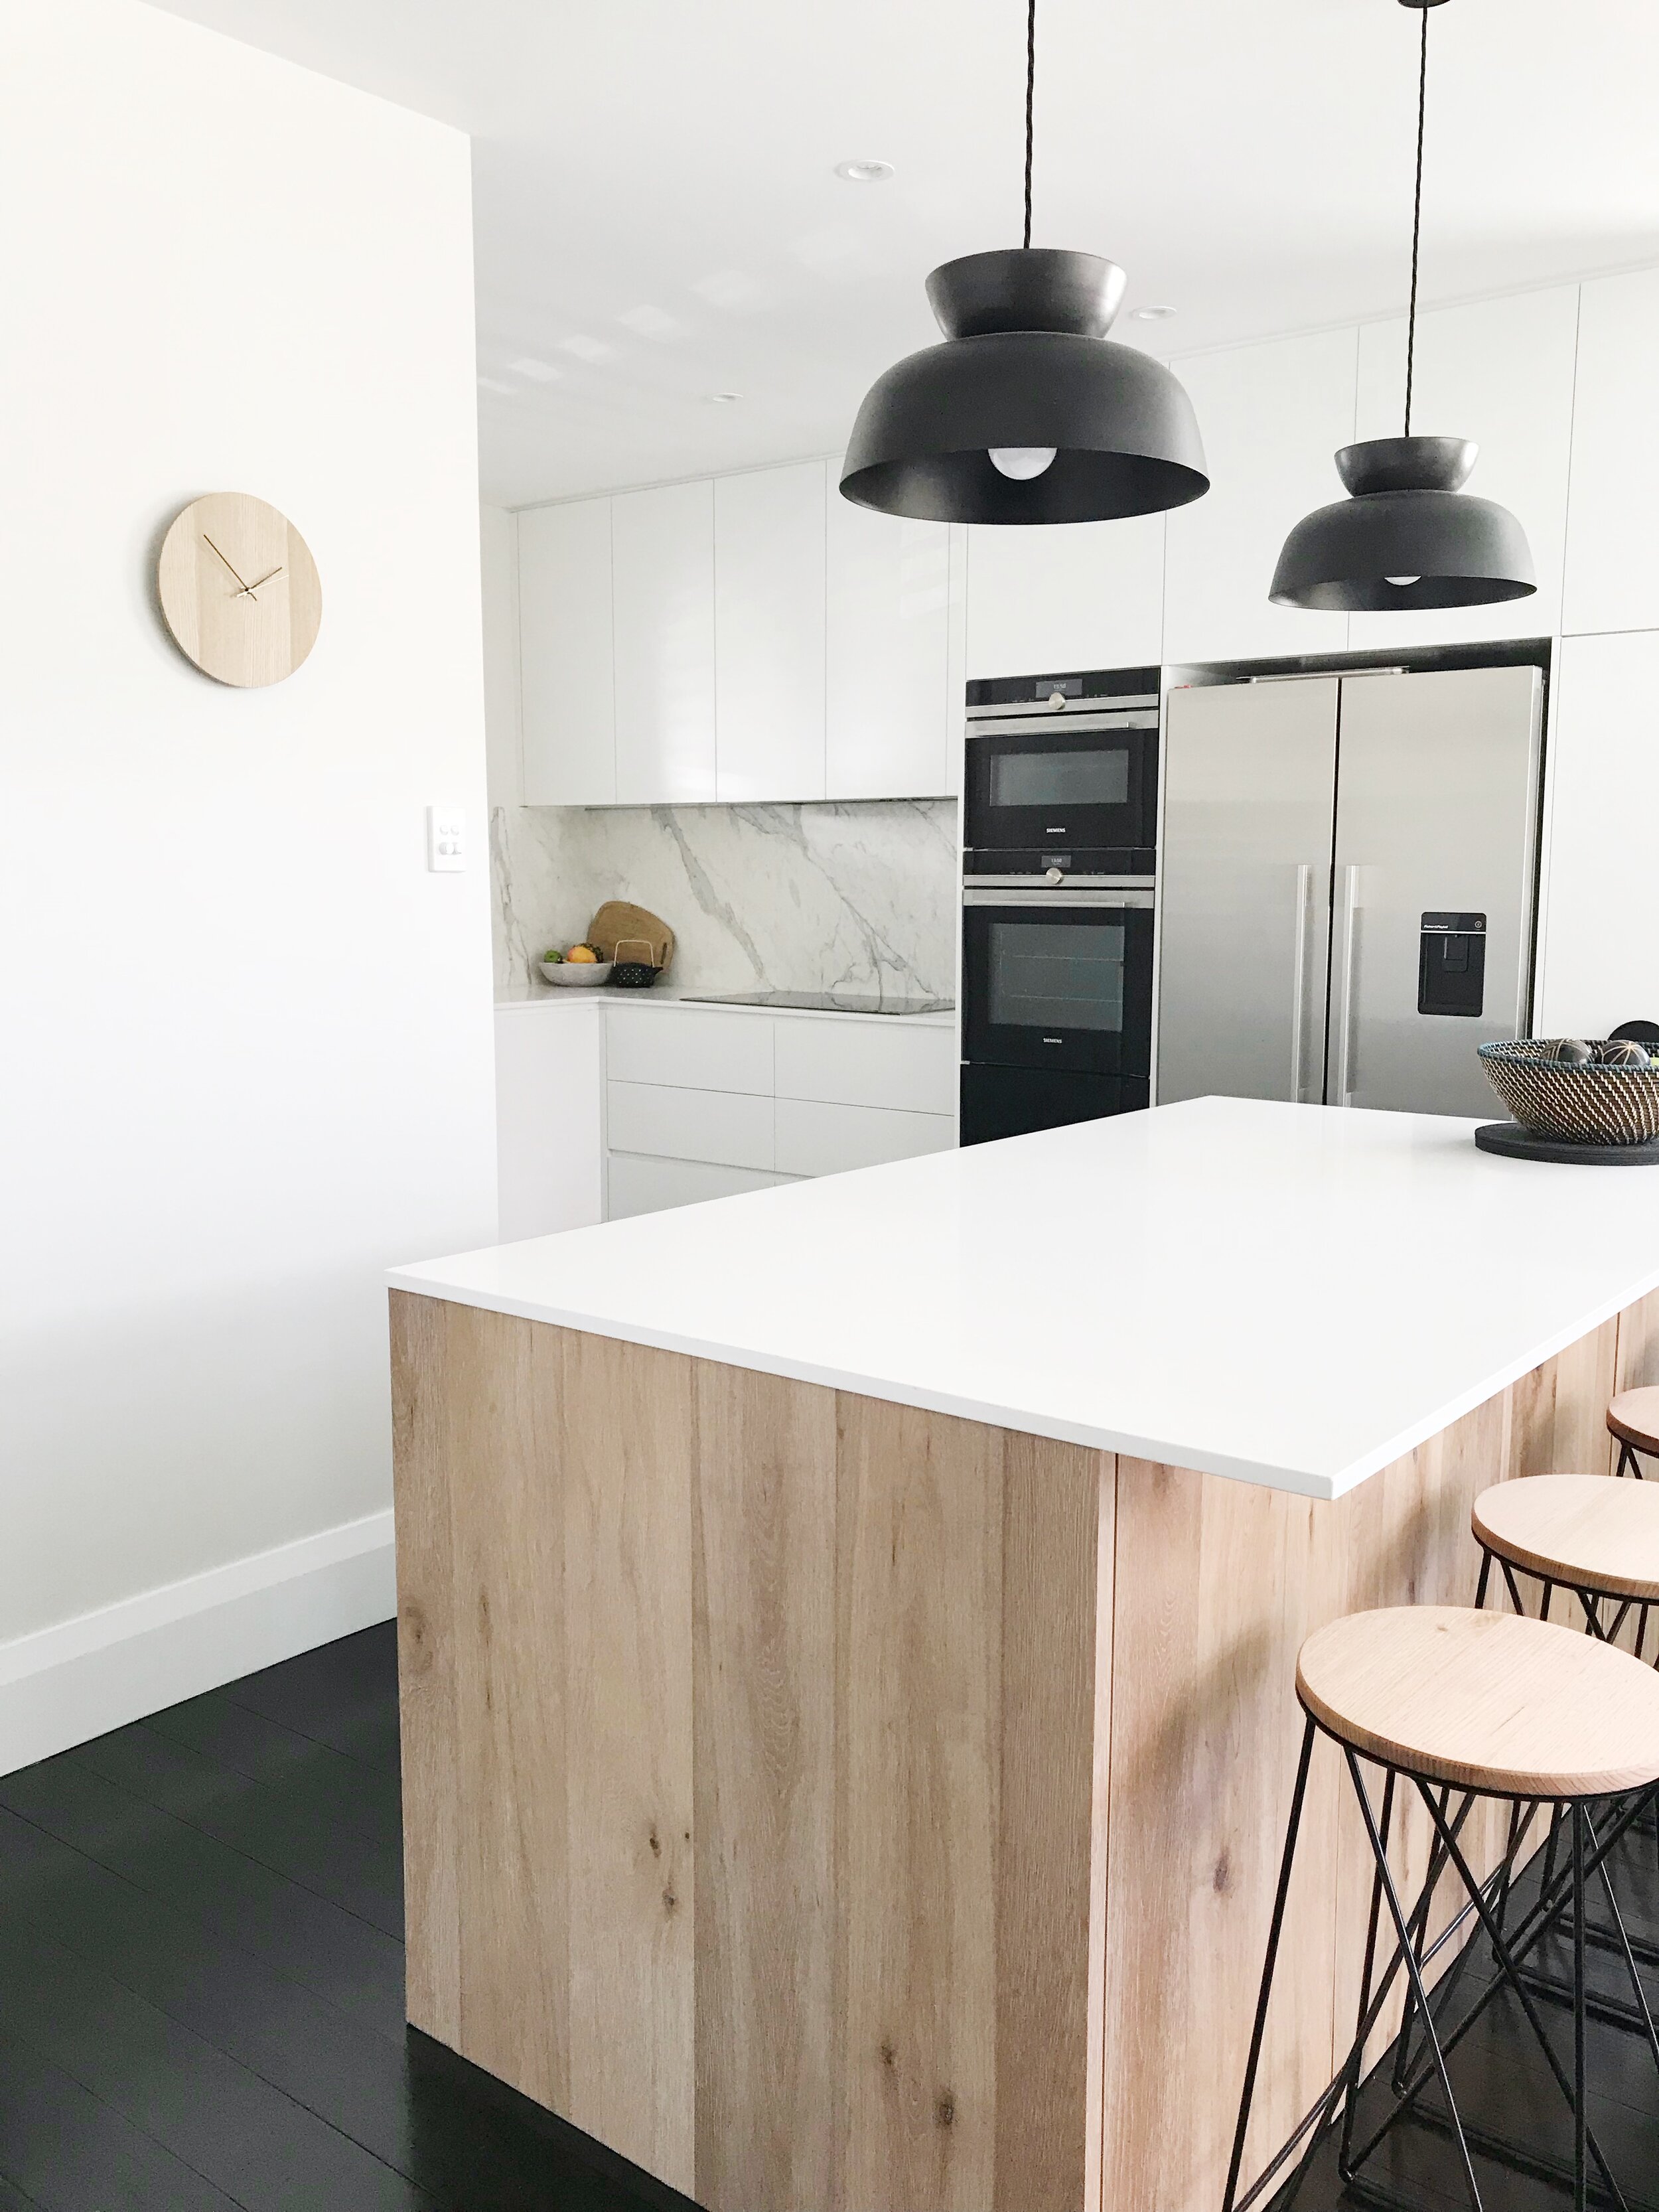
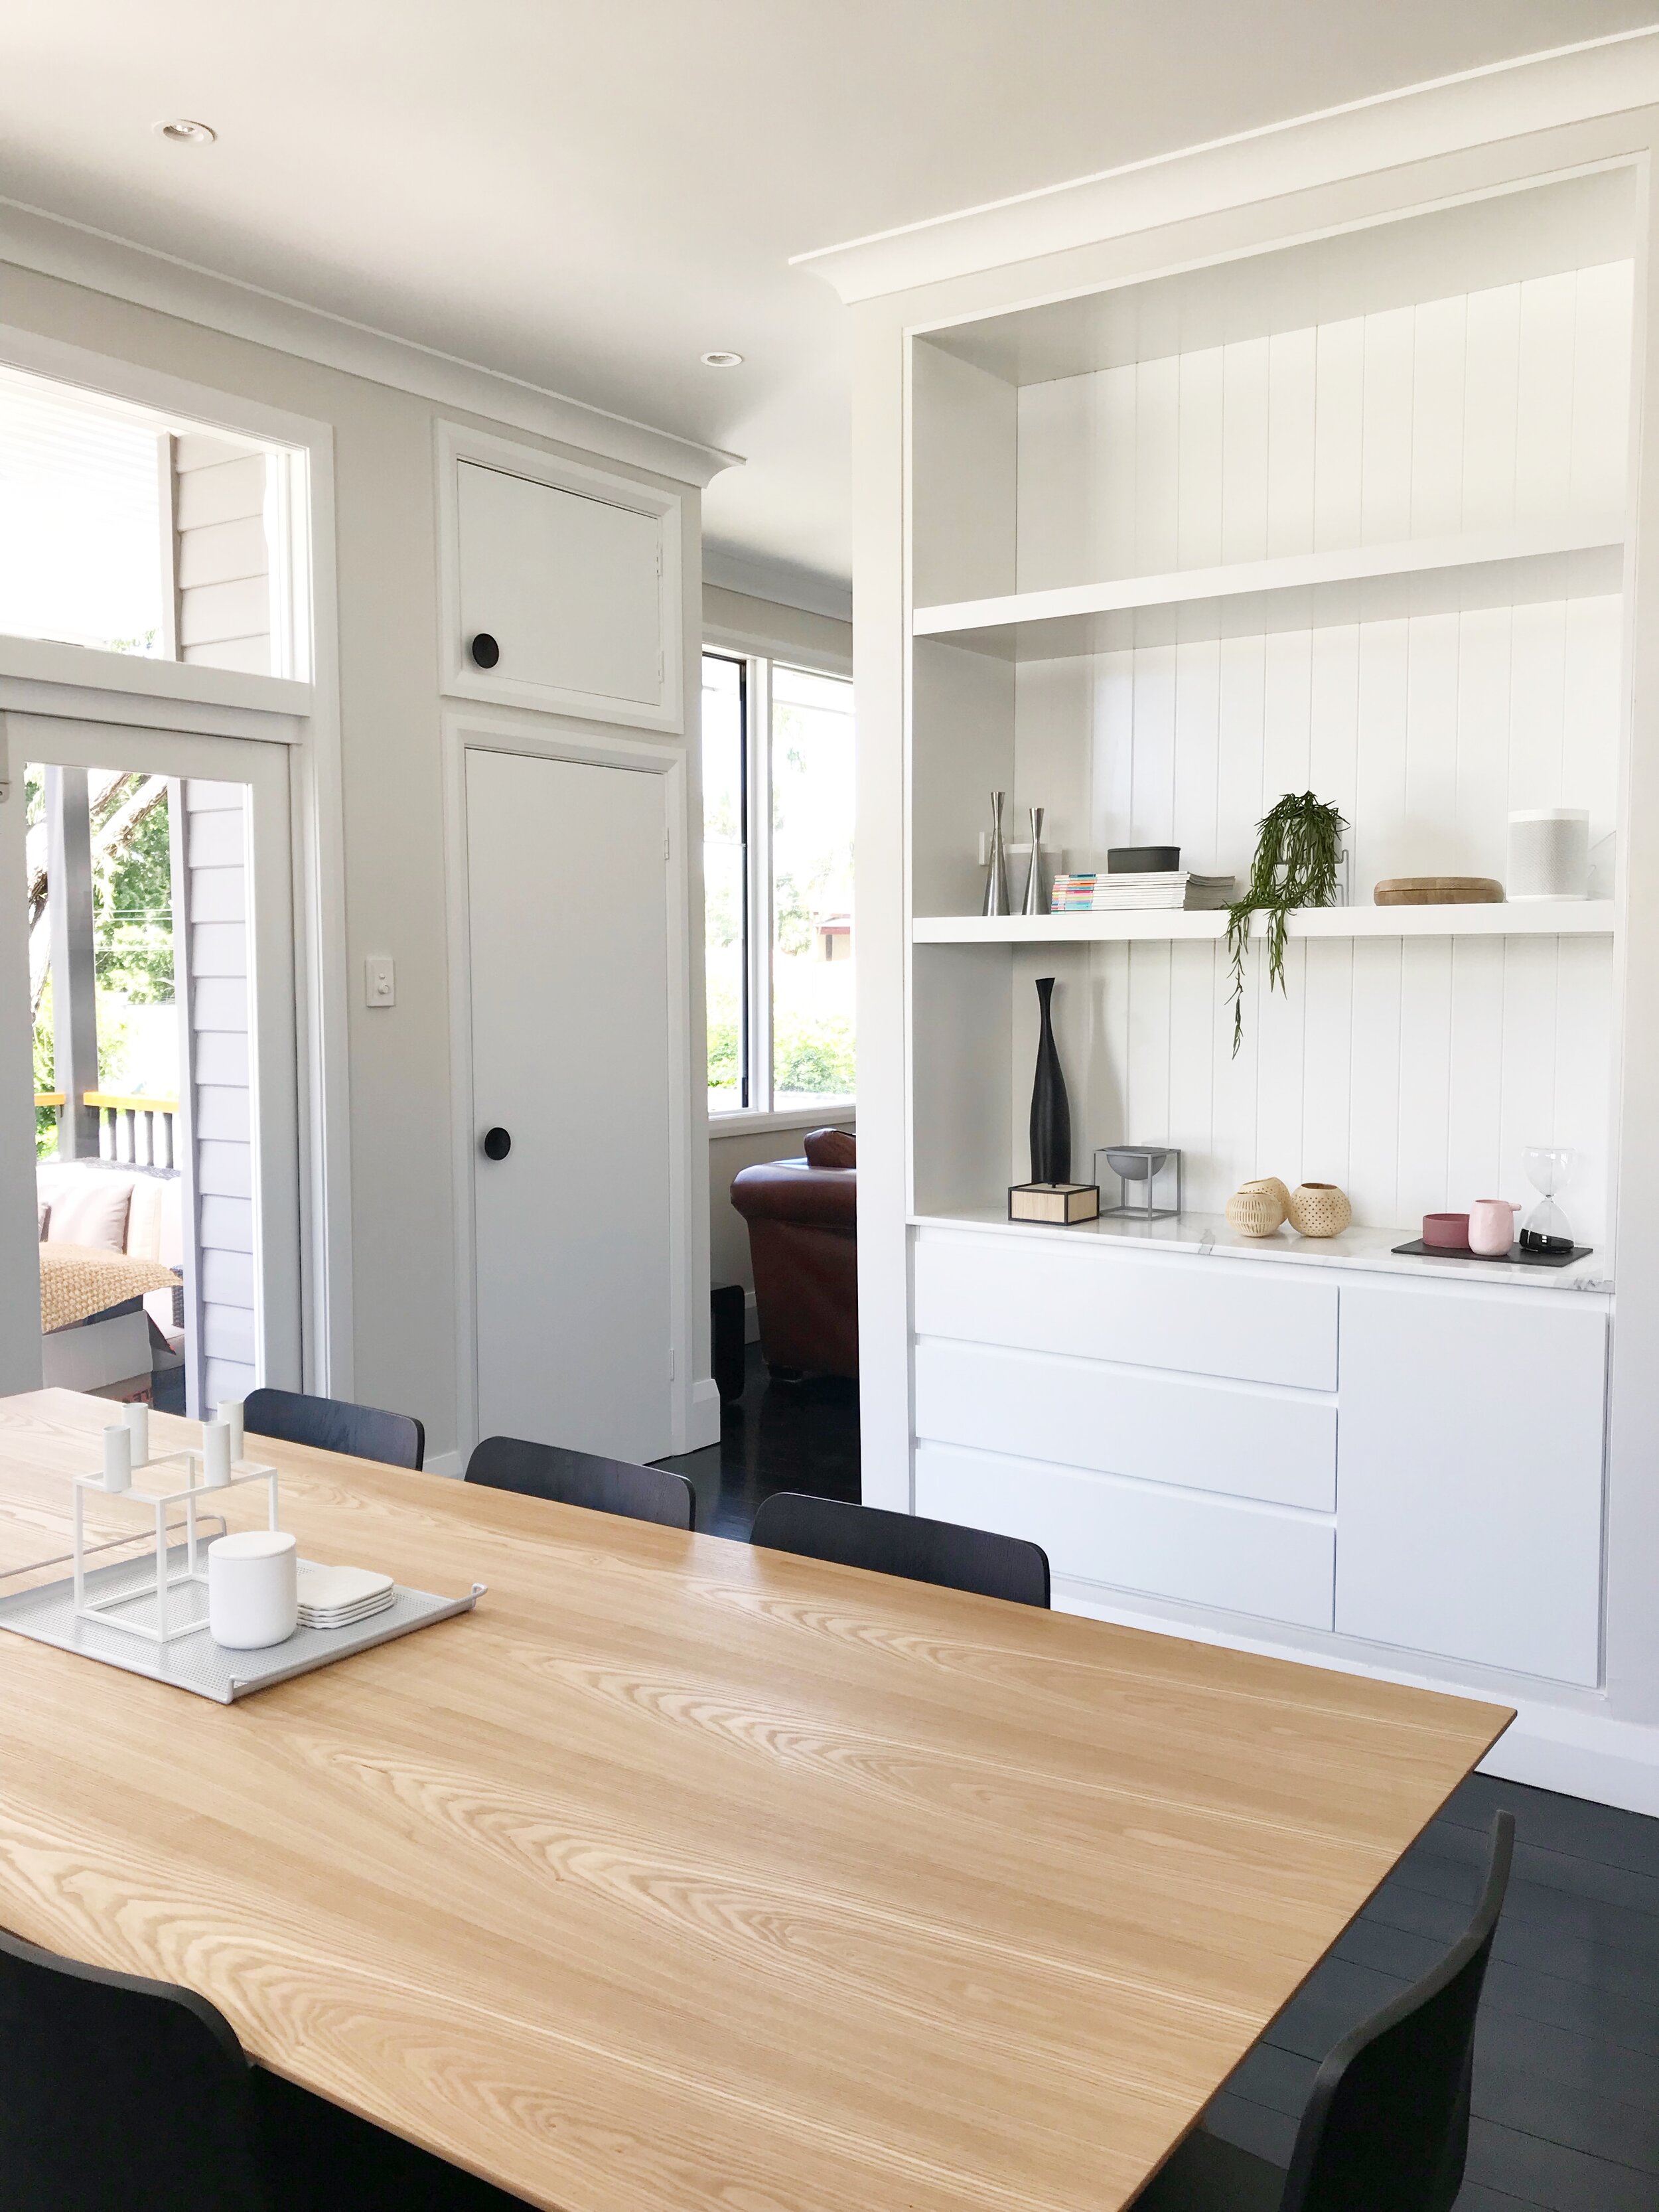
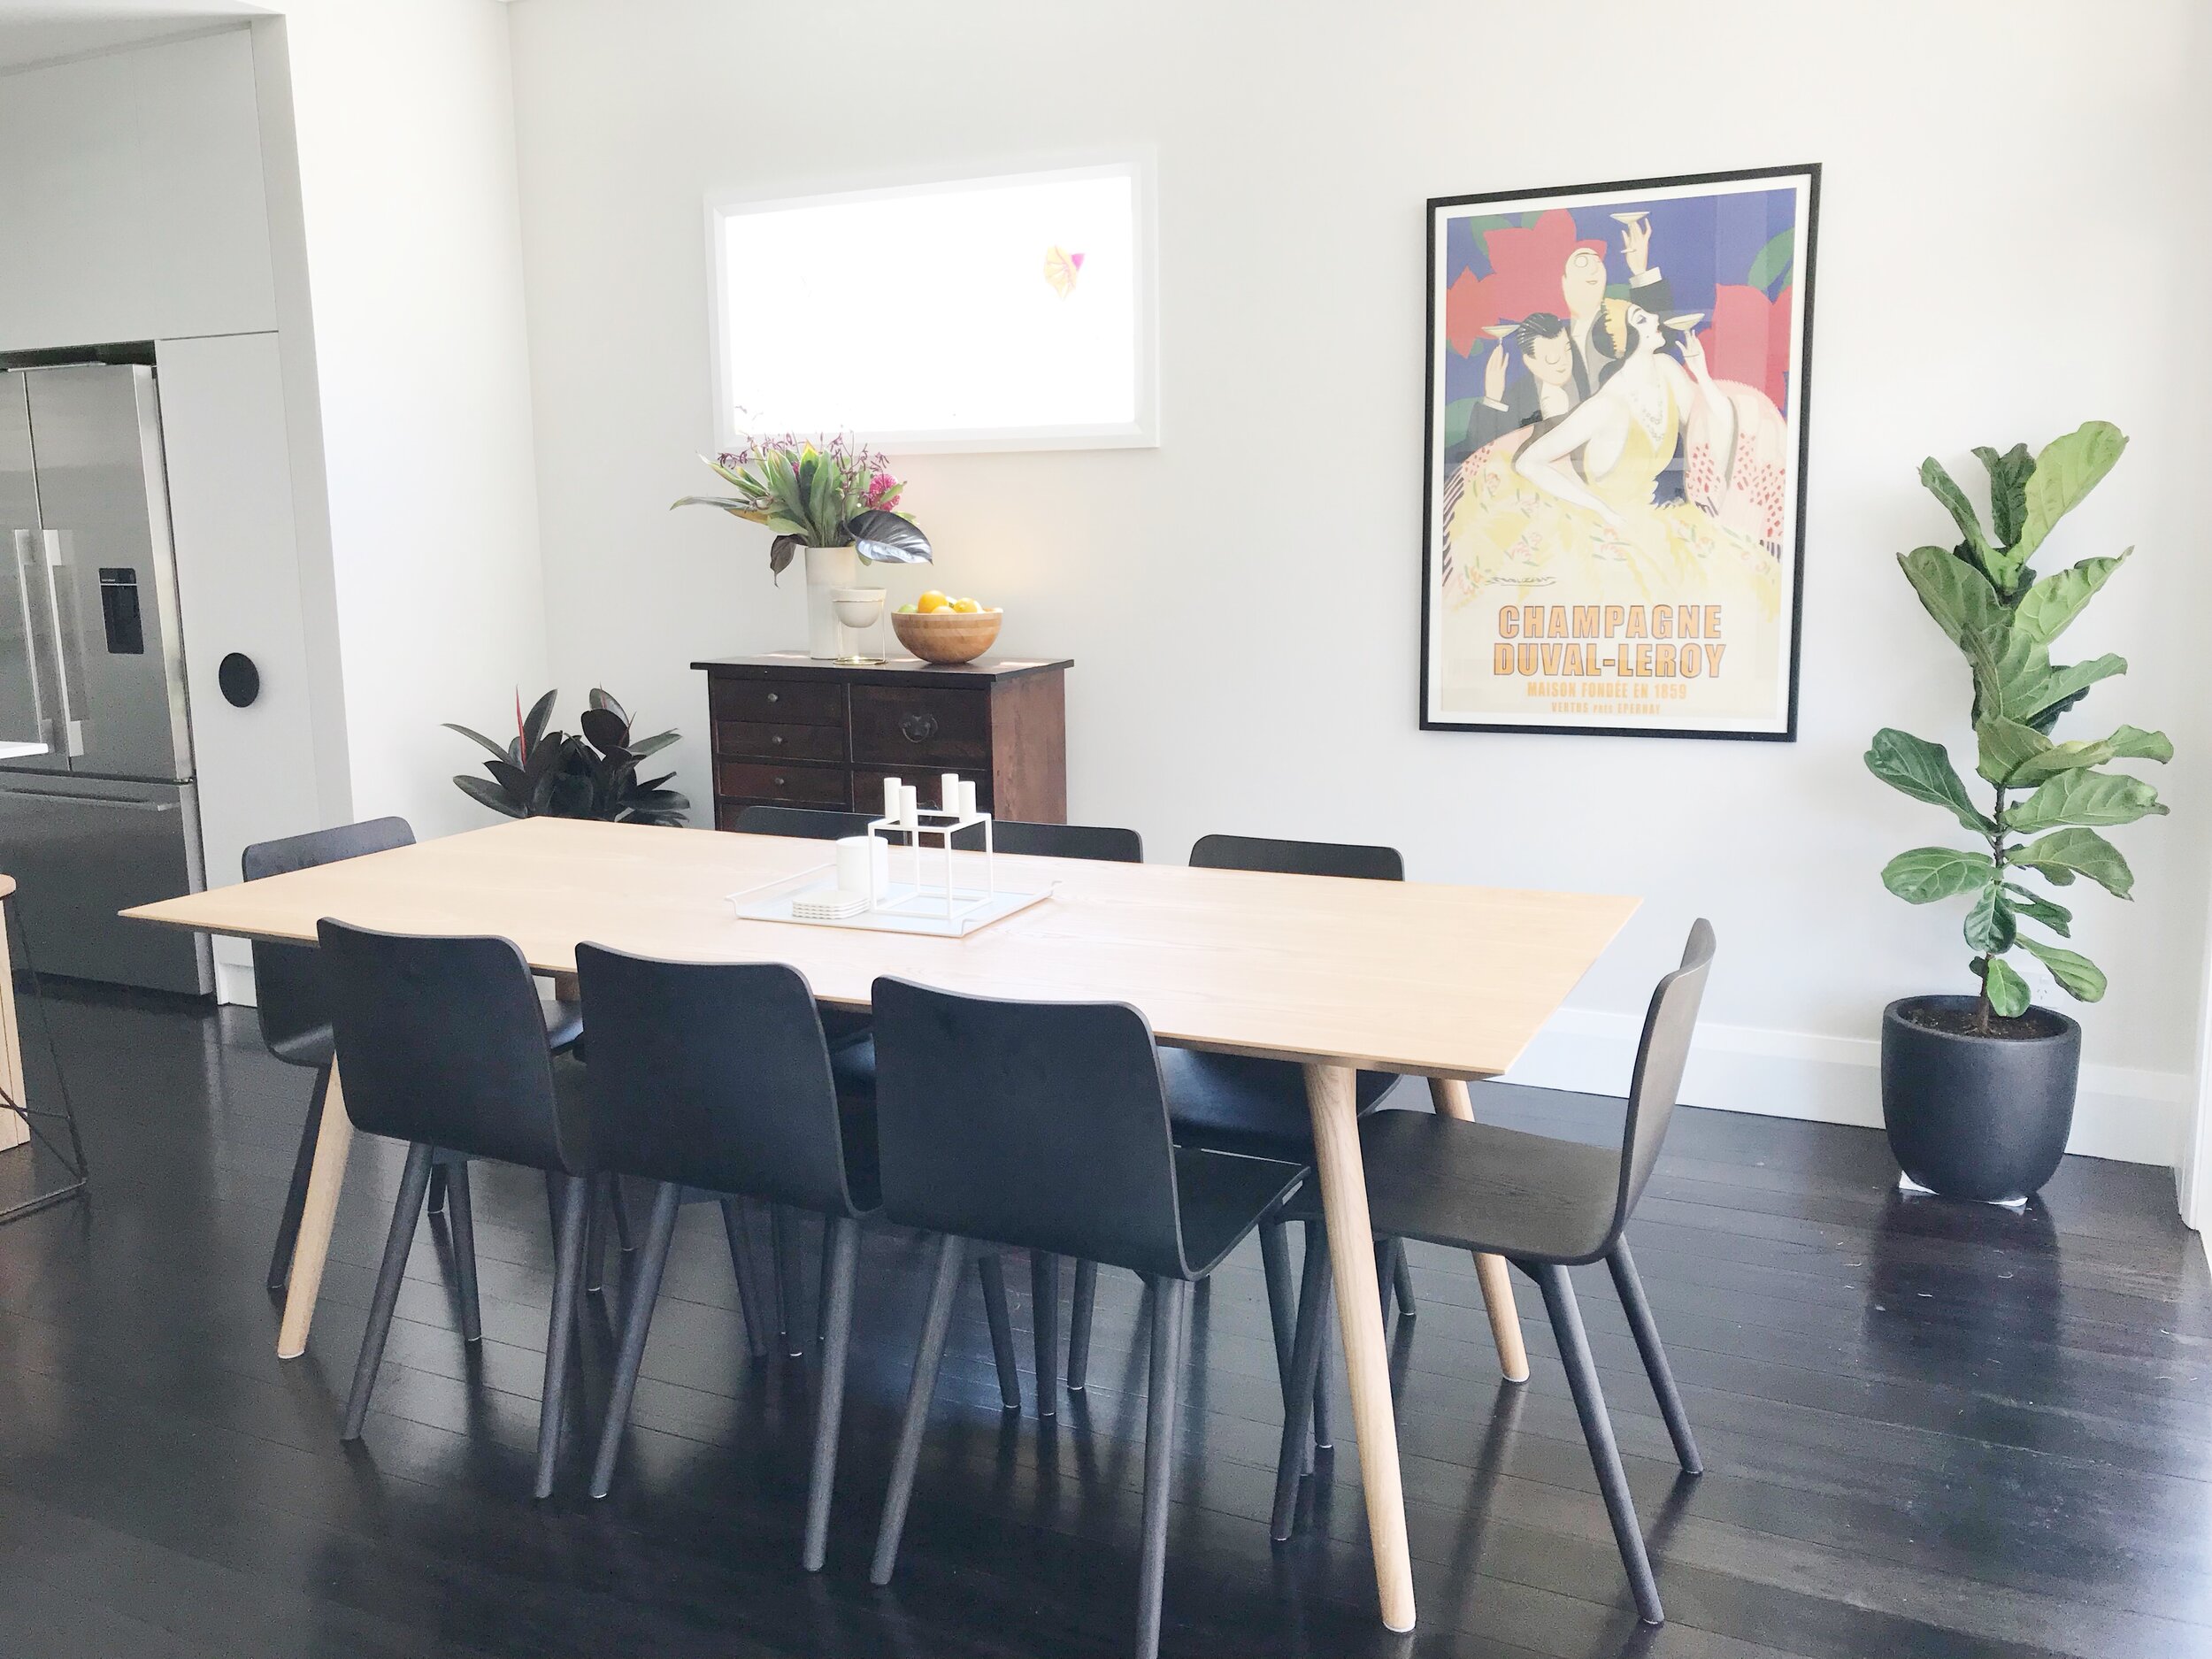
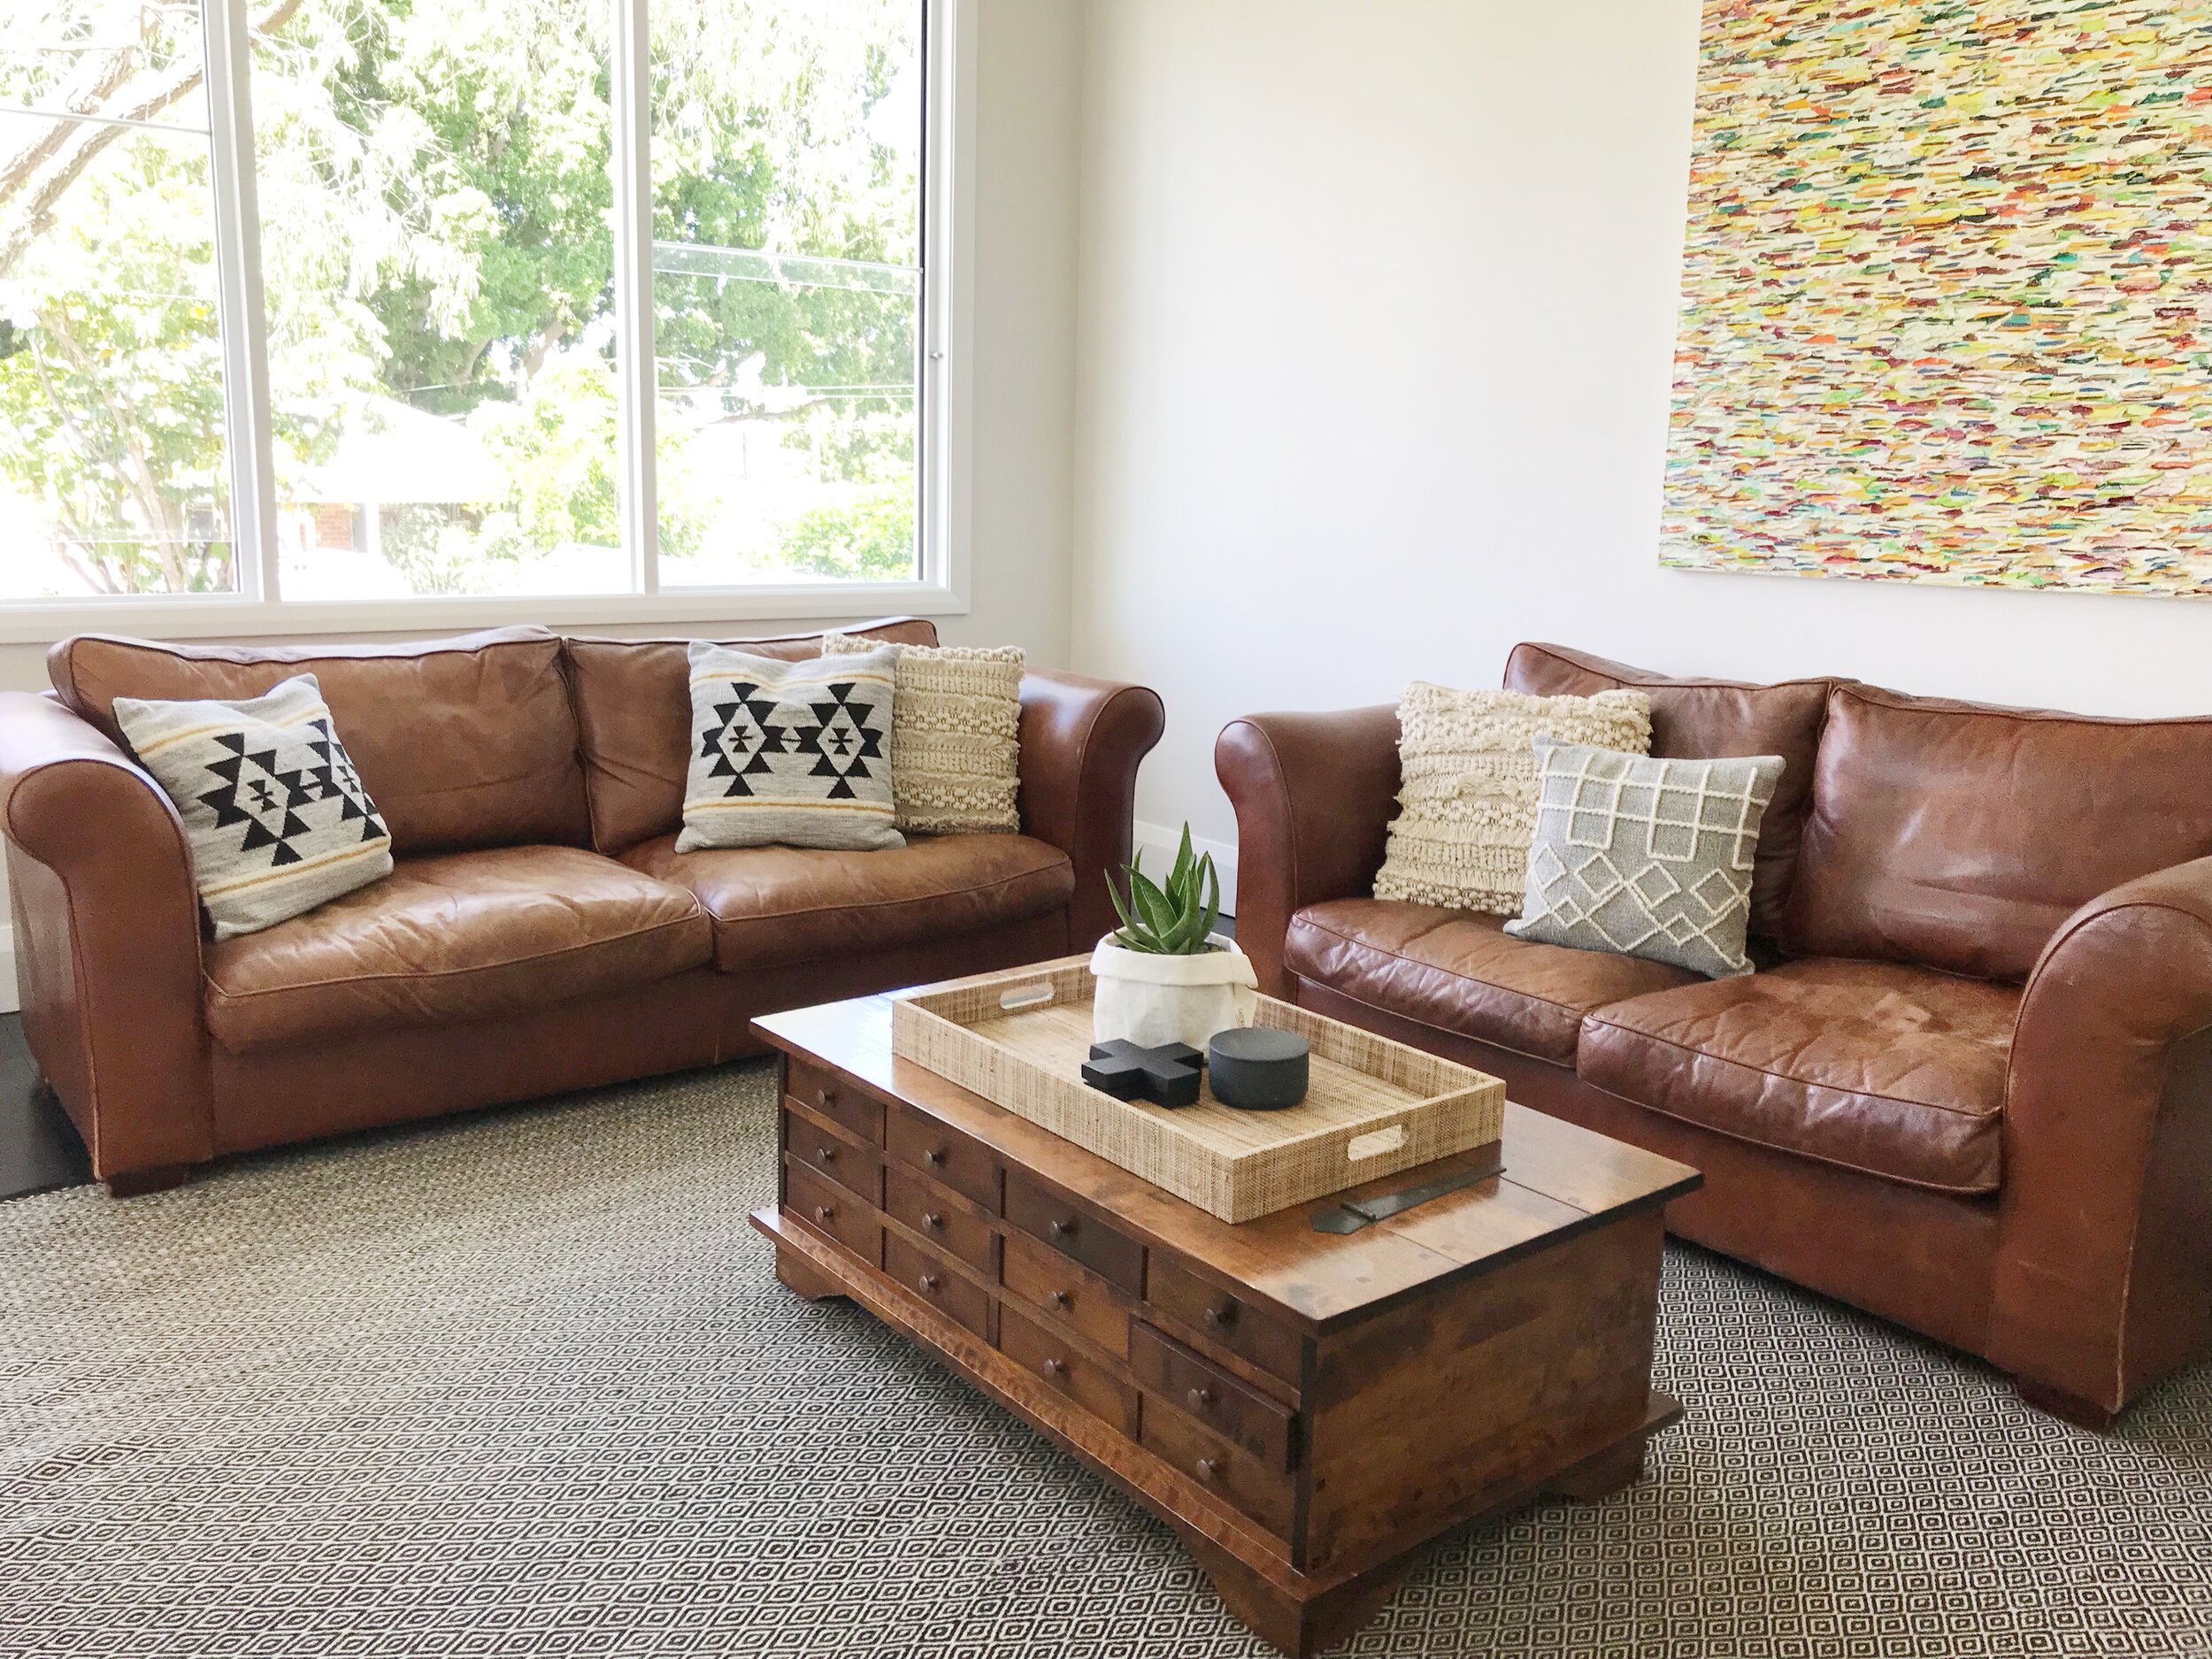
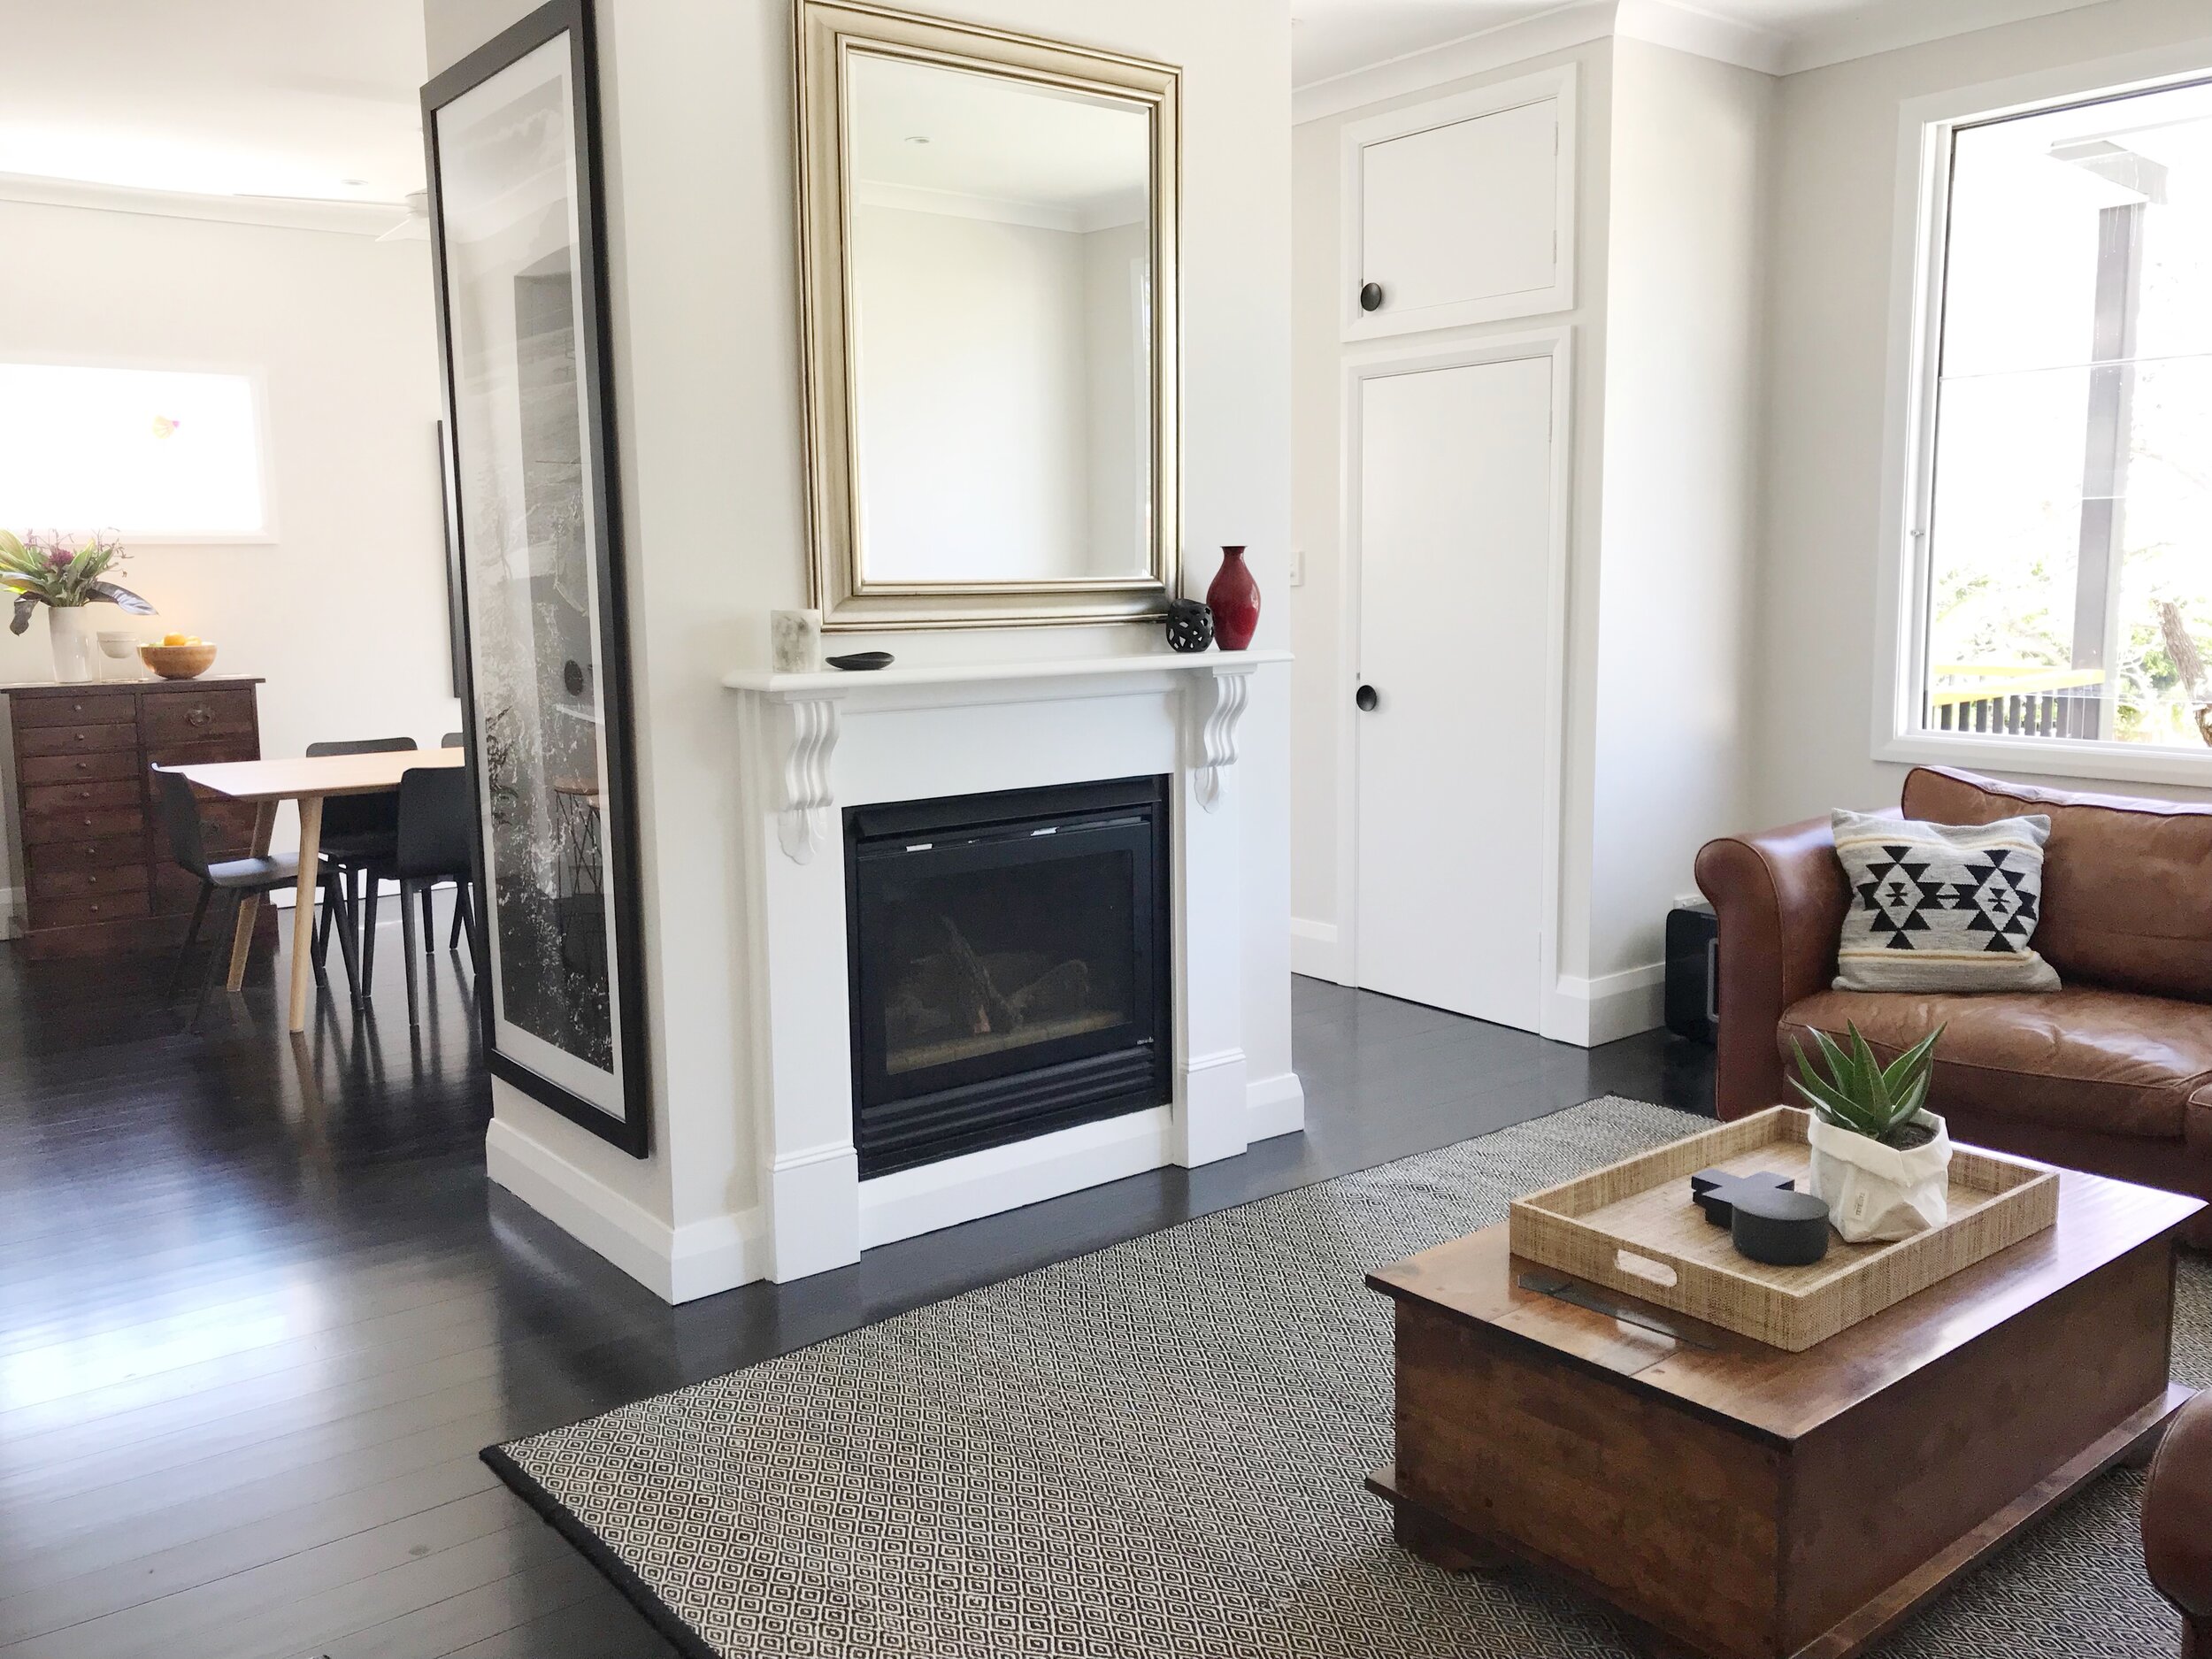
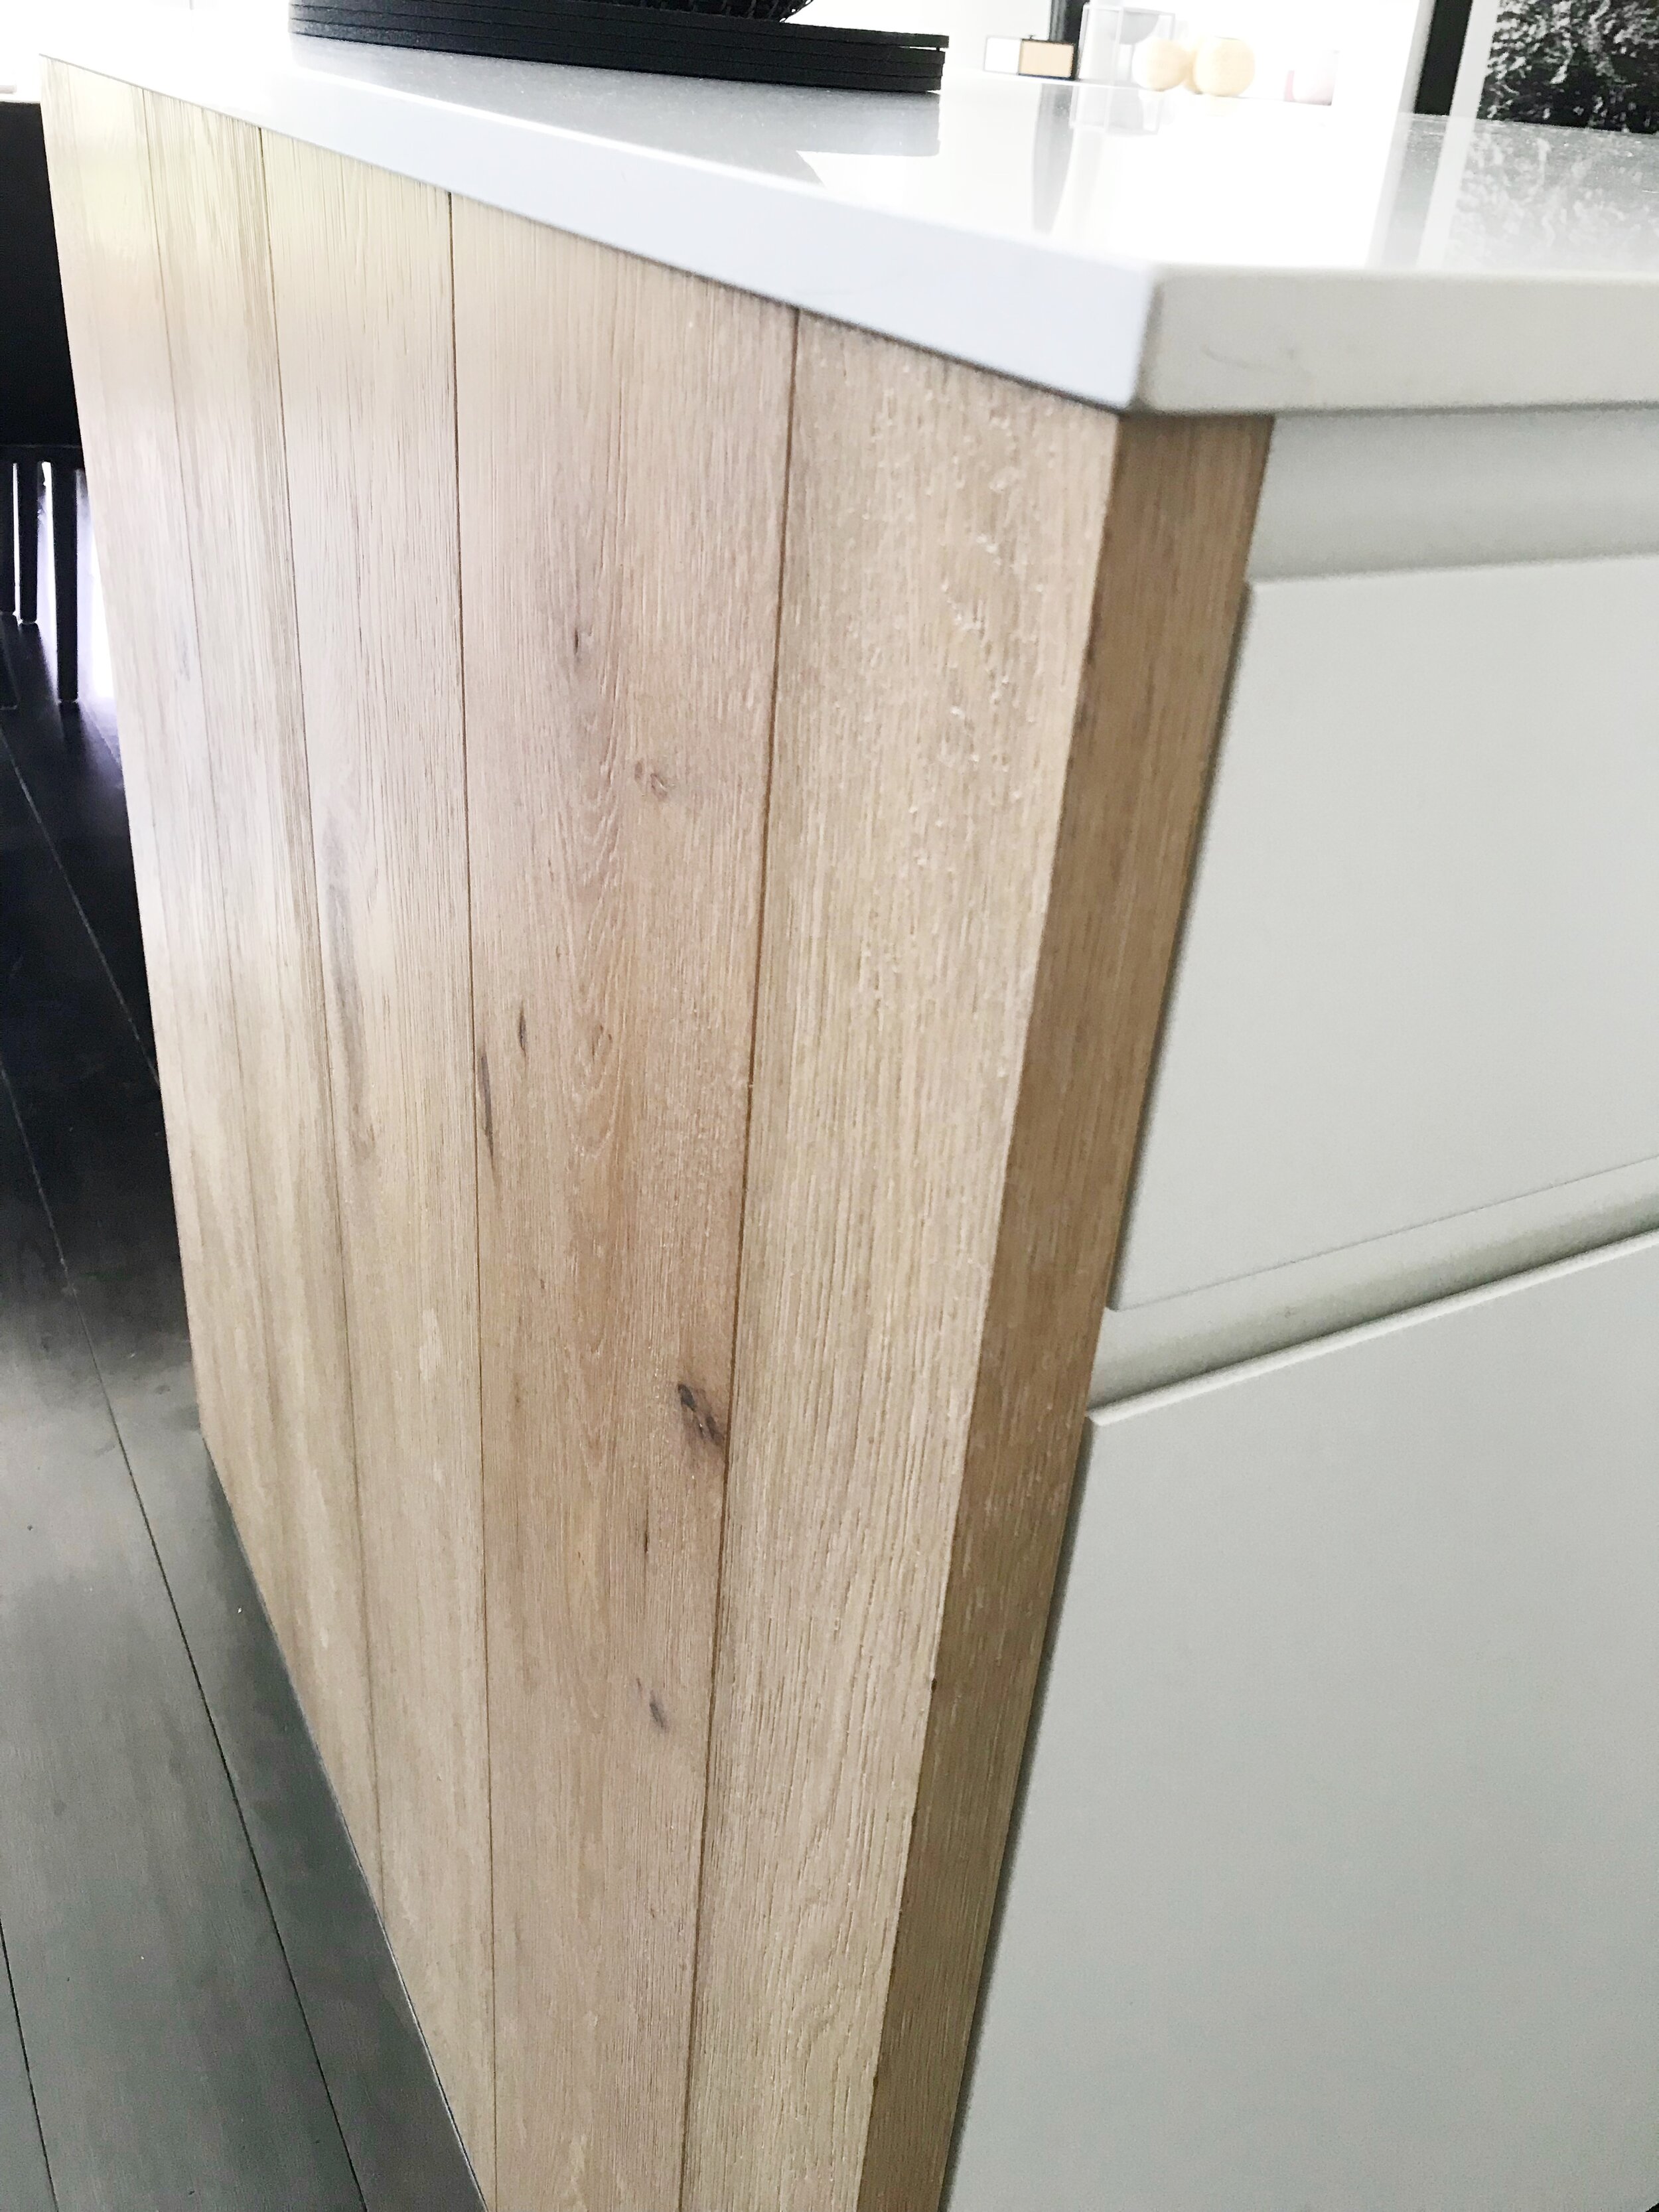
As you can see the house was completely transformed and modernised. The basement was completely transformed to a modern, light master bedroom and all other spaces were updated and modernised as well.
See the gallery below for all the after photos of this space.
Architect credit for this project: John Greenwood & Associates
All interior design: The Little Design Corner
Learn SketchUp with our fun online course for beginners…
If you want improve your work with design clients or you are about to start renovating or remodeling then you will love SketchUp.
With this software you can mock up an entire home in 2D (floor plans, joinery/millwork elevations, lighting and electrical plans and more) and 3D (renderings and perspective drawings) so you can picture exactly what it will look like when it is finished plus prepare your technical drawings for use with your clients, trades and contractors.
Learning SketchUp will save you time, money, mistakes and so much more! It is a well known piece of software in the interior design and architecture industries and will give you a solid technical drawing skill that will immediately upgrade the professionalism of the work you are doing.
I teach an online course for beginners that is focused specifically on using SketchUp for interior design purposes. We have had more than 10,000 students come through the course with so many fantastic projects designed and built!
We have all sorts of students in the course including designers and architects, cabinet makers, home renovators/remodelers, kitchen and bathroom designers, event planners, landscape designers and design enthusiasts.
To get started watch my free info session via the link below:
Enjoy the rest of your day!
Clare x


